
Downloading Ready Player Me 2D and 3D avatars along with their metadata is now a piece of cake thanks to their new Avatar API. In this blog, you'll see how you can make use of the API to configure and download your avatar.
If you don’t know about Ready Player Me or if you want to know how to create your avatar, then you should watch this video before continuing with this blog post.
Want to watch the video instead?
What’s an API?
API stands for Application Programming Interface. APIs are software intermediaries that enable two software components to communicate with each other. This communication is done using a set of definitions and protocols.
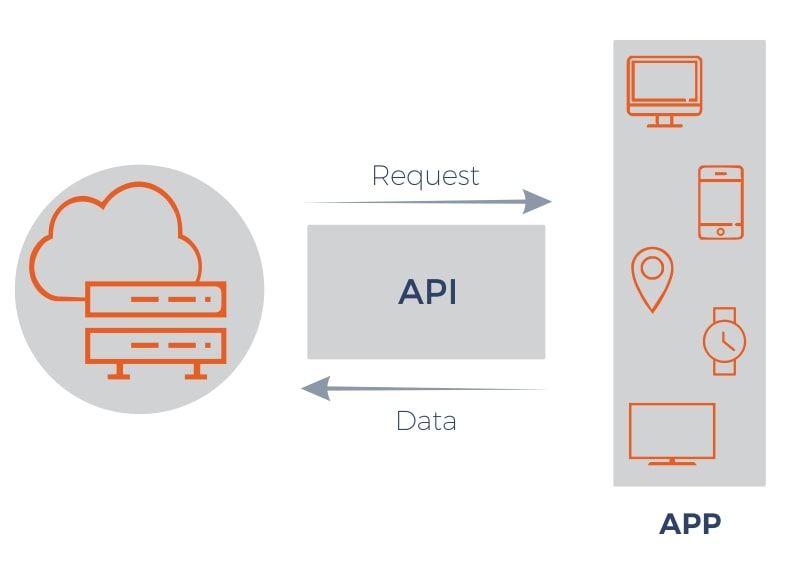
Consider this for example: you have a multiplayer game and each time a player joins you need to generate an avatar for them. For that, you’ll communicate with the Ready Player Me servers and ask for an avatar. The server will then process your request and return an avatar.
But how will you communicate? There have to be some standard rules right? we cannot be like “Hey! give me an avatar!” and expect the server to understand that. So this is where API comes into the picture.
Basically, APIs let your product or service communicate with other products and services without having to know how they’re implemented.
How does the Ready Player Me API Work?
The Avatar API is organized around REST. REST stands for Representational State Transfer and it’s a set of rules that are commonly used for building web APIs. Check this out to know more about REST API.
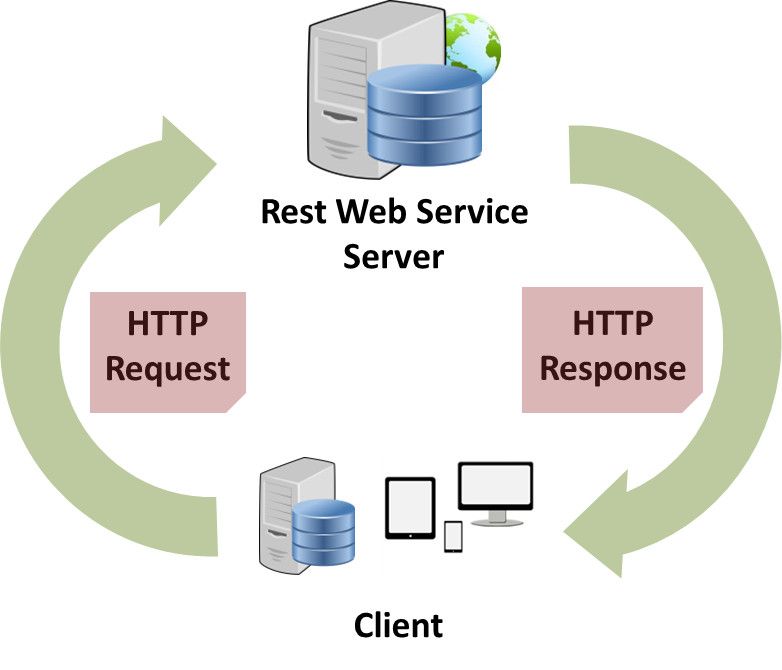
To explain it’s working briefly, imagine you have a game with multiple avatars. Then you would call the API on your server www.yourawesomegame.com/api/avatars. This last part ‘avatars’ is the importing thing, which is called a resource.
To be able to access the avatar from your game, the players(clients) will have to request the server with the correct resource name with the help of your API. For example, Player 1 can retrieve their avatar by typing www.yourawesomegame.com/api/avatars/player1 and Player 2 can their avatar by typing www.yourawesomegame.com/api/avatars/player2 and so on. You get it!
So that's exactly what Ready Player Me is doing, they have the API and now it's time for you to learn about the different API parameters to download 3D and 2D avatars with different configurations.
Downloading 3D Avatars
Downloading the 3D avatar using the API is really simple!
All you need to do is:
All you need to do is:
- Go to the Ready Player Me hub. Click on the download icon and copy the glb URL.
- Then open a new tab and paste the copied link. On pressing enter it will download the 3D model of your Avatar.
- You can now open this model in any 3D model viewing software and check out your avatar.

Next, let’s see some of the other features the Avatar API has to offer.
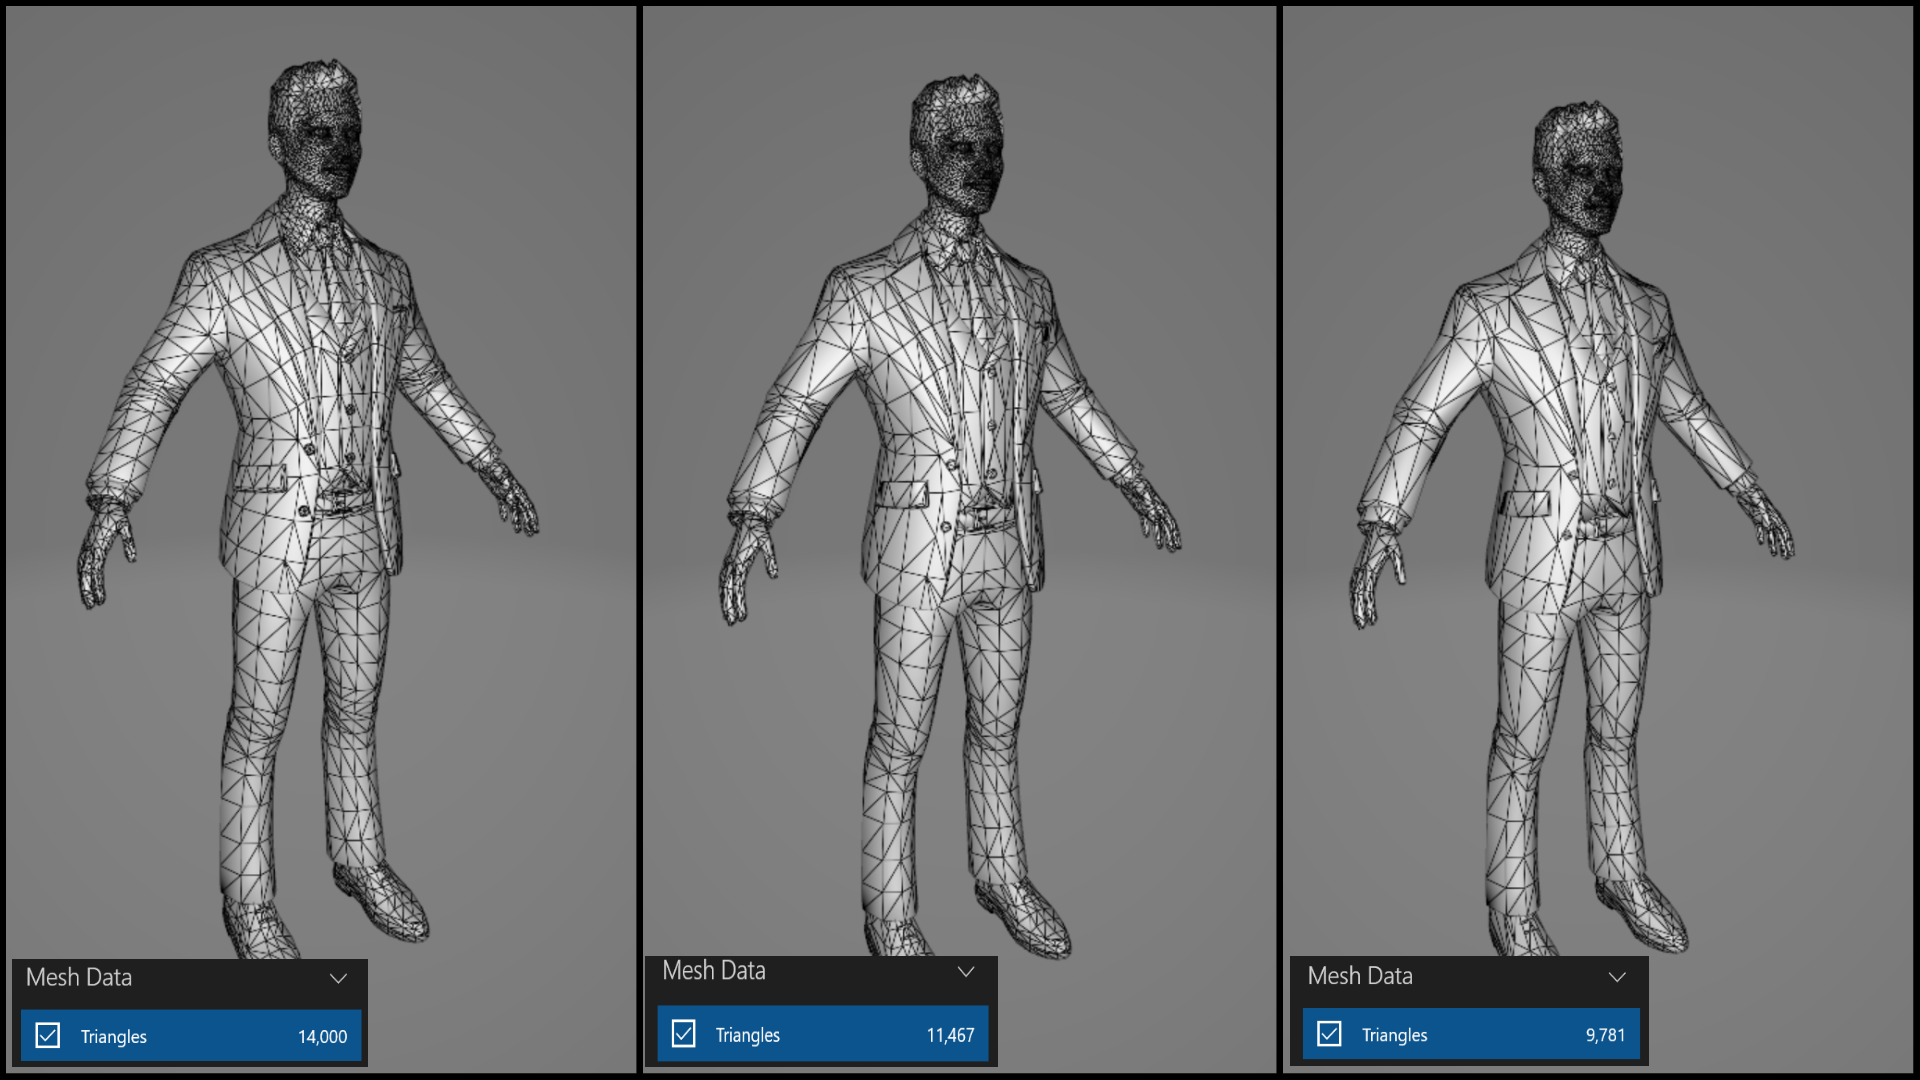
Controlling the Triangle Count
You can adjust the quality of your avatar based on the level of detail (LOD) requirement. By default, the API returns the mesh with no reduction in triangles i.e. high quality. But if you don’t require a detailed avatar and if you want to increase performance then, you can download the avatar with a reduced triangle count.
To implement this, at the end of the copied link you need to add the parameter ?meshLod=, followed by the number 0,1 or 2. Where,
- 0 - No triangle count reduction is applied (default).
- 1 - Retain 70% of the original triangle count.
- 2 - Retain 50% of the original triangle count.
For example, after pasting the copied URL, type ?meshLod=1 and press enter. This will download the same avatar but with a 30% reduction in the triangle count.
⚠️ Note: The parameters are case-sensitive!

The following images show the difference between LOD 0, 1 and 2 respectively.
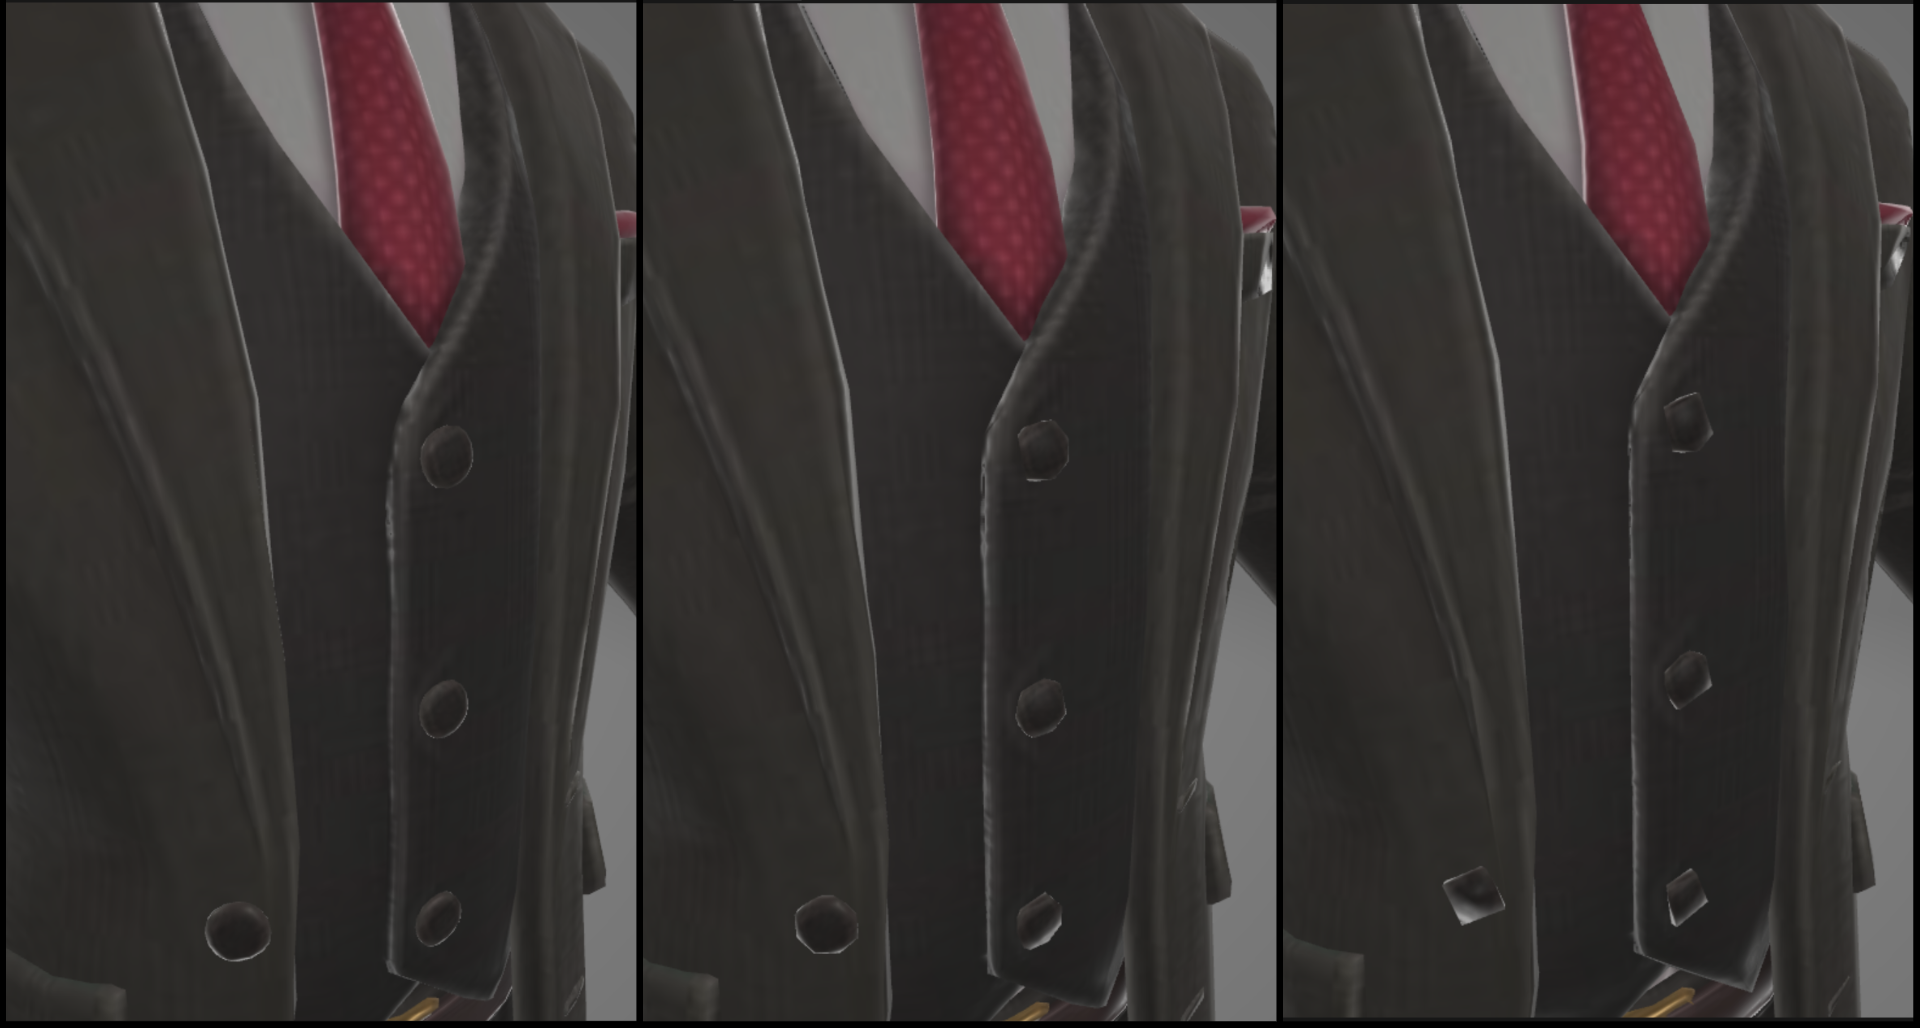
Controlling the Texture Size
The Avatar API allows you to adjust the quality of the texture based on your requirement. By default, the API returns the texture with maximum resolution. However, you can set a resolution to a value that is lower than the default one.
To implement this, at the end of the copied link you need to add the parameter ?textureSizeLimit=, followed by a value between 256 and 1024. 256 is the minimum and 1024 is the maximum texture resolution in pixels. The values in between have to be multiples of two i.e 258, 400, 622, etc.
For example, after pasting the copied URL, type ?textureSizeLimit=256 and press enter. This will download the same avatar but with a lesser texture resolution.
The following image shows the difference between texture size 1024 and 256 (notice the difference in tie and blazer).
Controlling Texture Atlasing
Instead of having one texture for each of the avatar’s mesh, you can combine all the mesh as one and subsequently have one texture. This is known as Atlasing and this is really helpful when it comes to performance optimization. That’s because if the avatar has 9 mesh with 9 materials then it will need 9 draw calls, whereas when there’s one mesh with one material it’ll just need one draw call.
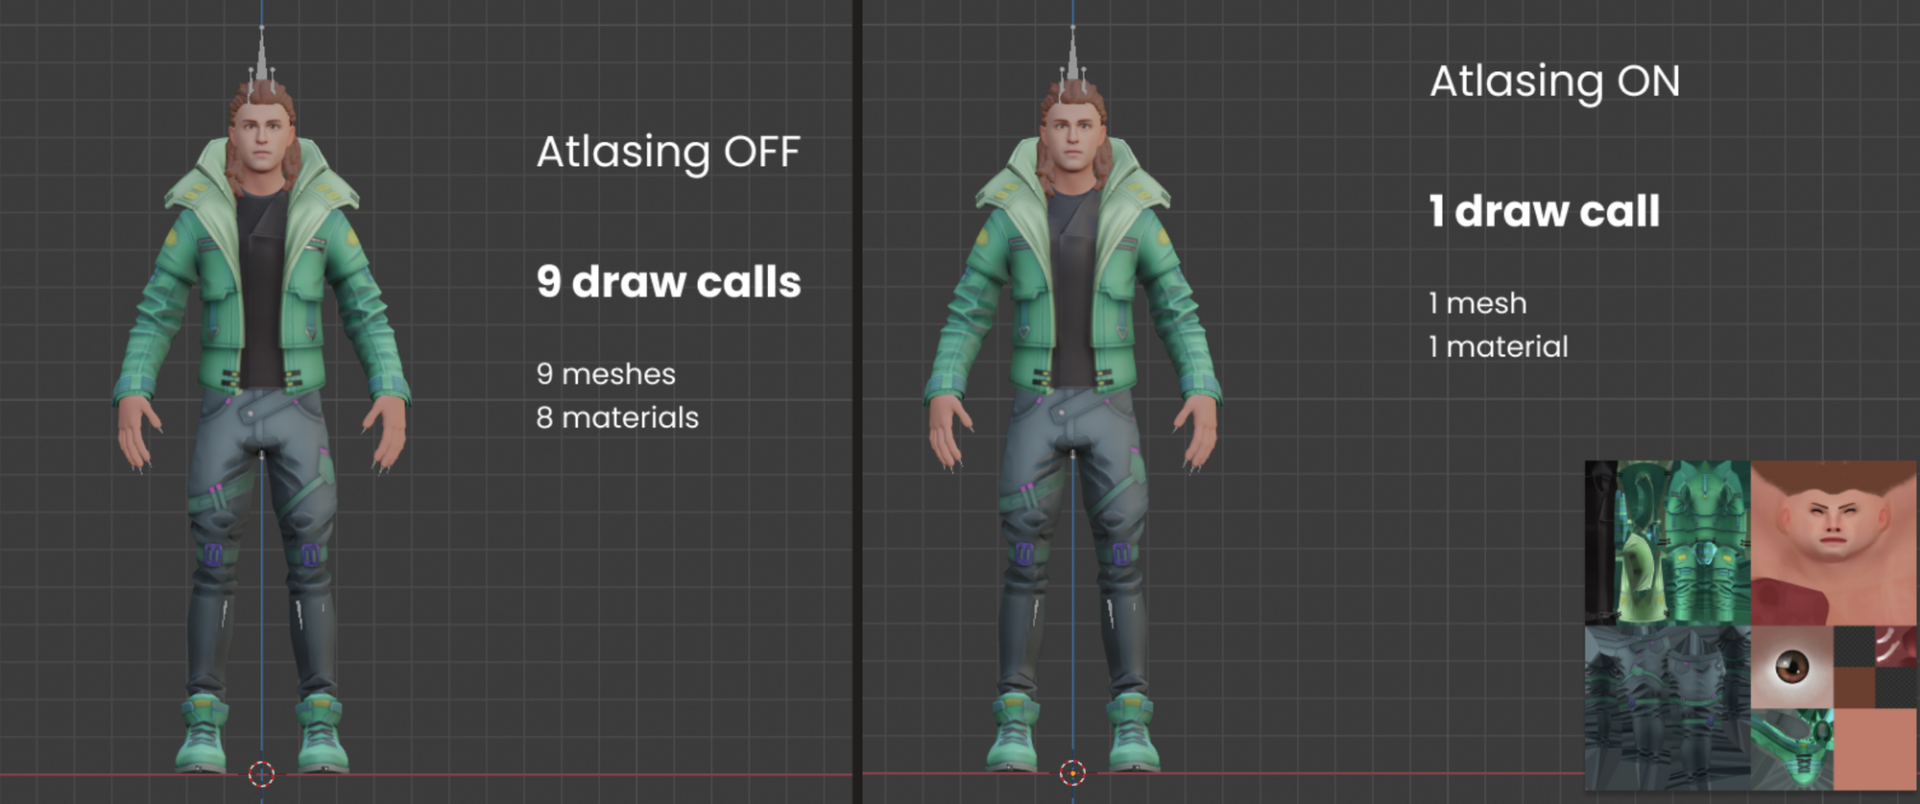
By default, the Atlasing is OFF or you can specify it as well by typing ?textureAtlas=none at the end copied link. Now to enable Atlasing, you need to type the parameter ?textureAtlas=, followed by the texture size. Here, the texture sizes are limited to three values, 256, 512 and 1024. Where,
- 256 - Create a texture atlas of 256x256px.
- 512 - Create a texture atlas of 512x512px.
- 1024 - Create a texture atlas of 1024x1024px.
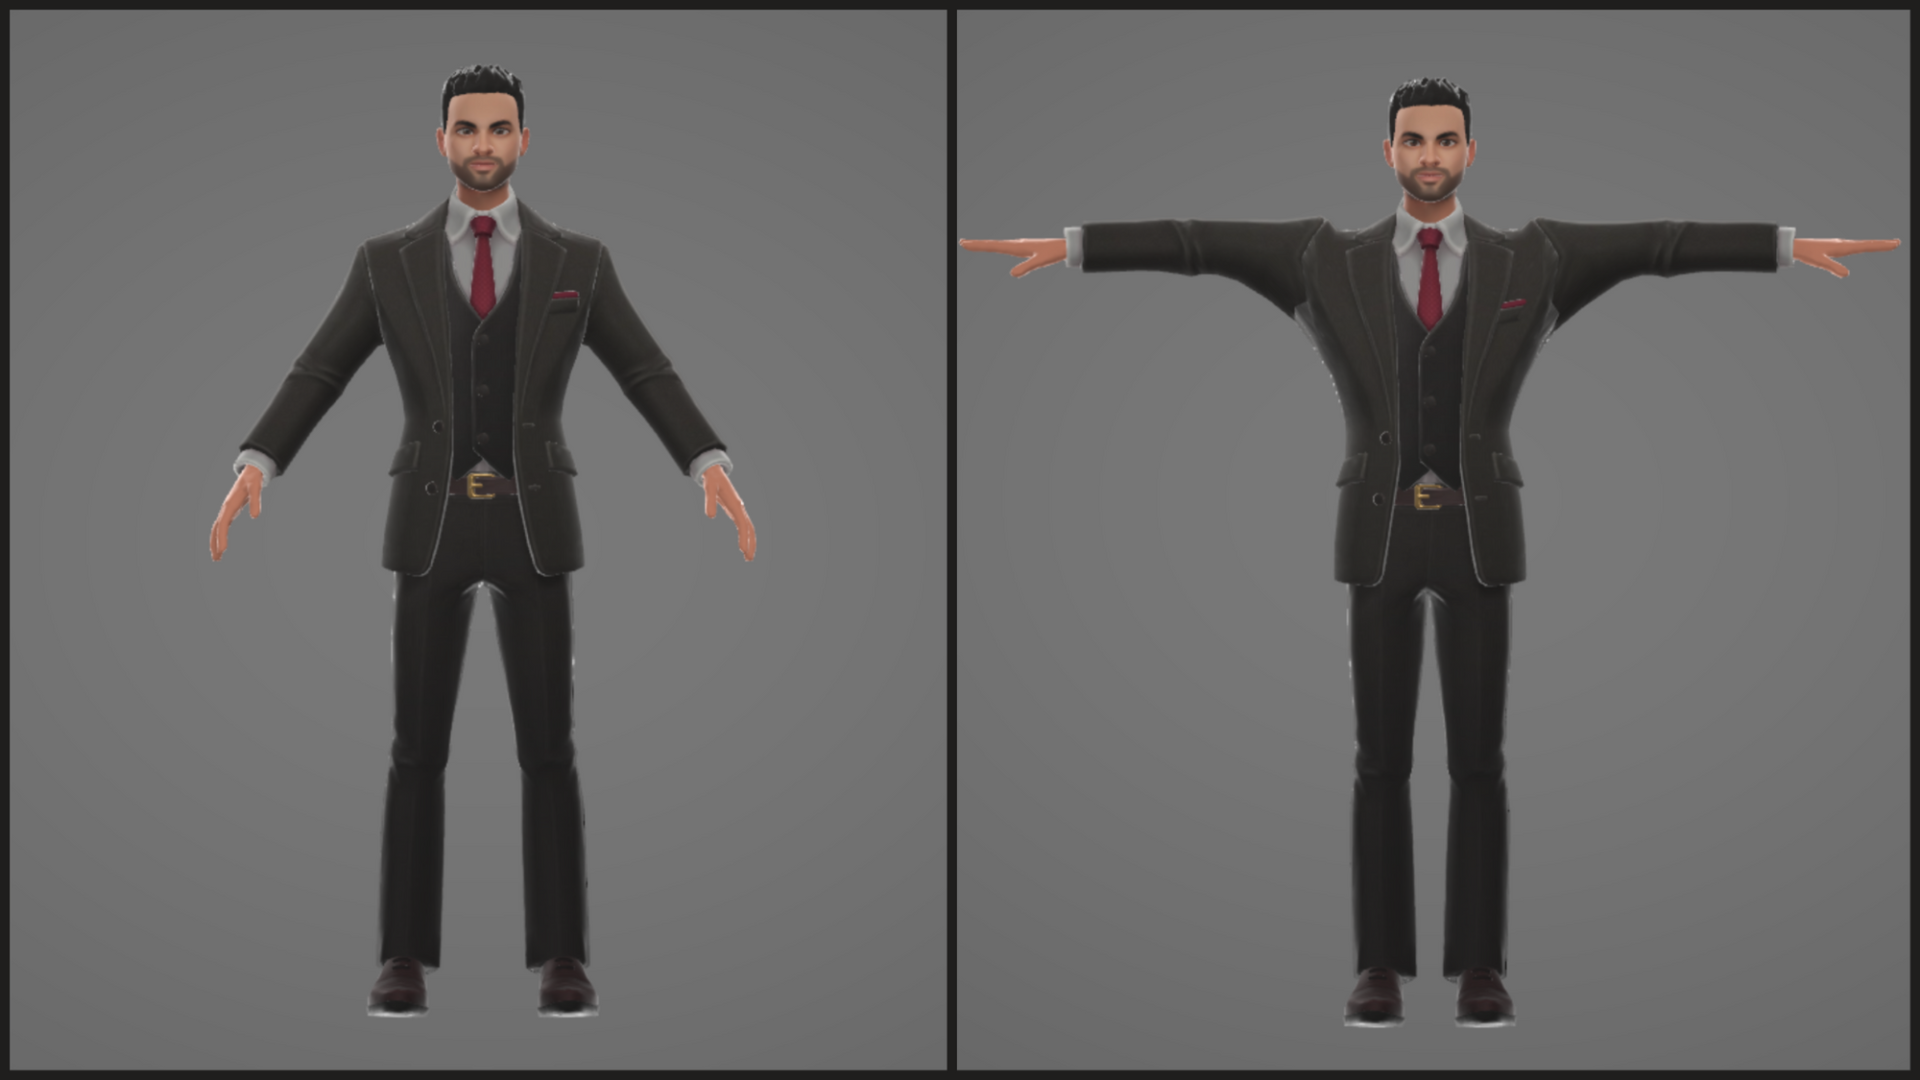
Controlling Avatar Pose
Based on your requirement, you can download the avatar either in T- Pose or in A-Pose. By default, the avatar is set to download with A-Pose.
Implementing this is simple, at the end of the copied link you need to add the parameter ?pose=, followed by A or T. Where,
- A - Creates a full-body avatar in A pose.
- T - Creates a full-body avatar in T pose.
With that, you have learned to use different parameters of the Avatar API to download 3D avatar models with different configurations. Next, we’ll see how to get 2D avatars.
Downloading 2D Avatars
To download 2D Avatar, head over to the Ready Player Me hub and copy the avatar URL. Paste it in a new window and this time replace the .glb with .png. and hit enter. This will display the 2D Avatar which you can save by right-clicking on it and selecting the Save image as.. option.
Now let’s have a look at some of the parameters that can be used to customize the 2D avatar.
Controlling the Scene
By default, you get a portrait with transparent background. But, you can make use of the following string to customize the scene of your 2D avatar:
To implement this, at the end of the copied link you need to type the parameter ?scene=, followed by any one of the above strings.
- fullbody-portrait-v1 - Creates a portrait from a full-body avatar.
- fullbody-portrait-v1-transparent - Creates a portrait from a full-body avatar with transparent background (default).
- halfbody-portrait-v1 - Creates a portrait from a half-body avatar.
- halfbody-portrait-v1-transparent - Creates a portrait from a half-body avatar with transparent background.
- fullbody-posture-v1-transparent - Creates a portrait with a pose from a full-body avatar.
To implement this, at the end of the copied link you need to type the parameter ?scene=, followed by any one of the above strings.
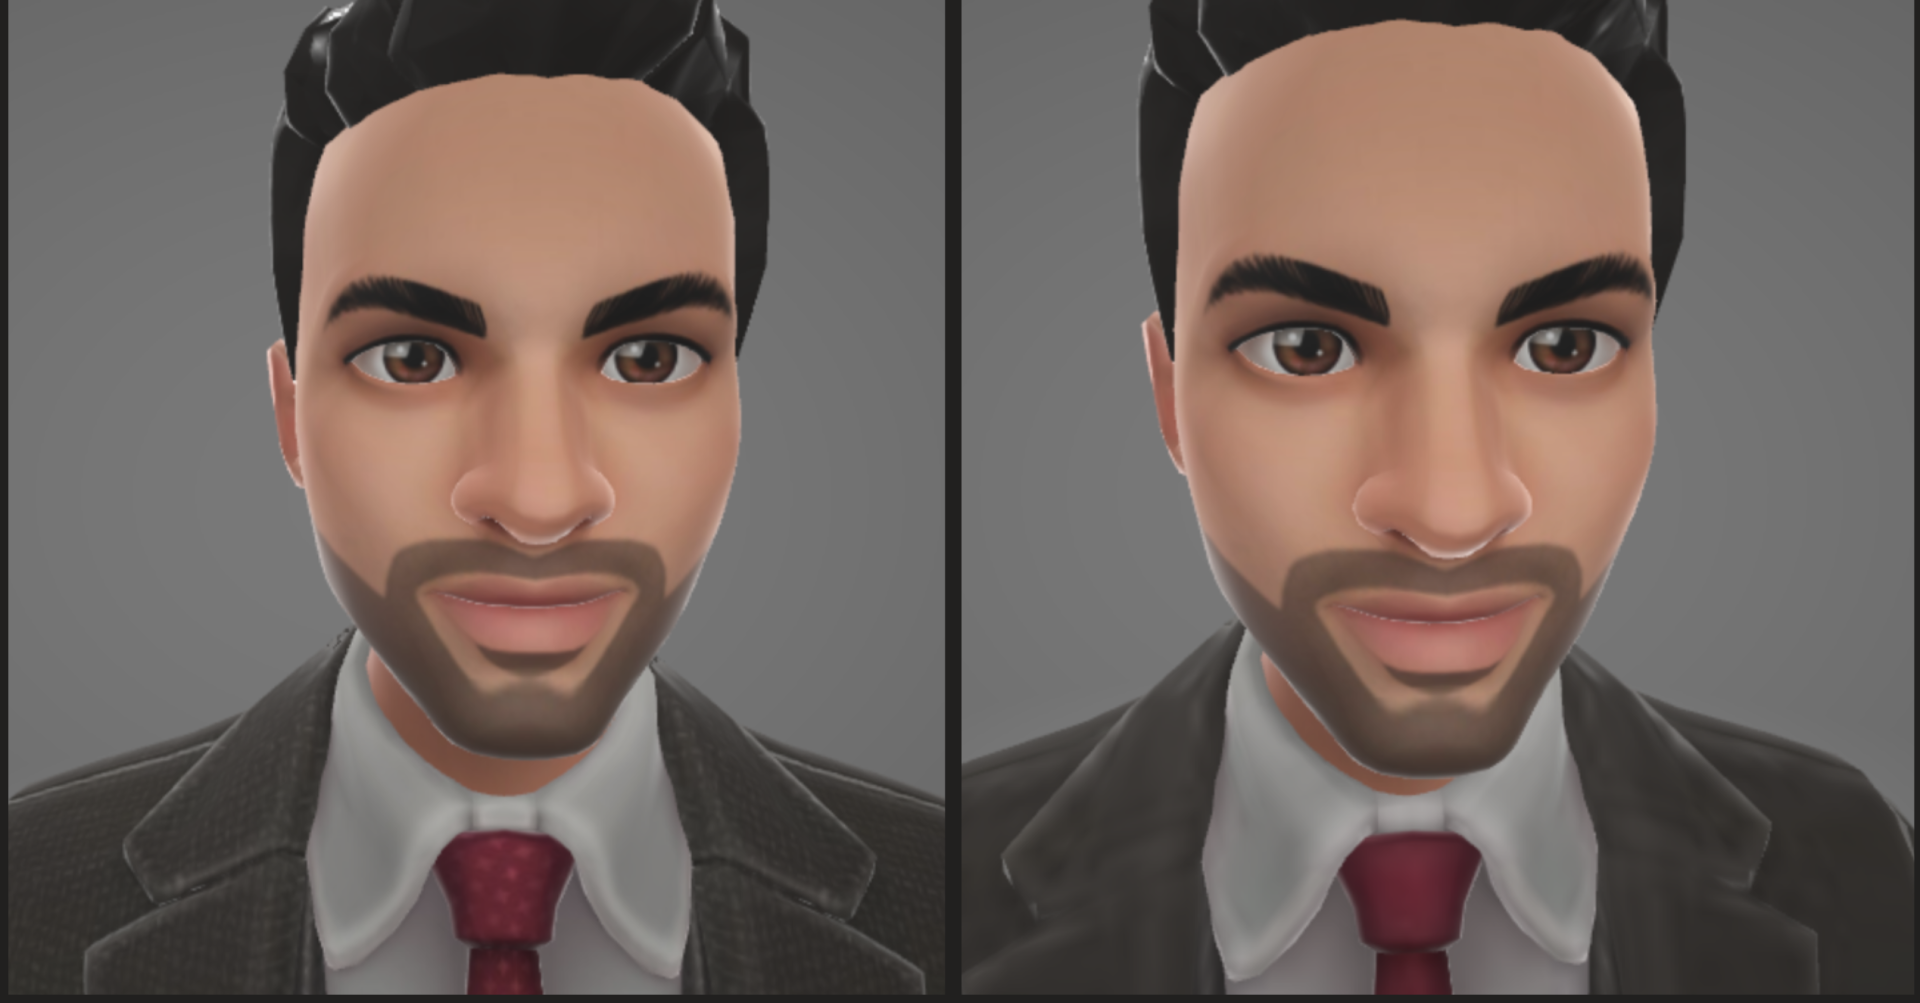
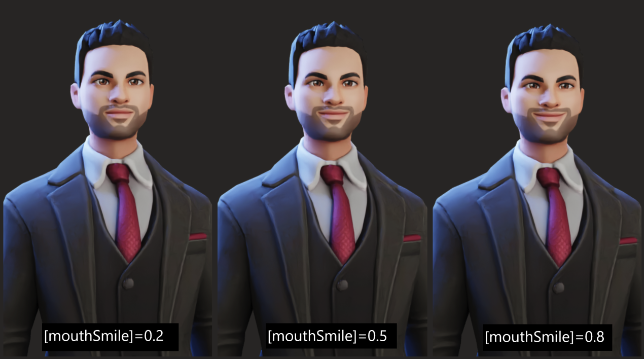
Controlling Facial Blend Shape
You can change the facial expression of your avatar with blend shapes. There is a big list of supported blend shapes which you can check out here.
For example, we’ll choose the mouthSmile blend shape from that list. To implement this, at the end of the copied link you need to type the parameter ?blendShapes[Wolf3D_Head][mouthSmile]=, followed by a number between 0.0(no smile) to 1.0(complete smile).
You also have the option to combine different blend shapes by using an ‘&’ i.e it concatenates the blend shapes.
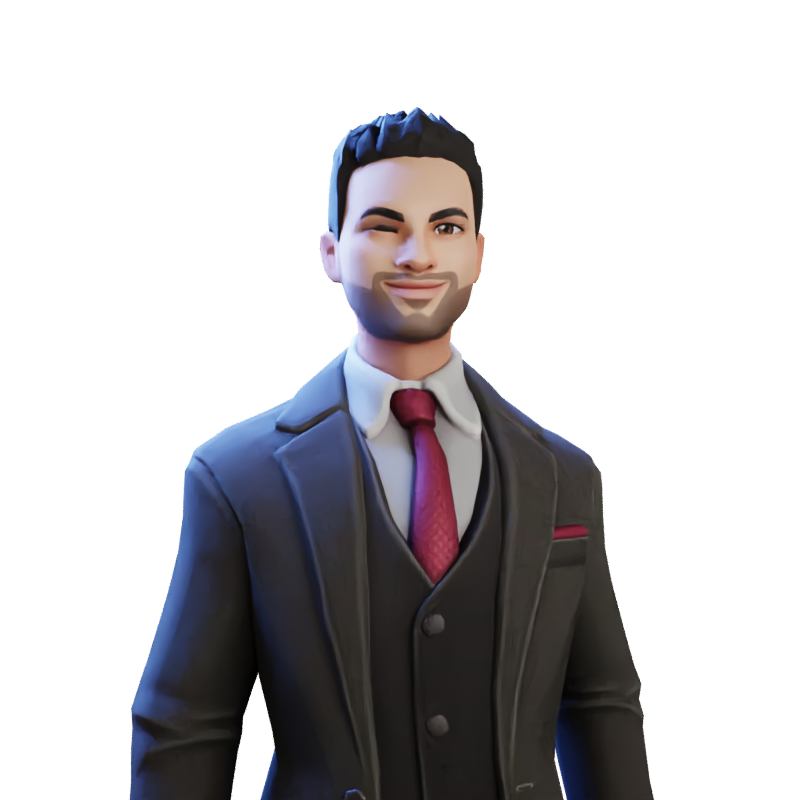
For example, if you want the avatar to wink and smile at the same time, you will have to type the following at the end of the copied link:
?blendShapes[Wolf3D_Head][mouthSmile]=0.8&blendShapes[Wolf3D_Head][eyeBlinkRight]=0.8
With that, you learnt to use different parameters of the Avatar API to download 2D avatars with different configurations. Now for the final part, let’s see how to get the metadata of the avatar.
Getting Avatar’s Metadata
Metadata is nothing but the information about the avatar. When you request the Avatar API for metadata it returns the following information:
To implement this, at the end of the copied link you need to replace the .glb with .json.
- Body type
- Gender
- Avatar version
- Skin Tone
- Creation date and time
- Updated date and time
To implement this, at the end of the copied link you need to replace the .glb with .json.
Conclusion
Now you understand what an API is and how the Ready Player Me Avatar API works. But what you learnt was by just using the browser. In the next blog, you’ll see how to configure the avatar in Unity as scriptable objects and do a lot more cool stuff with it like dynamic loading!
