
Want to watch the video instead?
Importing RPM Avatar SDK to Unity
-
Create a new Unity Project, you can either use just standard 3D or 3D core with URP. (I am using standard 3D )
Note: Make sure you are using Unity version 2019LTS or above
-
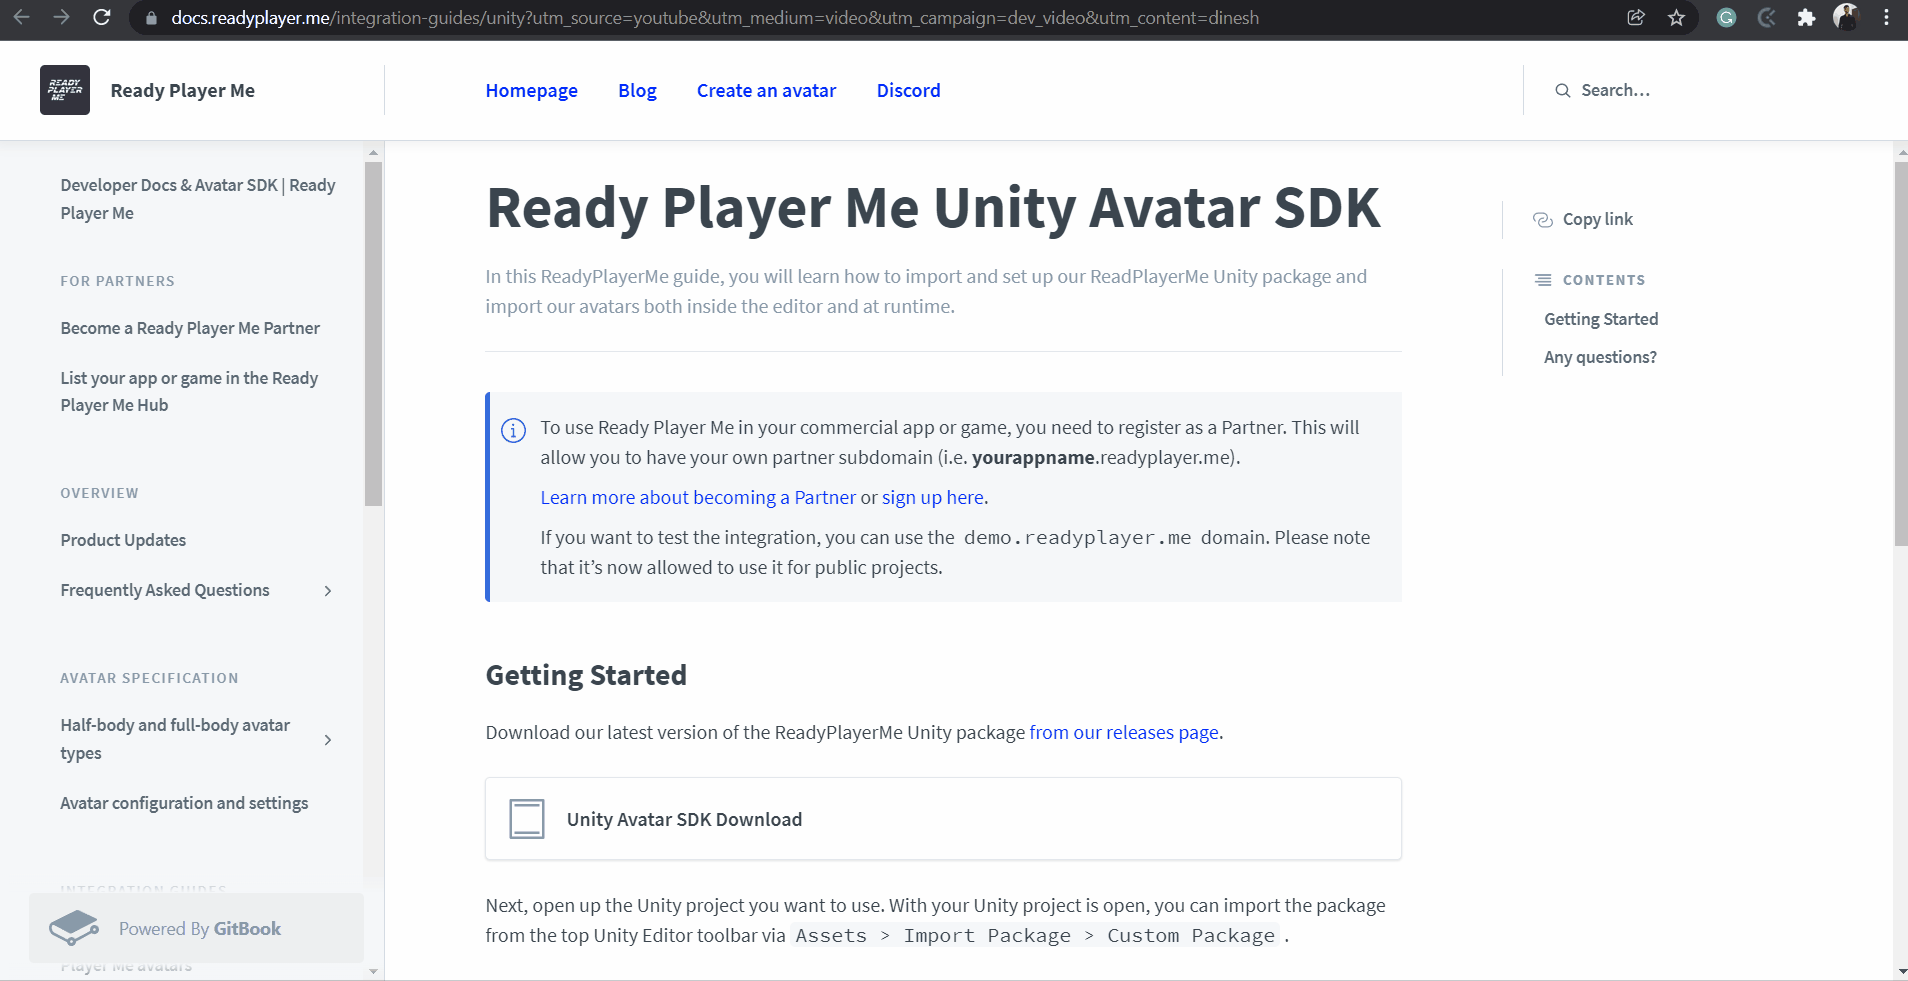
Open the Ready Player Me documentation, then click on
Unity Avatar SDK Download. This will open a new web page. -
Under the Latest release section, click on
Download the latest version of the Unity SDK. This will open a Google Drive page. -
Right-click on
Ready Player Me_v1.7.0.unitypackage→ Then, click onDownload→ Save it at a path of your choice.
- There are many ways by which you can import the SDK into Unity, you can either drag and drop it into the Project panel or you can import the package from the Unity Editor toolbar via
Assets→Import Package→Custom Package→ Then from the file explorer select the ReadyPlayerMe Unity package or Right-click in the Project Panel and choose Import Custom Package. - A window will pop up. ⚠️ Make sure you uncheck Newtonsoft Json before hitting
Importas that package would already be present in your project. It will lead to duplication and you will be shown several error messages.
Setting Up Unity for Android Development.
To make sure the build runs correctly on our Android device, we need to make sure the Unity’s Build and Player Setting are correctly configured. For that,
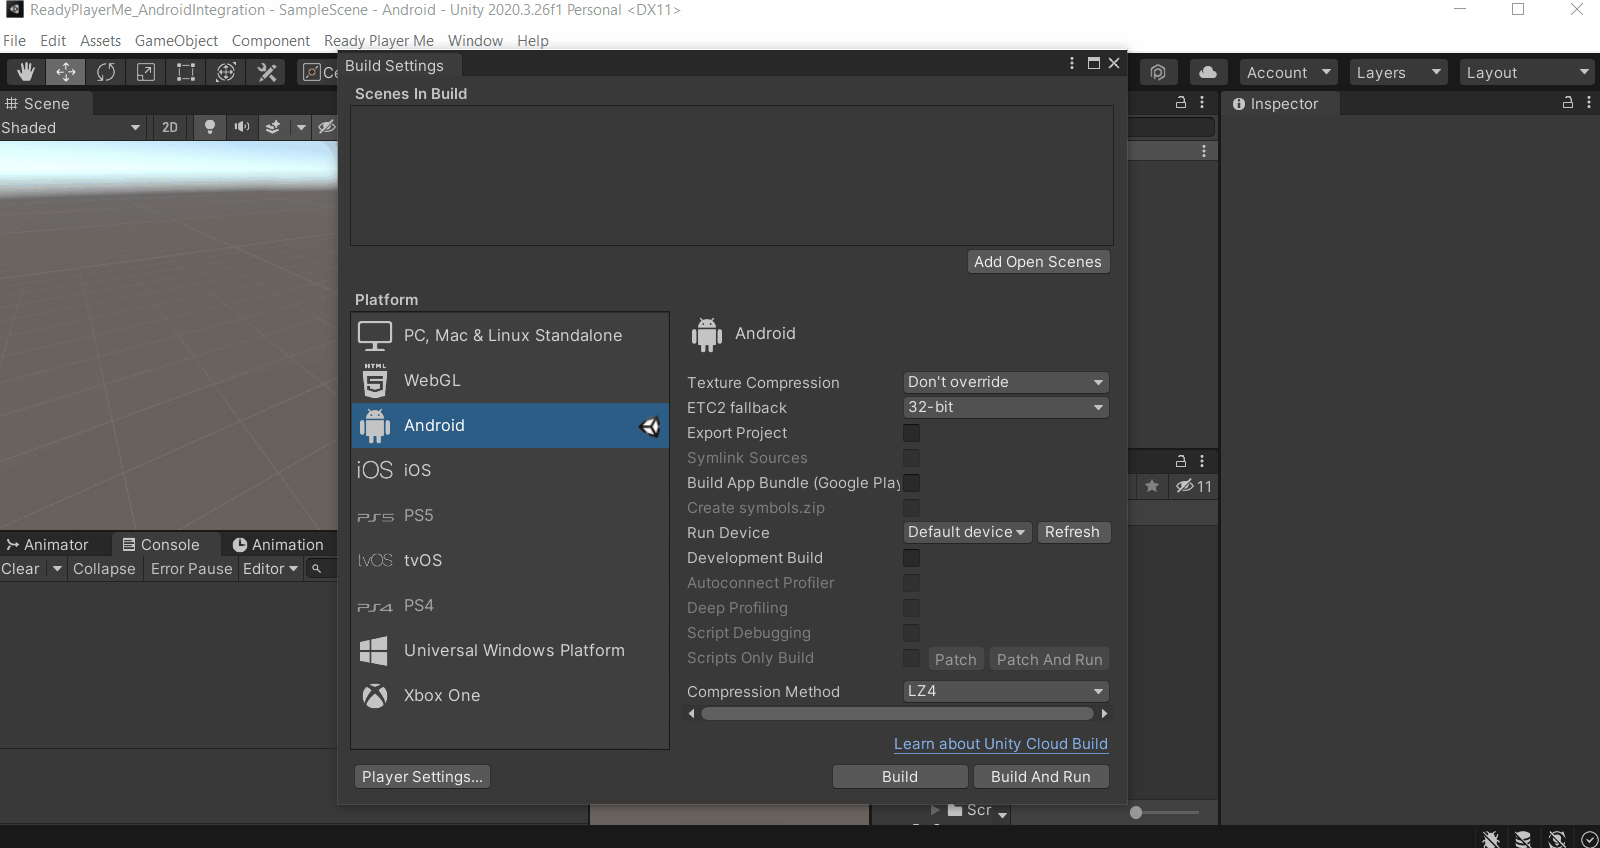
- Click on
File→Build Settings, this will open a Build settings window. Select the option calledAndroidand then click onSwitch Platform.

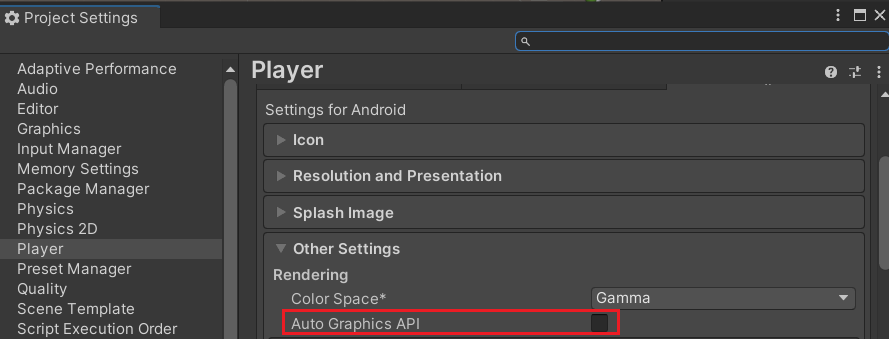
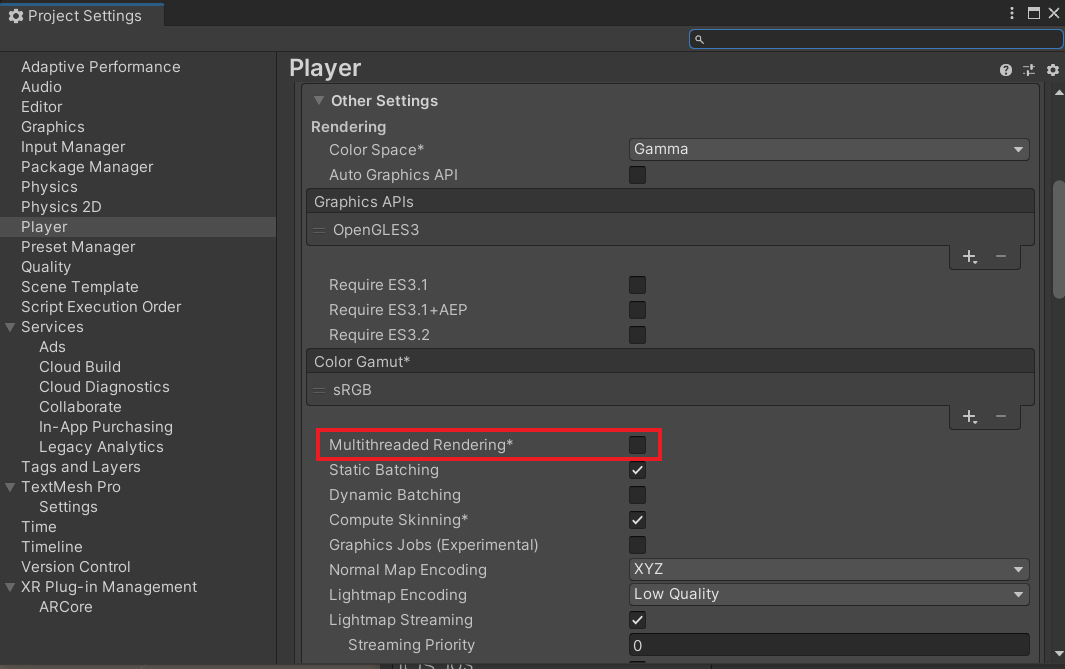
Select Player Settings and make the following changes:
- Change the default company name to your company name.
- Select
Other Settingsand- Disable Auto Graphics API. If already disabled then move to the next step.
- Remove Vulcan from Graphics API.
- Change Minimum API level to
Android 8.0 and above.
- Uncheck Multithreaded Rendering
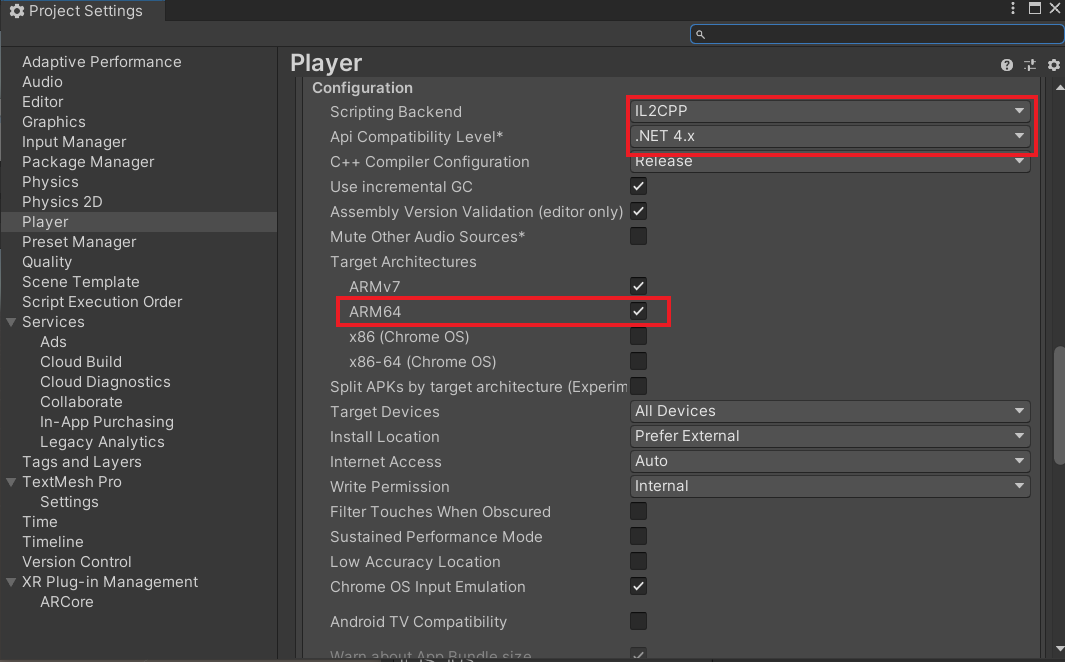
- Change Scripting Backend to
IL2CPP - Change API Compatibility Level to
.NET 4.xand - Check the box for
ARM64under Target Architecture.
Creating and Adding Avatar into the Scene
Adding the web view component is really simple but after that, we’ll have to write a simple script to add the created avatar to our scene.
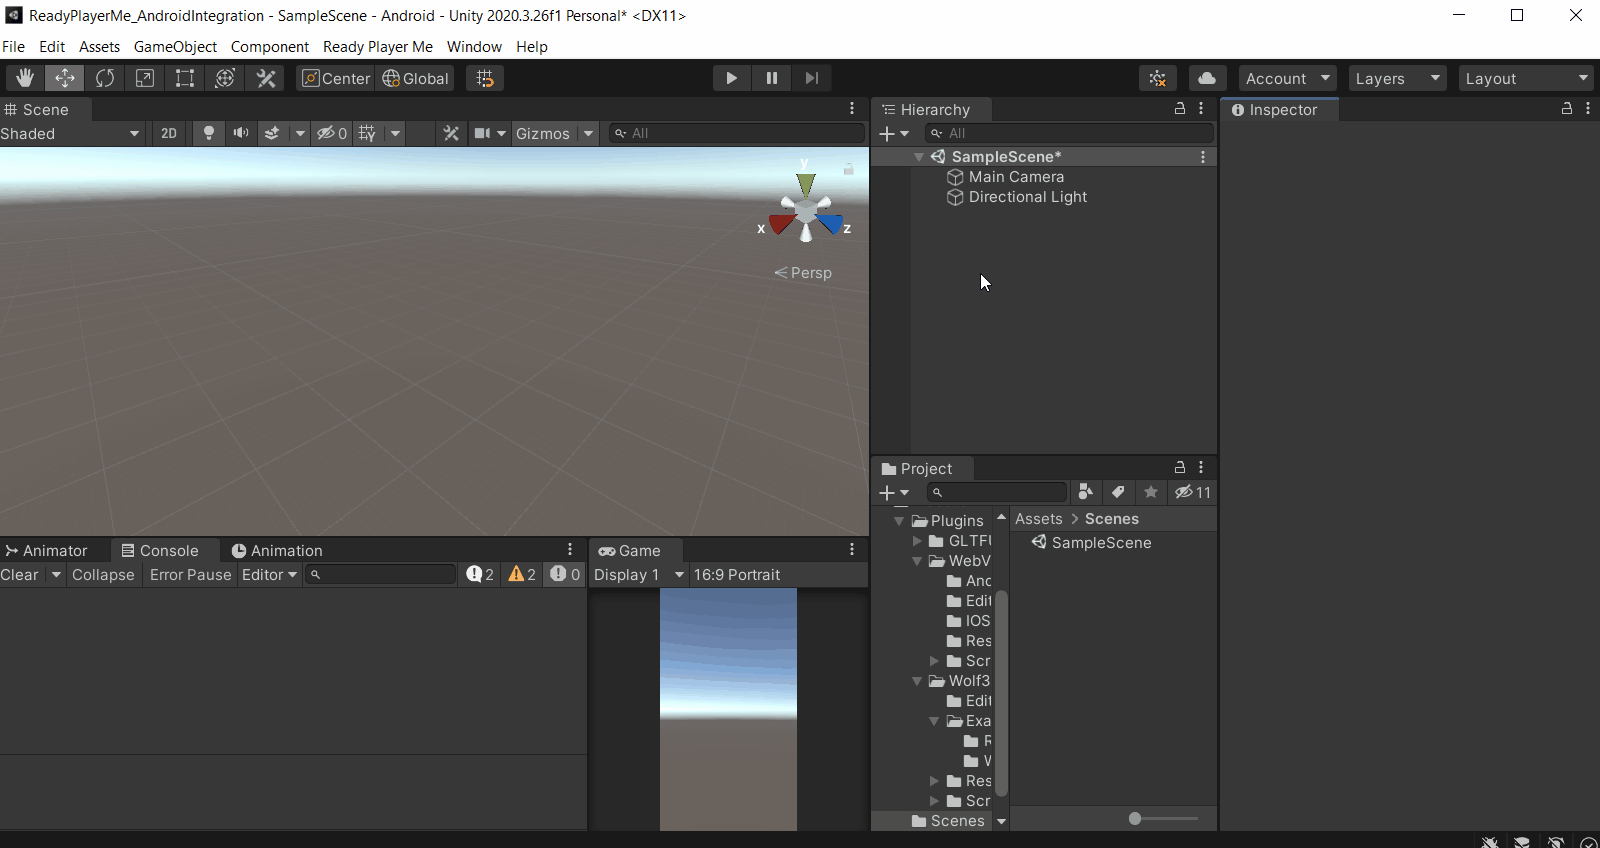
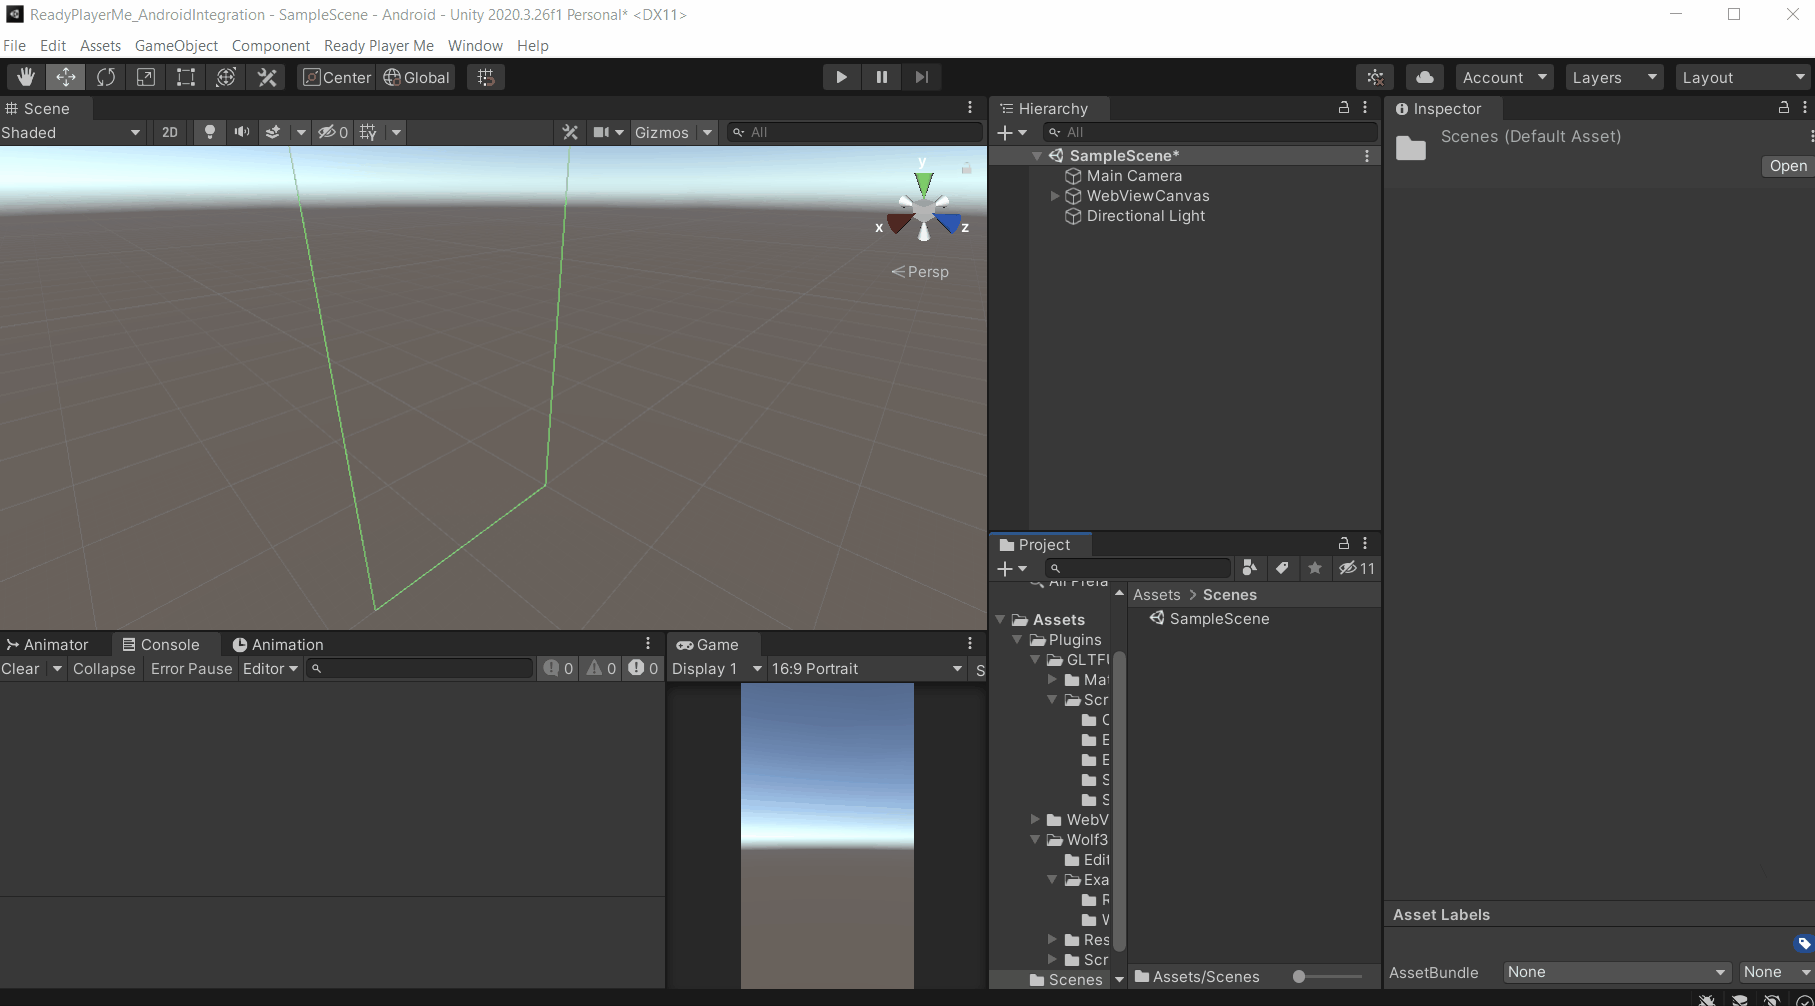
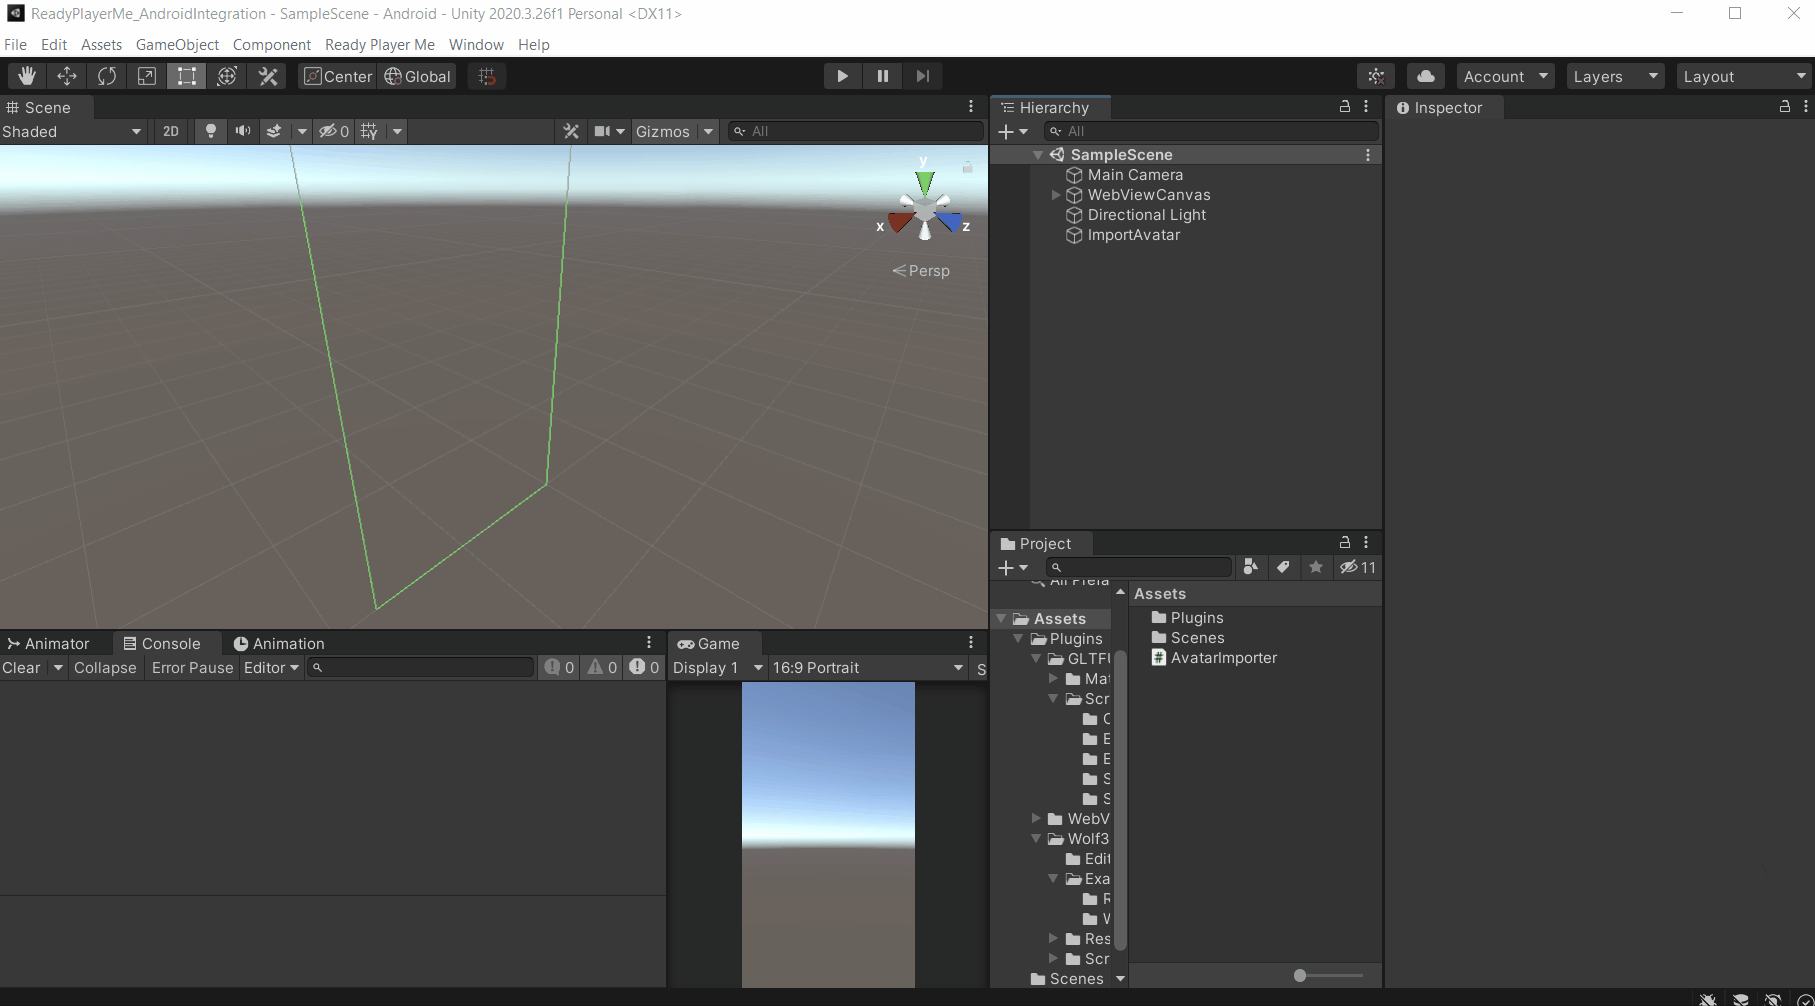
- In the
Hierarchywindow, right-click and selectUI→WebView Canvas. This will create a web view canvas with a WebView component and other canvases to display the view.
- In the Hierarchy window, select the MainCamera → adjust its transform position to (0, 1, 3) → adjust its rotation to (0, 180, 0). This makes sure the camera focuses on the character when it spawns.
- In the
Hierarchywindow, right-click and create an empty GameObject. Name it as AvatarImporter. - Select the GameObject ImportAvatar and add a new script to it. Name it as AvatarImporter.
- Open the script and copy the following code.
The code breakdown
| Variable Name | Type | Use |
|---|---|---|
| webView | WebView | To make use of events and callbacks from this component |
| importedAvatar | GameObject | To store the created avatar |
- As the name suggests, the CreateWebView method creates a web view when we open the application and this particular script is enabled.
- When the avatar is created, the event OnAvatarCreated of the WebView component gets called. The callback is then passed to the method ImportAvatar.
- The ImportAvatar method gets the URL from the callback event of OnAvatarCreated. This URL is then used to load the avatar into the application using the LoadAvatar API method of AvatarLoader.
- The loaded avatar then can be stored in a GameObject variable using the callback method StoreAvatar.
- The StoreAvatar method, assigned the imported avatar to the local variable which can be used later for reference.
Testing
So to build the app,
- Connect your phone to your machine. Make sure you have enabled Developer Options and USB Debugging.
- Go to
File→Build Settings→ click onAdd Open Scenes. - Click on
Build And Run→ add a file name → click onSave. - You’ll get a popup informing us that we are using the demo subdomain. Click on
Continue with ‘demo’ subdomainand wait for it to get built, delayed and run on your mobile.
Conclusion
