
I have always been fascinated by portals. Rick and Morty always had portals but after the release of Doctor Strange it gained more popularity. If you had wished to experience portals, then guess what? There is a way! With the help of a stencil buffer, we can create portals and walk into a different world with the help of AR/ VR technology. Stencil buffers are generally used to only render parts of objects while discarding others. You can learn more about it here.
Creating a Unity Project
Let's begin by setting up a Unity project. The stencil shader works best with the Universal Render Pipeline. So, we can either start with a 3D project and then download the UPR package or create a new project with URP itself.
In this blog, we’ll create a new URP project itself.
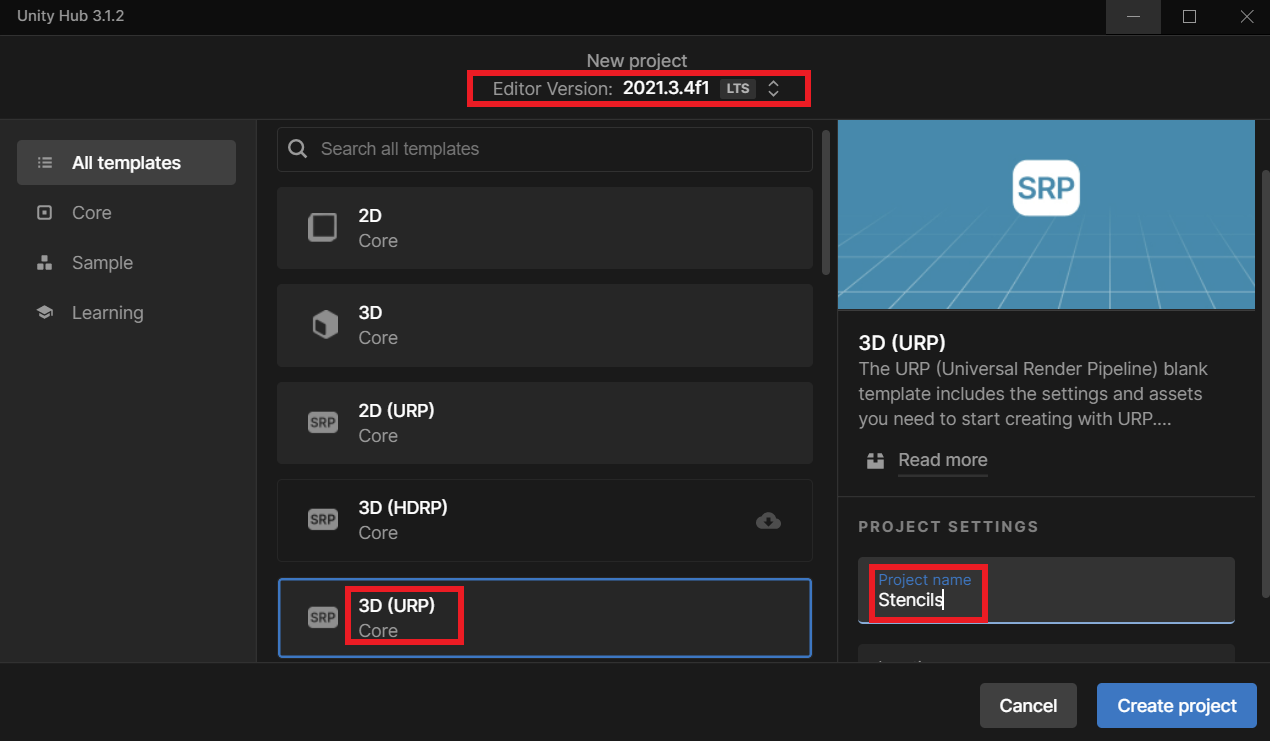
- To create it, Open Unity Hub → choose the latest version of Editor ( I am using 2021.3.4f1) → select the 3D(URP) Core template → give the project a name and click on Create Project.
Writing the Shader
Let’s now create a custom shader by writing a piece of code.
- Right click on the project window, click on Create → Shader → Unlit Shader → name it as PortalShader.
- Double click to open it, delete the default code and copy the following code.
- With this script we can create materials and assign each material an id from 1 to 255, 0 is not included because that’s already taken as the default shader.
- In brief, when this material is added to a 3D GameObject, that will act like a portal window.
- So now based on the stencil Id, the layer of the GameObjects inside the portal and the setup of the Renderer Features tool of the URP, we can create the portal effect.
Creating a Material
Now that we have the shader ready, we can create a Material with that shader referenced already!
To do so,
To do so,
- In the project window, right-click on the PortalShader → Create → Material → name it PortalMaterial1 → set the Stencil ID to 1.
- Duplicate this material → rename it as PortalMaterial2 → set the Stencil ID to 2.

With that, we have two Stencil Materials with different ids which can be used to create two different portal windows.
Setting up the Scene
In this section, we’ll be creating portal windows and portal objects. Creating these portal windows and objects is simple:
- In the Hierarchy window, right-click and select 3D Object → Quad → name it as Portal1 → adjust its position and scale.
- Duplicate the Portal1 GameObject and rename it as Portal2 → adjust its position and rotation.
- Now, we’ll create two 3D objects, a cube and a sphere. Make sure to scale them and place them at the same location.

- Select the Portal1 GameObject and add the PortalMaterial1 material to it.
- Similarly, select the Portal1 GameObject and add the PortalMaterial2 material to it. That should make both the Quads invisible.
- Next, select the Cube GameObject, create and assign a layer named InsidePortal1. Similarly, select the Sphere GameObject, create and assign a layer named InsidePortal2.
As the portals are invisible, we’ll add a frame around them for better visuals.
- Download an image of a frame → import it into Unity → set the Texture Type to Sprite(2D and UI) → click on Apply.
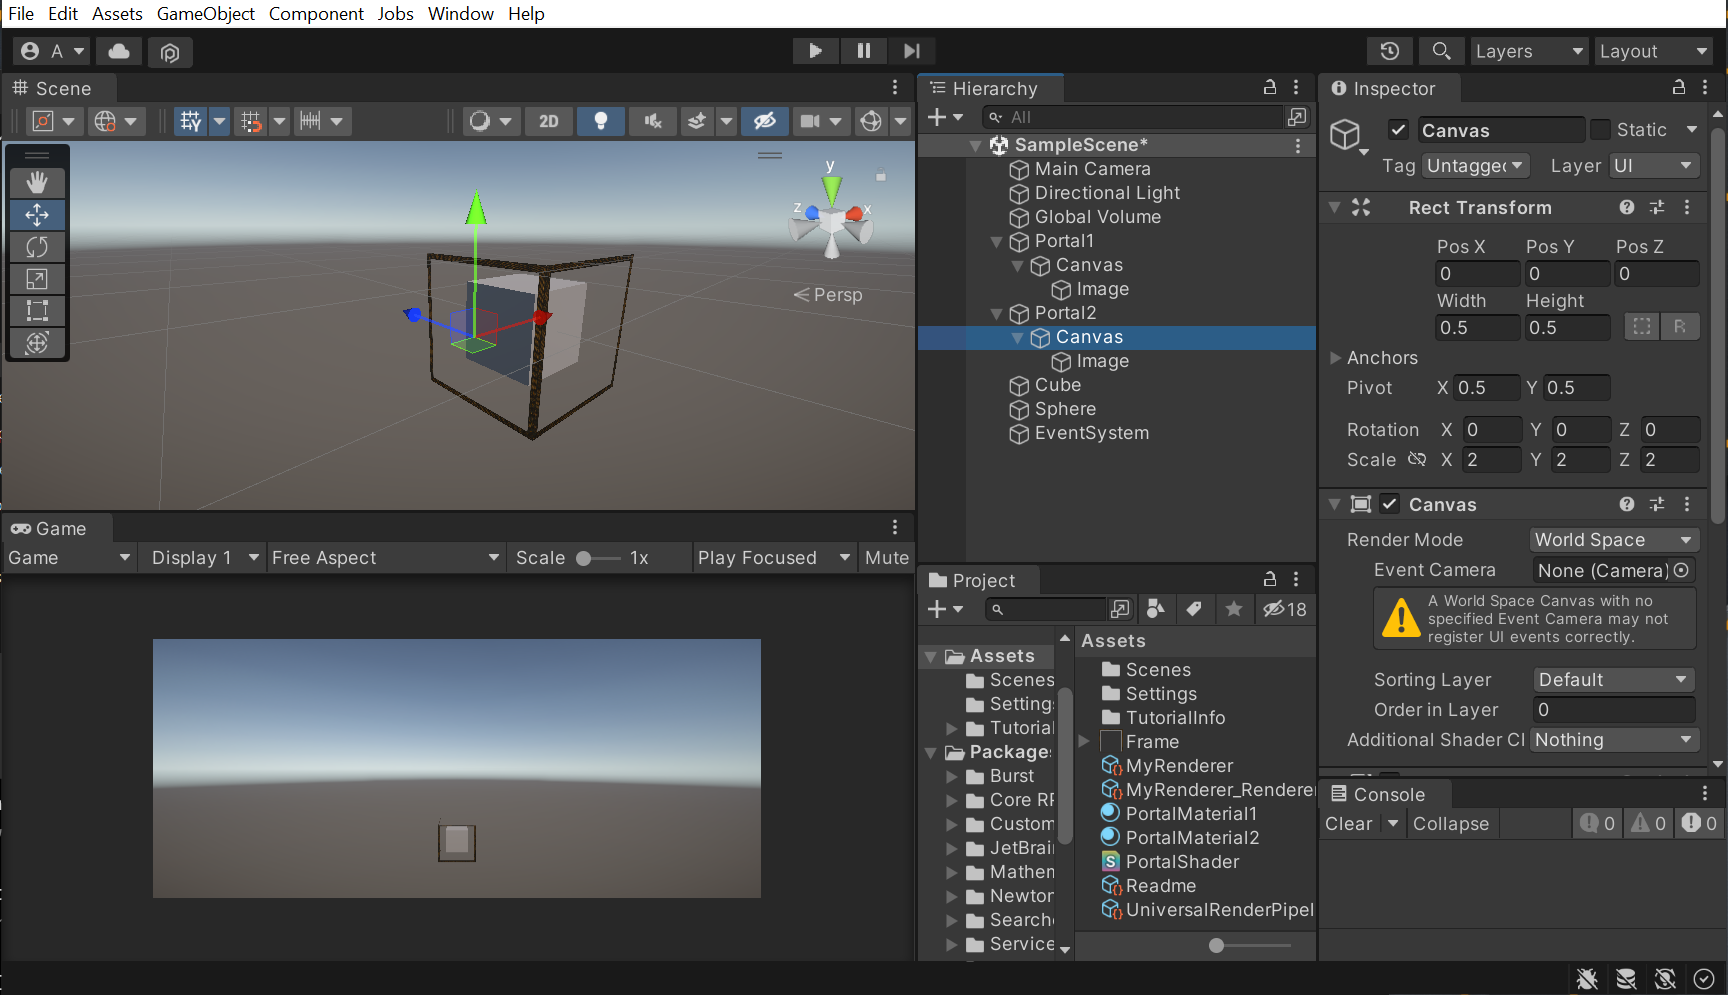
- Select Portal1 GameObject, right-click and select UI → Image.
- Select the Canvas GameObject, set the Render Mode to World Space → set its Position to zero i.e. (0,0,0) → set its Width and Height to the same as the portal’s scale i.e. (0.5, 0.5).
- Select the Image GameObject, select the Anchor Preset → while pressing the Alt key, select the option to stretch the image in all four directions. This will make sure the image fits exactly inside the canvas.
- Finally, drag and drop the Frame into the Source Image parameter of the Image component.
- Repeat the same for Portal2 GameObject as well.
With that, we have set up our scene. Next, we’ll make use of the Renderer Features tool of the URP to achieve the portal effect.
Creating Renderer Features
Here, we can either create a new URP asset or use the existing one and modify its setting. In this blog, we’ll create a new asset and use that as our default renderer.
- To create a new URP asset, right-click in the Project window and select Create → Rendering → URP Asset (with Universal Renderer) → name it MyRenderer
- Now to assign this as the Render Pipeline Asset for the project, click on Edit → Project Settings → Quality → choose MyRenderer as the Render Pipeline Asset.
Finally, the time has come to create the Renderer Features which will enable the portal effect
- In the Project window, select the MyRenderer_Renderer asset → Uncheck the layers InsiderPortal1 and InsiderPortal2. This should make the 3D objects with the layers InsiderPortal1 and InsiderPortal2 disappear.
- Next, click on Add Renderer Feature → select Render Objects
- Name it as Portal1Mask.
- Set the Layer Mask to InsidePortal1. This should make the objects with Layer InsidePortal1 reappear (in our case the Cube GameObject reappears).
- Enable the Stencil → set its value to 1. That’s because if you remember, we had set the Stencil ID of the material on Portal1 as one.
- Set the Compare Functions to Equal. Now the Cube will be seen only through the Portal1 window.
💡 What will happen if we set the value to two? Well, the objects with layer InsidePortal1 will be seen through Portal2 whose Stencil ID was set to two.
- Then, click on Add Renderer Feature once again→ select Render Objects.
- Name it as Portal2Mask.
- Set the Layer Mask to InsidePortal2. This should make the objects with Layer InsidePortal2 reappear (in our case the Sphere GameObject reappears).
- Enable the Stencil → set its value to 2. That’s because if you remember, we had set the Stencil ID of the material on Portal2 as two.
- Set the Compare Functions to Equal. Now the Sphere will be seen only through the Portal2 window.
Conclusion
There are other ways of creating portals too, but I believe this is the easiest way to do it. So, now we know how portals can be created using the Shader and Stencil feature of the URP asset. You can create amazing experiences with portals when combined with AR and VR. With the Oculus Passthrough feature, we can also create cool Mixed Reality experiences with the portal.
