
Previously we saw how to set up our Unity project for AR and Android deployment. In this blog, we’ll learn to place an object on top of a detected image using the image tracking feature of AR Foundation. We’ll also learn about its capabilities and the best practices while choosing an image to get the best result.
Want to watch the video instead?
Prerequisite
Make sure to have the following requirements met before proceeding:
- Unity project setup for AR Foundation and Android deployment.
- An Android device which supports AR Core.
Scene Setup
Let’s start by setting up our scene for image tracking:
- Create a new scene and get rid of the MainCamera GameObject.
- Right-click on the Hierarchy window and select XR→ AR Session Origin.
- Once again right-click on the Hierarchy window, and select XR → AR Session.
- Select the AR Session Origin GameObject and click on Add Component → add the AR Tracked Image Manager component. This component will create GameObjects for each detected image in the environment.
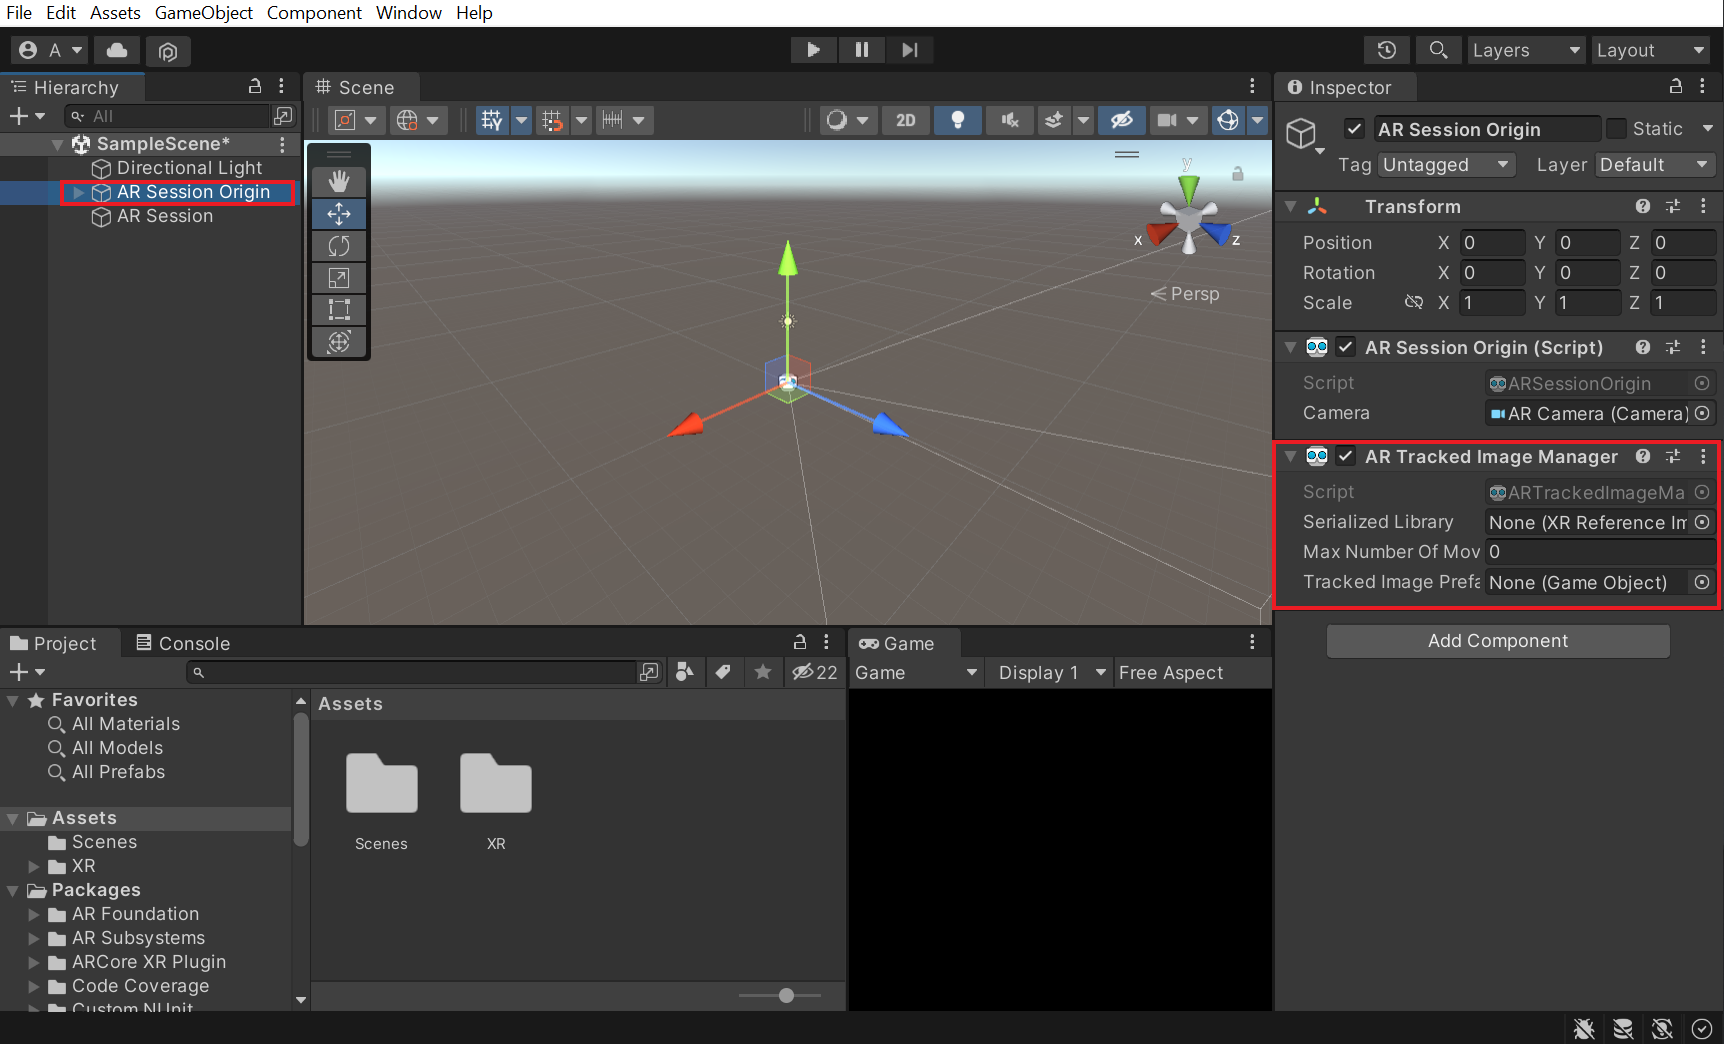
The component requires us to add a reference image library and a tracked image prefab. But before we can add it, we’ll have to create it first. So, let’s see how that’s done.
Creating and Using the Reference Image Library
Creating a reference image library is simple, but we’ll have to download and import images into our project before we do that.
- You can download any image of your choice but there are a few points that you’ll have to remember before choosing one. Those points have been discussed in the Best Practices sections of this blog. So, for now, we’ll download the image of the Earth.
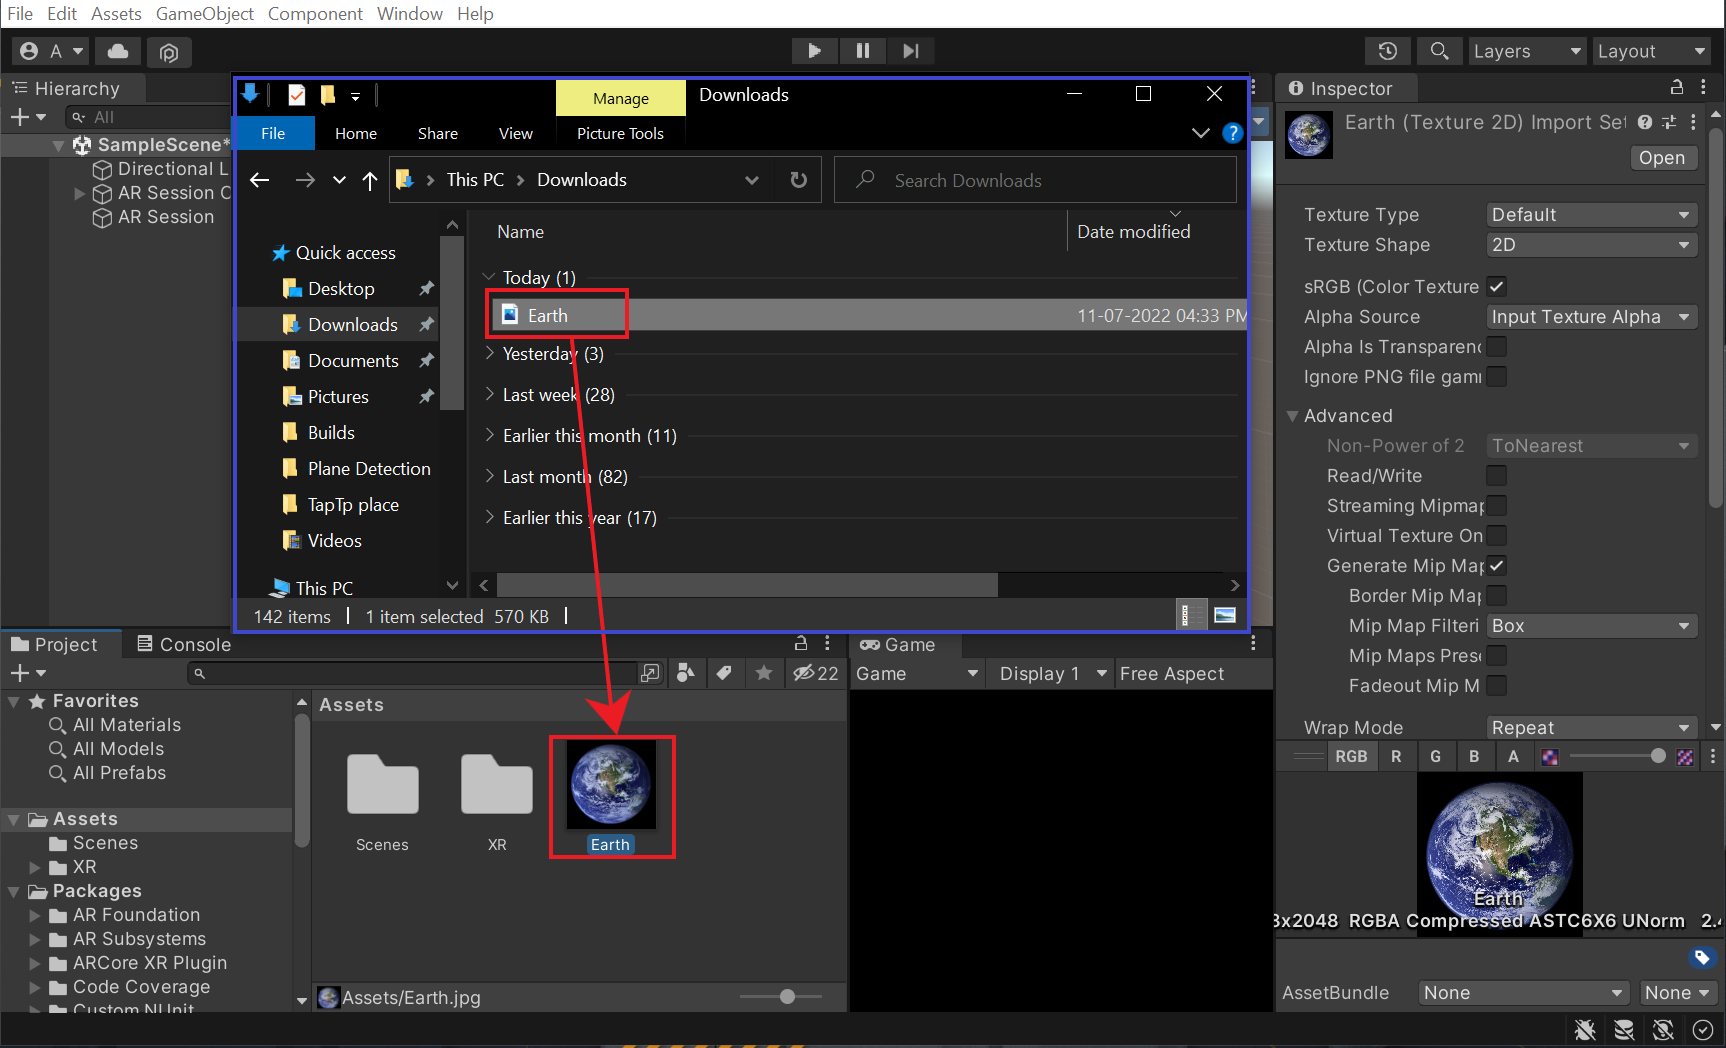
- Just drag and drop the downloaded image into the Project window to import it.
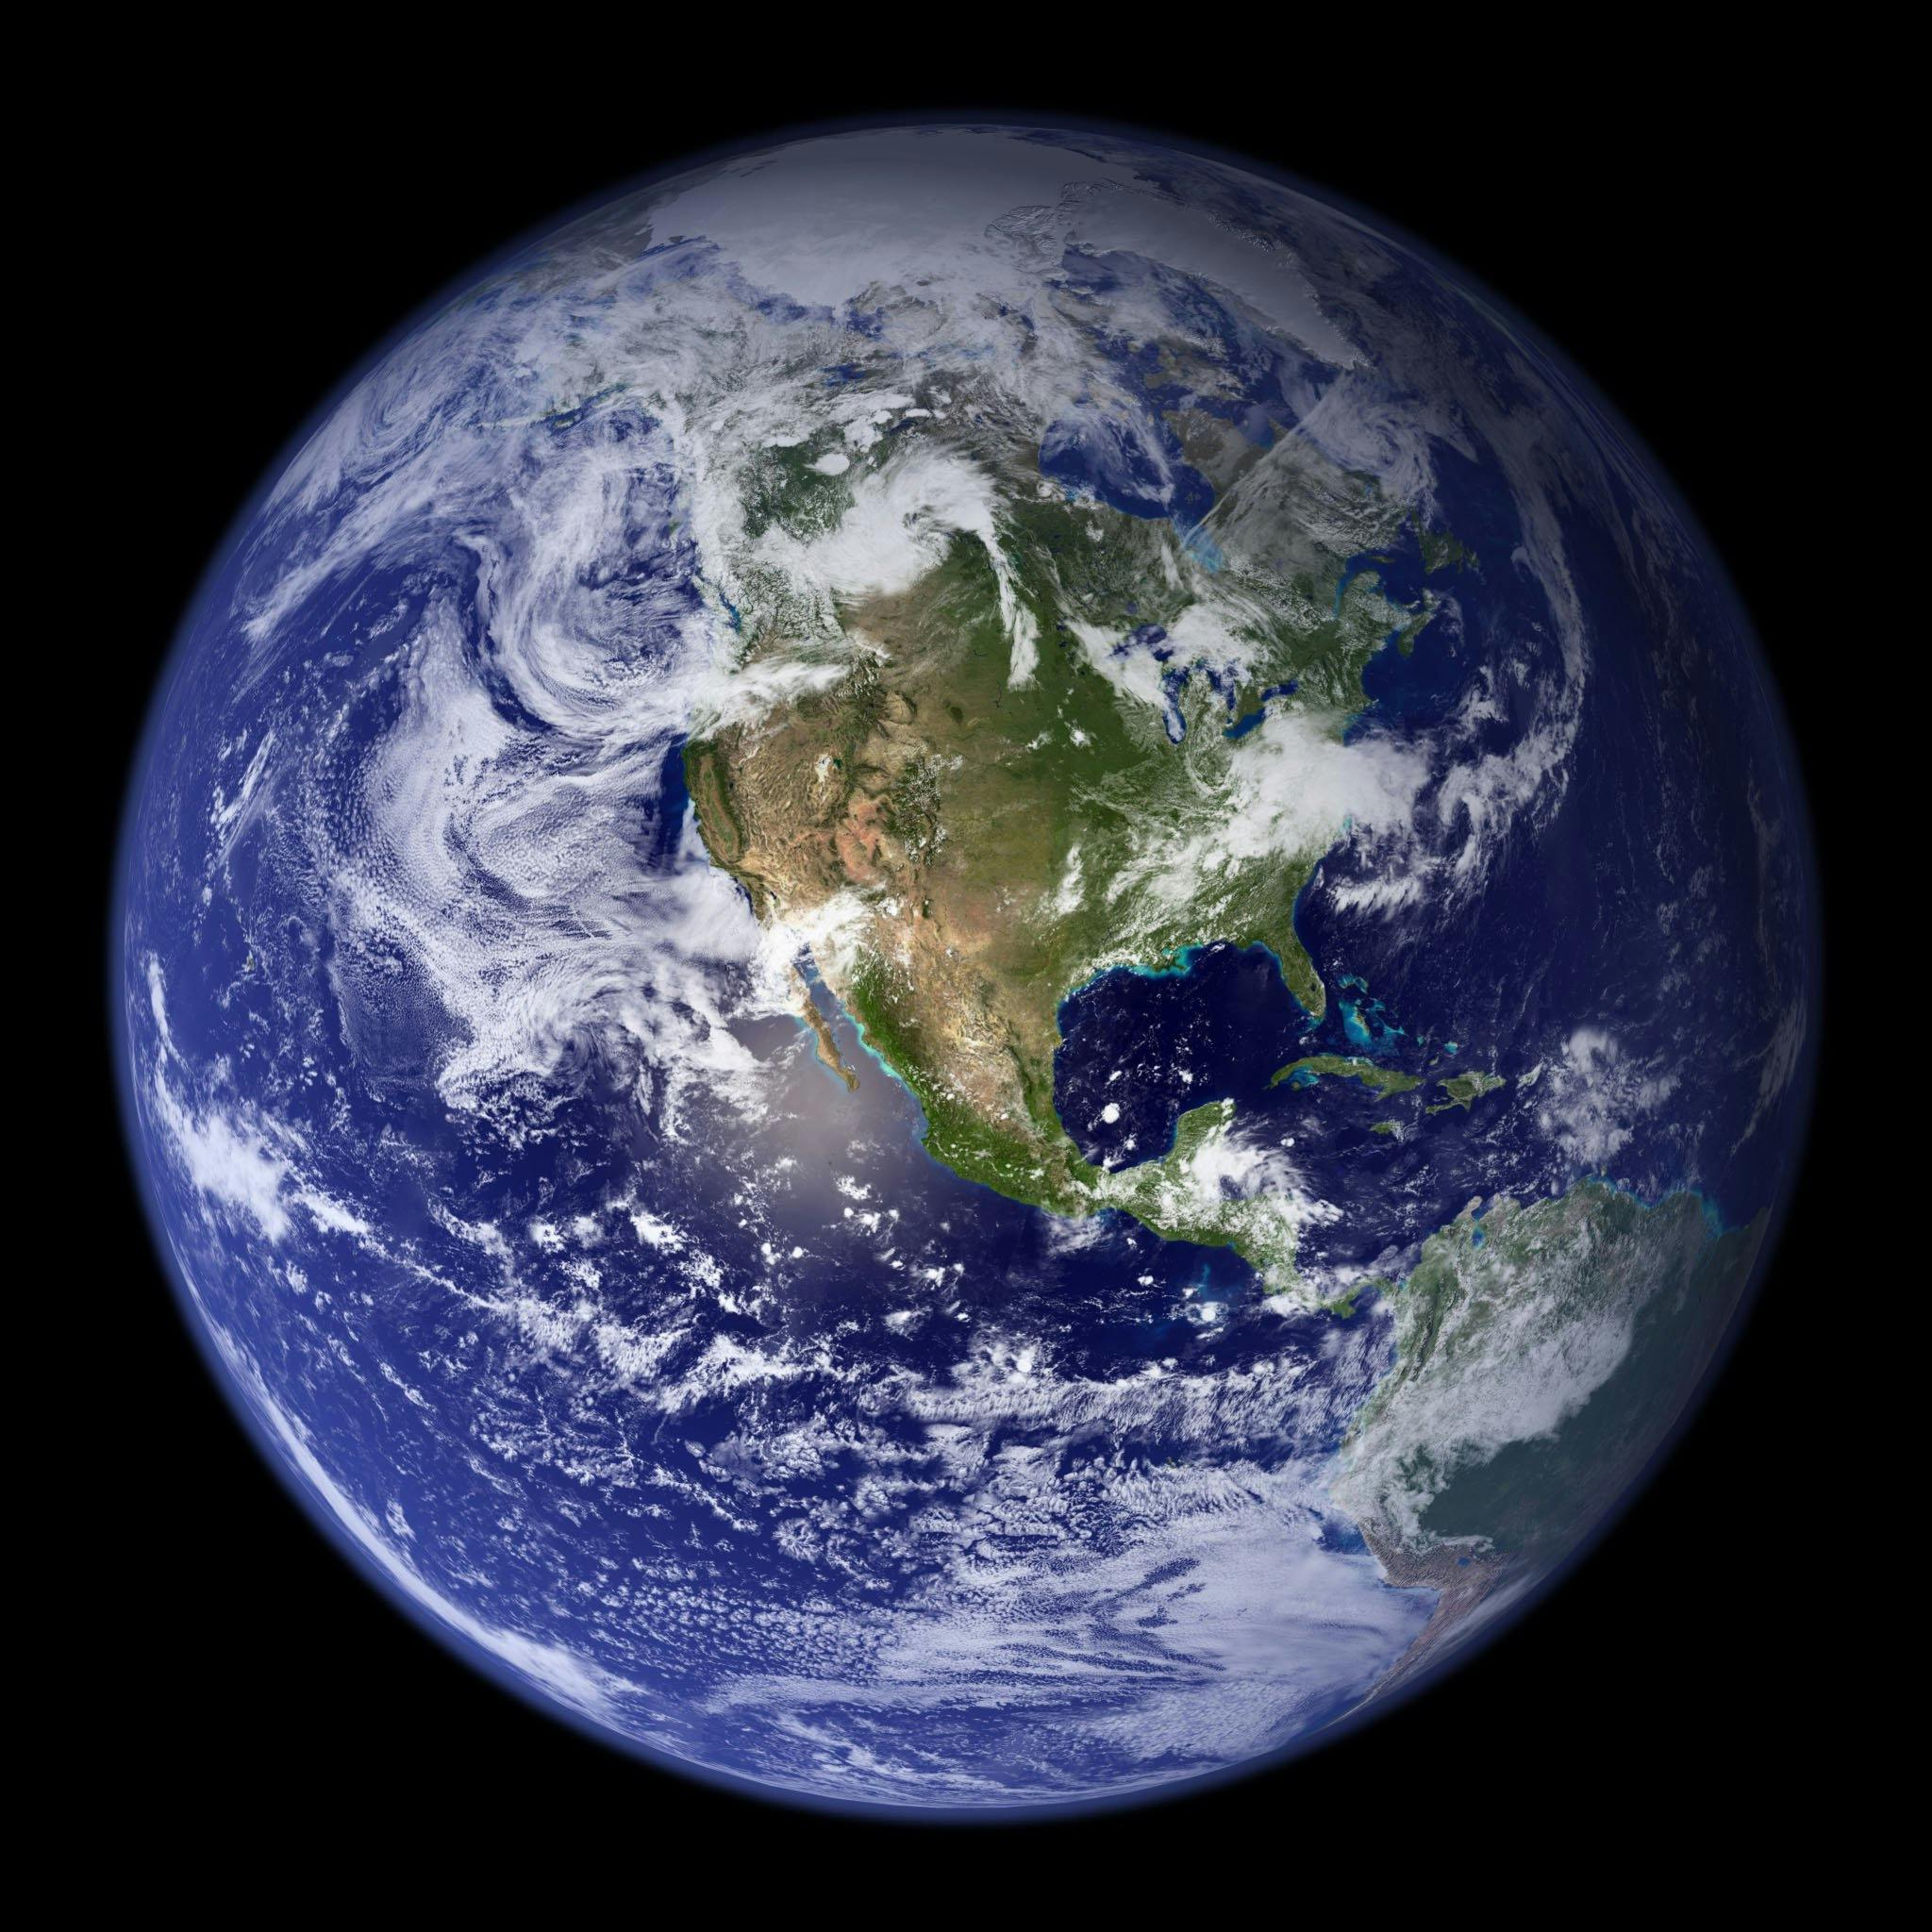
Now to create the reference image library:
- Right-click in the Project window and select Create → XR→ Reference Image Library.
- Name it as TrackedImage.
- Click on Add Image → drag and drop the Earth image into the Texture 2D box
- Make sure to provide a Name and also specify the size of the image if possible. This size will help in estimating the size of the image in the real world. For this particular image, we’ll specify the size to be (0.3, 0.3) which corresponds to 30cm x 30cm in the real world.

With that, we have created the reference library. Now, it’s time to create a prefab that will be tracked when the image is detected.
Tracked Image Prefab
The tracked image prefab can be any 3D or 2D model that you’ll like to instantiate when the image gets detected. You can either download an existing one or create a model of your own. Here, we’ll create a Cube prefab which you can later replace with any other prefab of your choice.
- Add a cube to the scene by right-clicking in the Hierarchy window. Select 3D Object→ Cube.
- Change its scale.
- Drag and drop it into the Project window. This will convert it from a GameObject to a prefab.
- Delete the Cube GameObject from the Hierarchy.
Now that we have created the Image Library and Tracked Image Prefab, we can reference them to the AR Tracked Image Manager.
Referencing and Testing
Let’s now reference the assets we created and test them out.
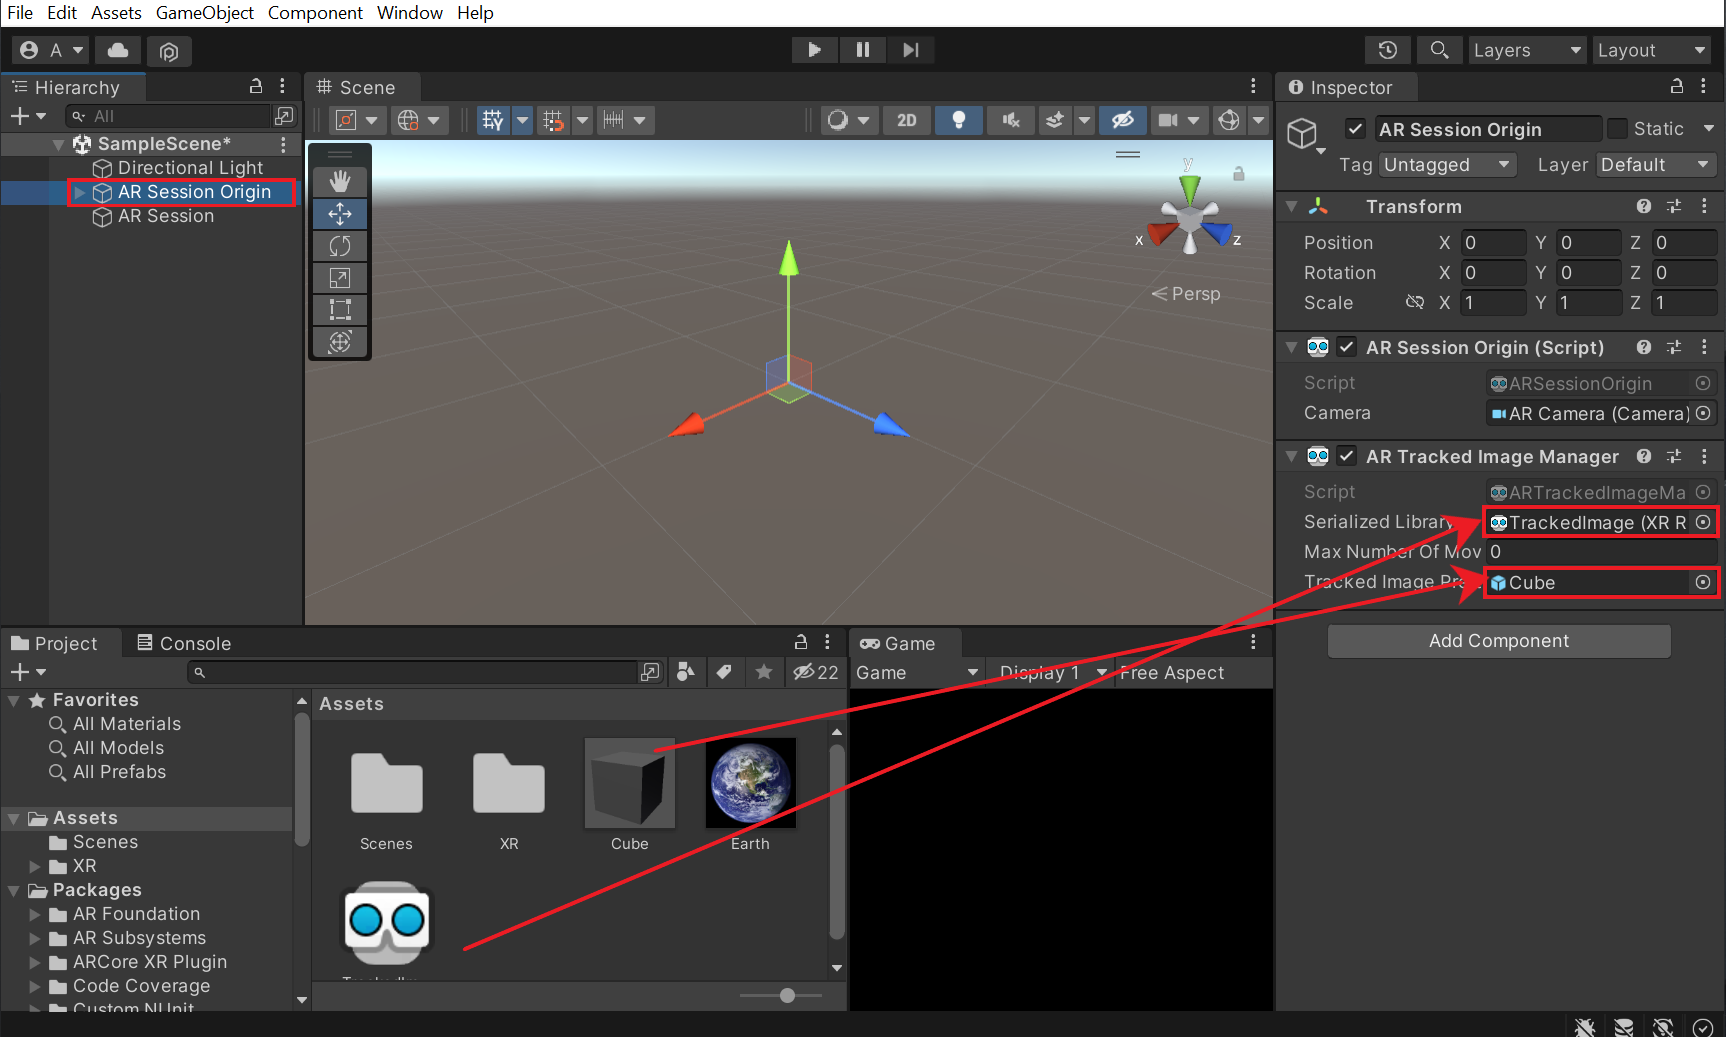
- Select the AR Session Origin GameObject.
- Drag and drop the TrackedImage Asset into the Serialized Library parameter of the AR Tracked Image Manager component.
- Drag and drop the Cube prefab into the Tracked Image Prefab parameter of the same component.
- To test the scene, save it and click on File → Build Settings → Build and Run → provide a name for the APK and click on Save.

Once it’s built, the application will open automatically on your mobile device and you can test it. It should instantiate the cube when the Earth image is detected and track it as you move along.
Now, if you are wondering, how you can do something else like display text or play audio when the image is detected? Then, we got you covered. In the next section, we’ll write a script that will allow us to subscribe to the events from the AR Tracked Image Manager component.
On Image Detection: Scripting
To do something else apart from placing an object on the detected image, we’ll have to write a script and subscribe to the events that are involved by the AR Tracked Image Manager component when the image gets detected.
So, create a new script by right-clicking in the Project window → select Create → C# Script, name it as ExampleImageDetection and copy the following code:
The code above:
So with that, you’ll now be able to do additional things apart from placing the prefab on top of the image.
- References to the AR Tracked Image Manager component OnAwake() i.e when the script instance is being loaded.
- OnEnable(), we subscribe to the trackedImagesChanged event. So when the image gets changed the OnImageChanged() method gets called and the code inside it gets executed.
- OnDisable(), we unsubscribe to the event. By doing so we are making sure that there is no resource leak by garbage collection of data.
- Next, add this script to the AR Session Origin GameObject.
So with that, you’ll now be able to do additional things apart from placing the prefab on top of the image.
Capabilities of AR Core and Image Tracking
When it comes to image tracking AR Core (the plugin used by AR Foundation) has the following capabilities:
- It can track up to 20 images simultaneously. But, it cannot detect or track multiple instances of the same image. The images have to be different.
- Each Reference Image Library can store up to 1,000 reference images. Also, there's no limit to the number of databases, but at any given time, only one database can be active.
- Images can be added to the Reference Library at runtime.
- It's possible to provide the physical size of the image to detect while adding an image. It can estimate the size and refines this estimate over time if no physical size is provided.
- It can track images that are moving, such as an advertisement on a passing bus or an image on a flat object held by the user as they move their hands around.
Best Practices for Choosing an Image
Here are some of the best practices when it comes to choosing the images for tracking:
- The resolution of the image should be at least 300 x 300 pixels. Using images with high resolution does not improve performance.
- Reference images can be in PNG or JPEG file format.
- The color information of the image is not used. So, both color and equivalent grayscale images can be used as reference images.
- Avoid images with heavy compression as this interferes with feature extraction.
- Using images that contain a large number of geometric features, or very few features (e.g. barcodes, QR codes, logos and other line art) will result in poor detection and tracking performance.
- Avoid images with repeating patterns as this also can cause issues with detection and tracking.
- By providing the physical size of the image, ARCore will be able to use the provided size to estimate the image's position and orientation, ignoring any discrepancy between apparent or actual size and the provided physical size. Doing so will improve image detection performance.
Conclusion
Now you know everything when it comes to image detection with AR Foundation on Android. It can be used to overlay menus on top of detected images to perform some action or it can be used to show the 3D model of the image, etc. There are many ways in which this feature can be used. We just need to be creative with it. Image tracking is just one of the many features AR Foundation has to offer. In the next blog, we’ll see how plane detection is done.
