
Let's talk about Avatars!!
Avatars are mostly used to visualize characters in a 3D game/experience. Generally, having uncanny avatars in your game can make the users uncomfortable. Now that the metaverse is gaining popularity, avatars are becoming more significant. And, having bad avatars can ruin any VR experience as well.
Want to watch the video instead?
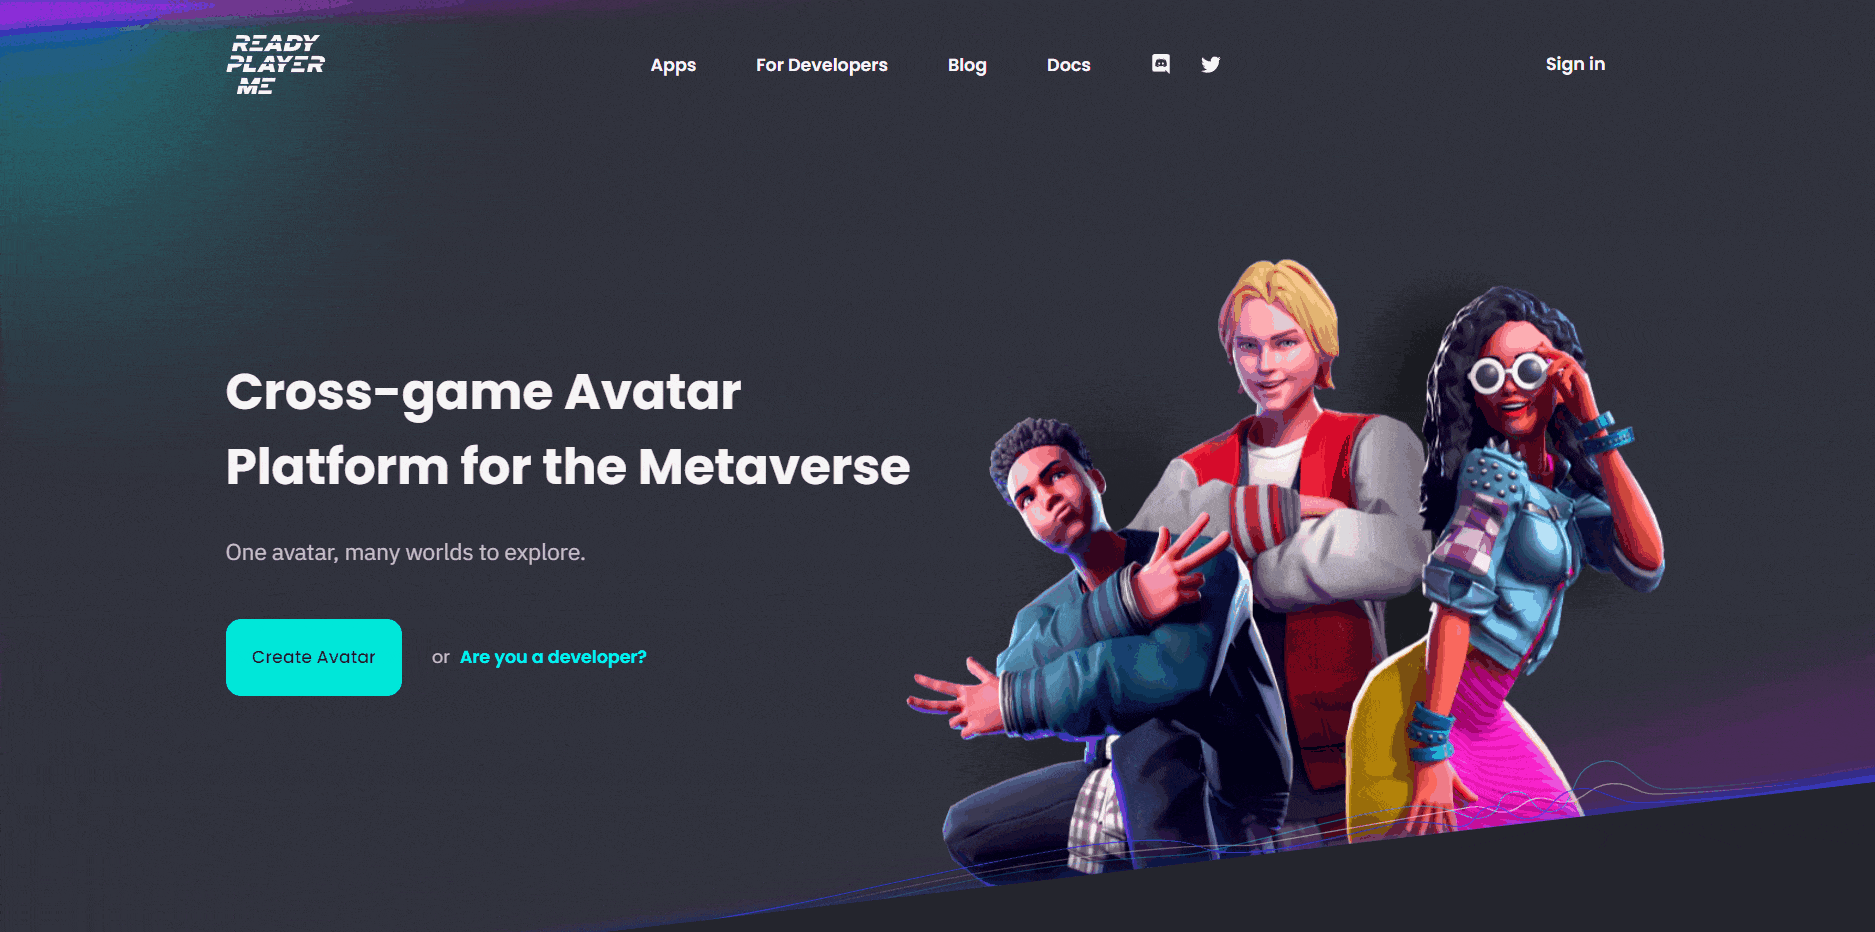
Having looked at various avatar creating platforms like Spatial, avatarsdk, IMVU etc. One that stood out was Ready Player Me. The best part about this is you can not only create avatars, but you can also download the models and animation and use it in your project. So, this blog will be focusing on creating your own Avatar using Ready player me and integrating it into Unity. Later we’ll tell how you can easily add rig your Avatar using Animation Rigging and IK.
1. Creating Your Avatar
It's really simple to create an Avatar in Ready Player Me.
- Head over to the Ready Player Me website and click on
Create Avatar. - Then, you need to choose your body type 🚻
- Now you will have two options, either to upload your selfie or you can continue with a default avatar.
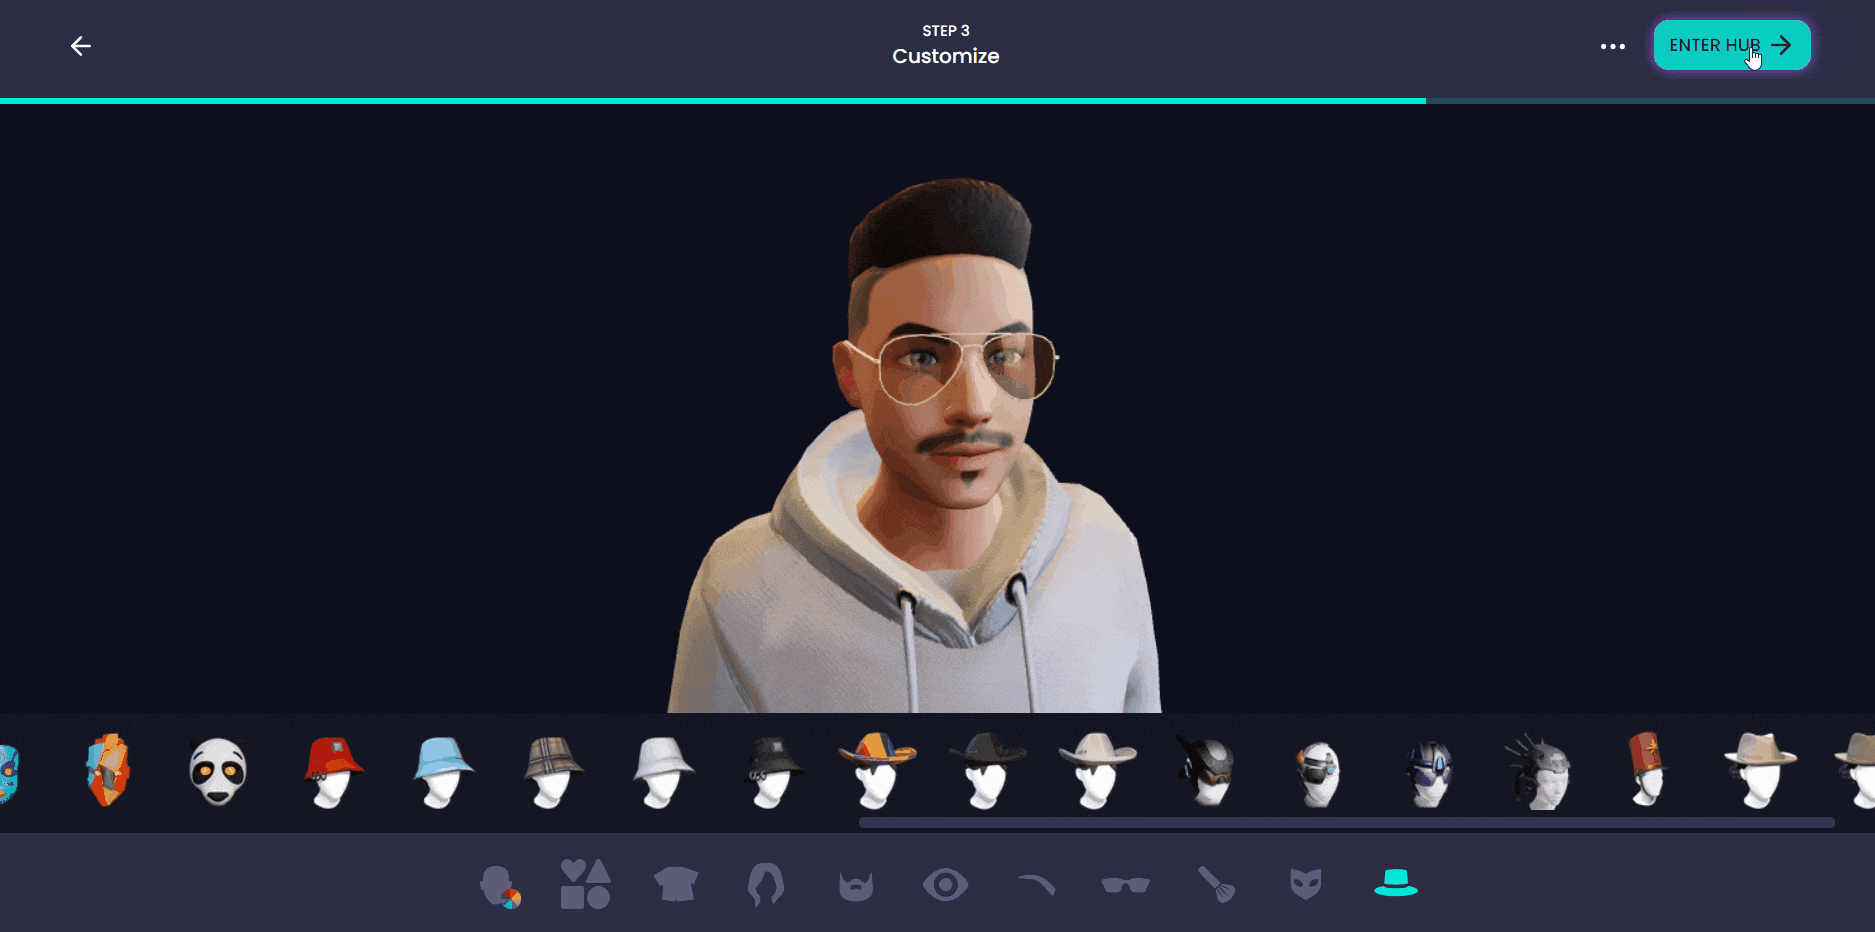
- Next, you can customize the Avatar!
- You can choose the clothing 👕 from a selected range.
- You can change your facial features like skin colour 🎨 , cheekbone, hairstyle 💇 , eyes 👀 , etc.
- Accessories like bags 🛍️ , hats 🎩 , caps 🎓, glasses 🕶️ and more.
- Click on
Enter Huband your Avatar is now ready. - You can claim your Avatar by signing in.
Wasn't that really simple? Importing that into Unity is also as simple as that! So let's see how it's done.
2. Importing The Avatar into Unity
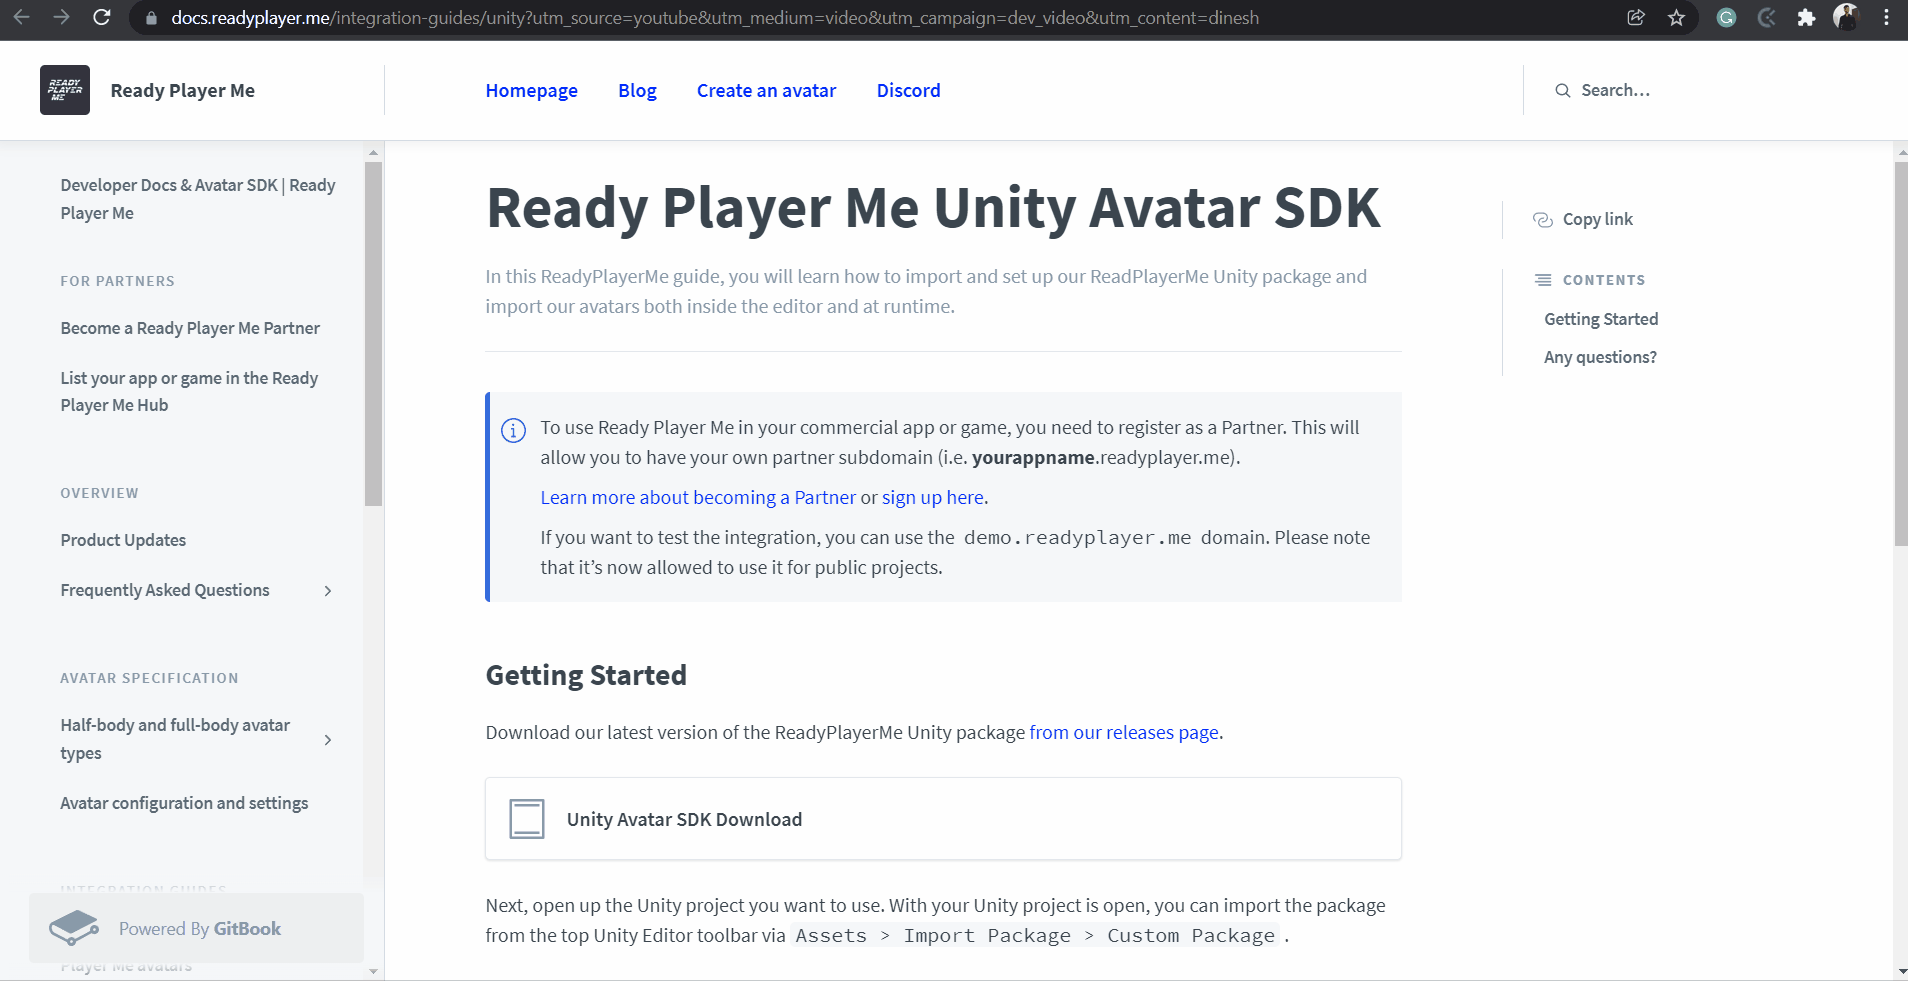
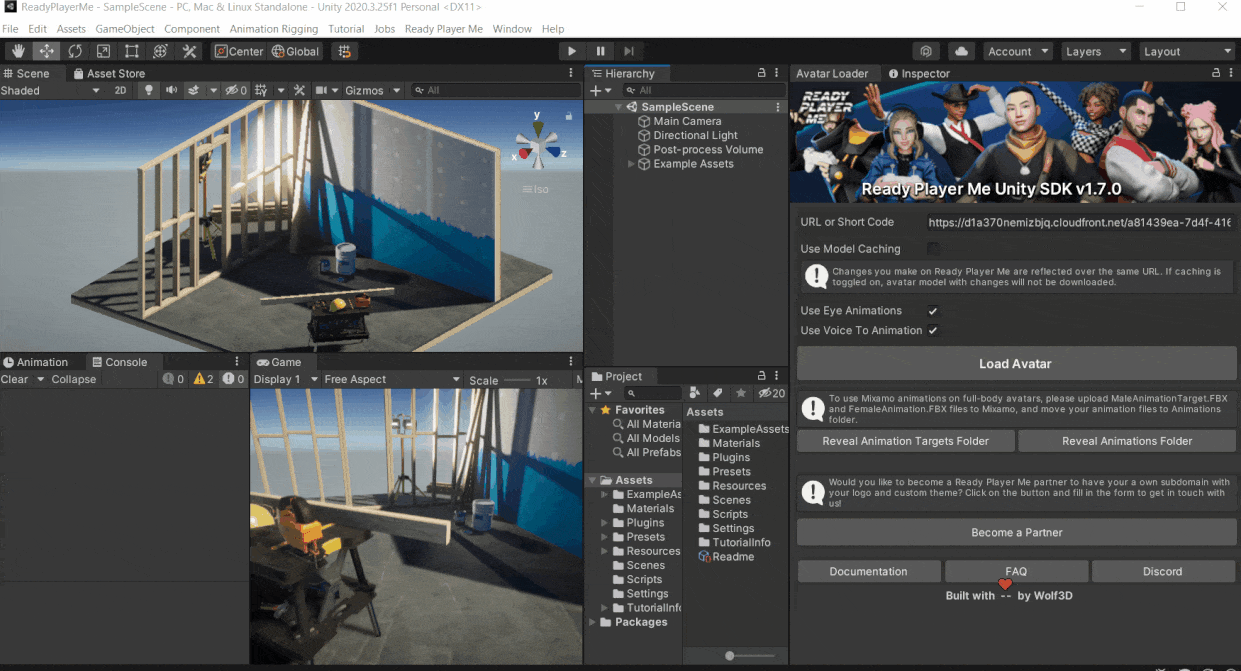
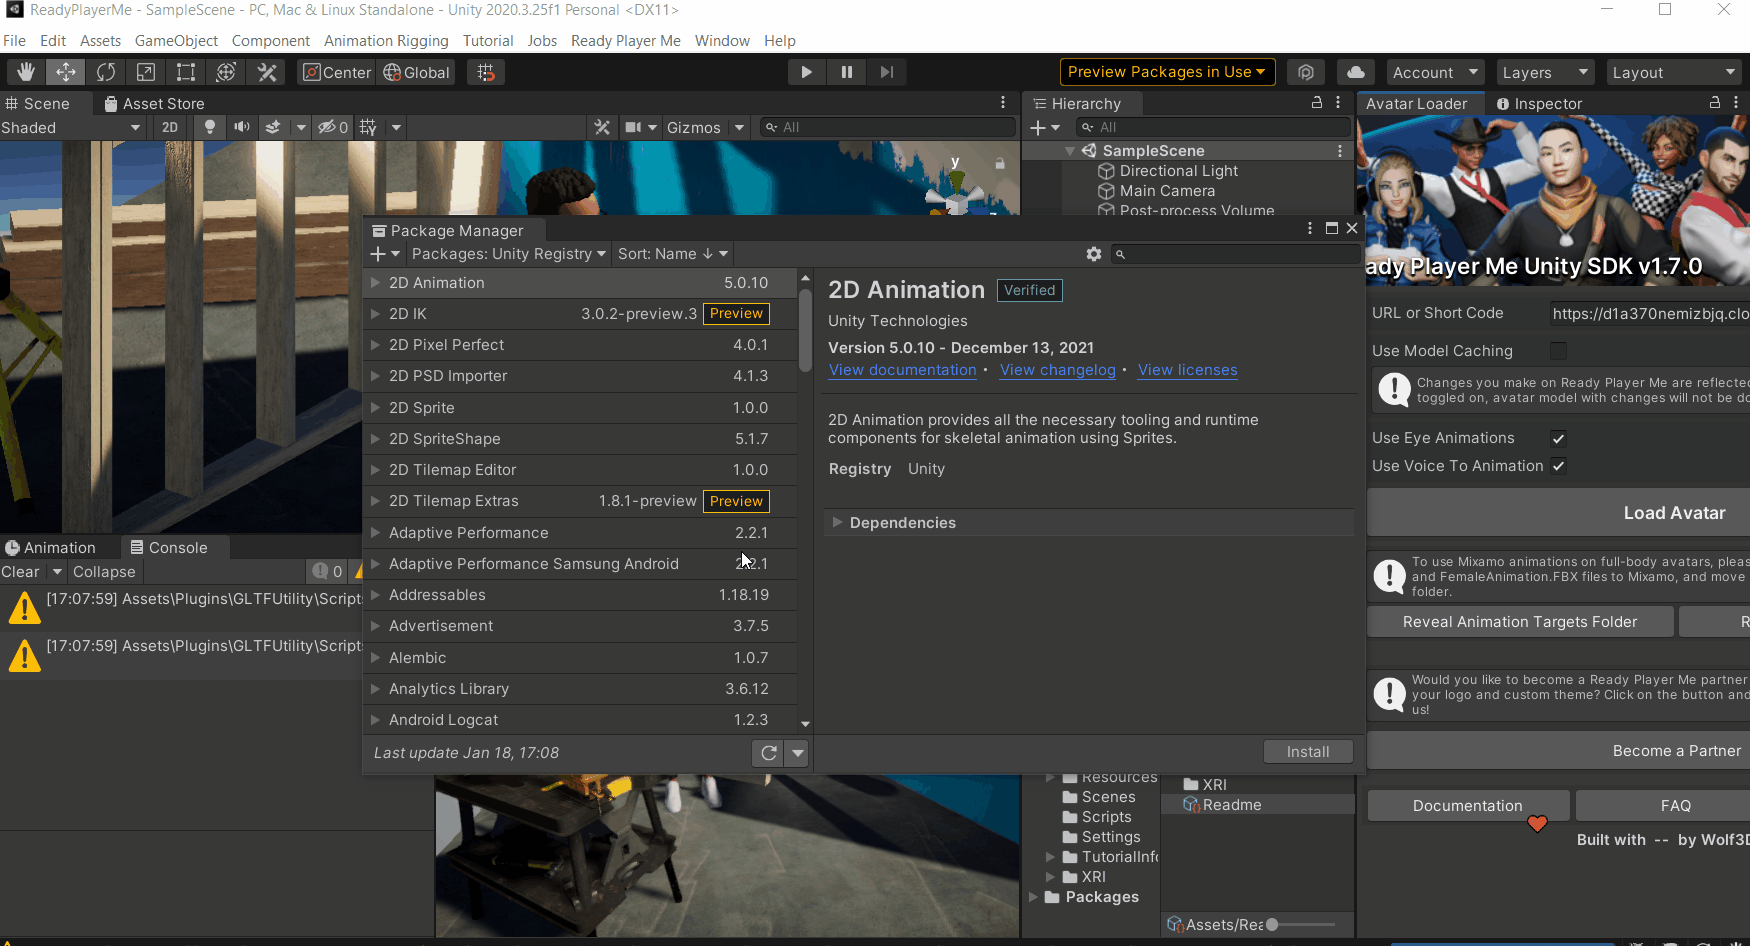
To import the Avatar into Unity you need to download the Unity Avatar SDK provided by Ready Player ME. To download it:
- Click on this link → then, click on
Unity Avatar SDK Download.This will open a new web page. - Under the Latest release section, click on
Download the latest version of the Unity SDK.This will open a Google Drive page. - Right-click on
Ready Player Me_v1.7.0.unitypackage→ Then, click onDownload→ Save it in a path of your choice.
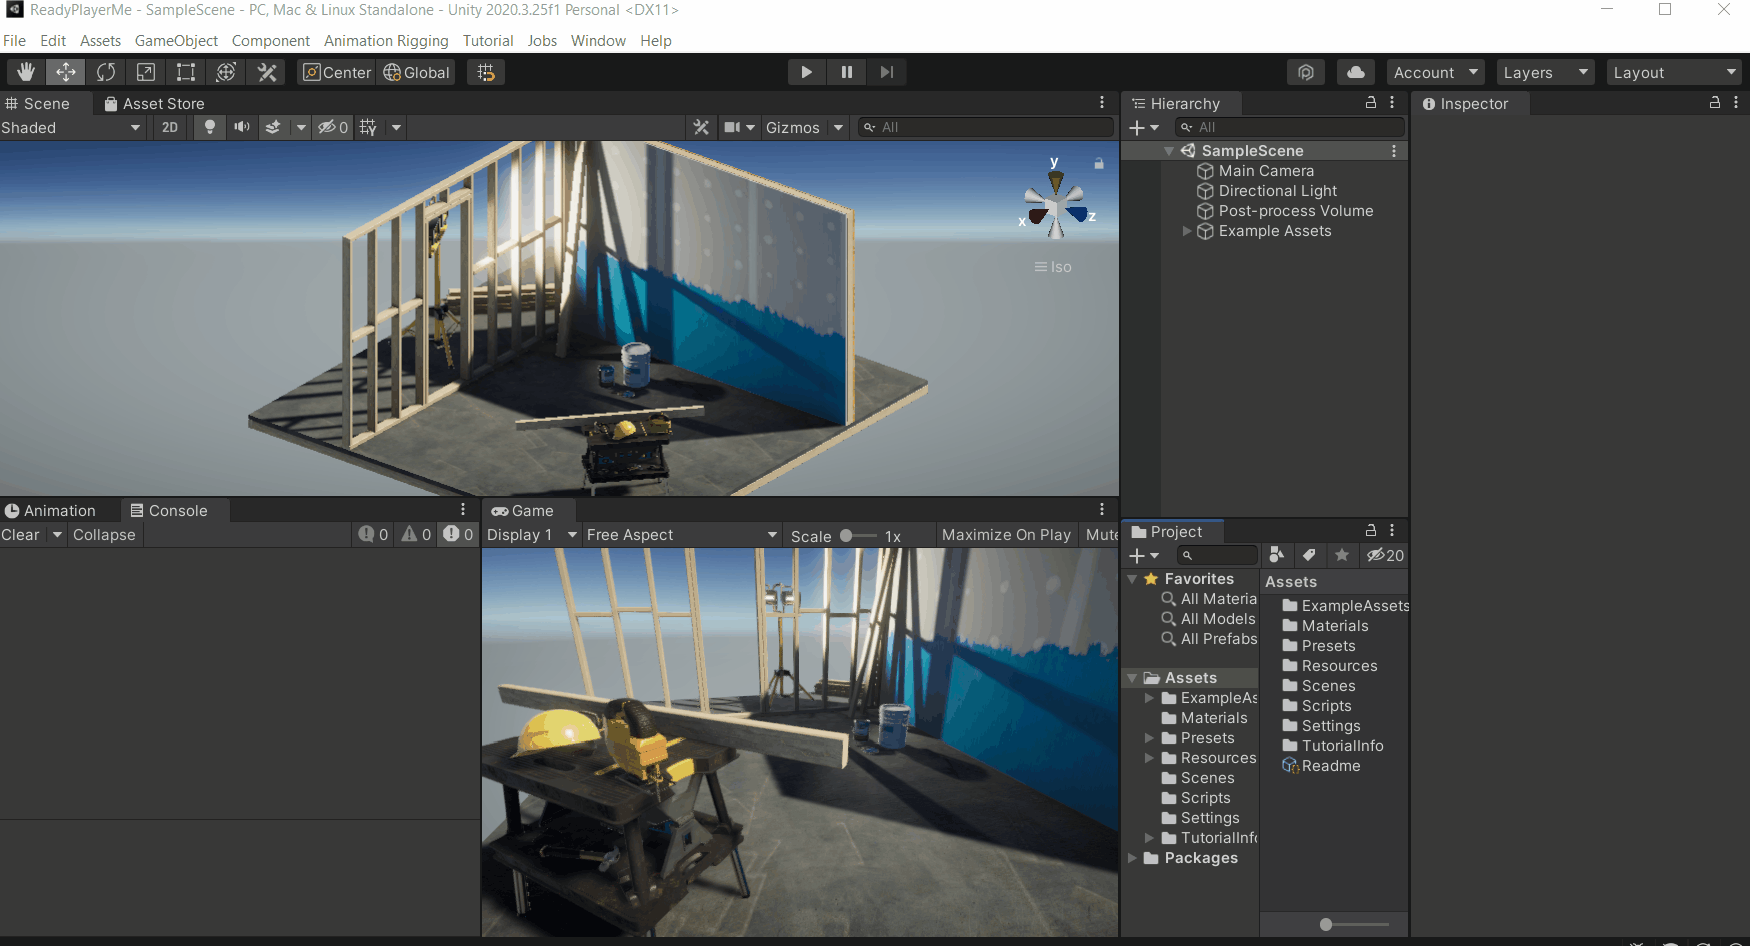
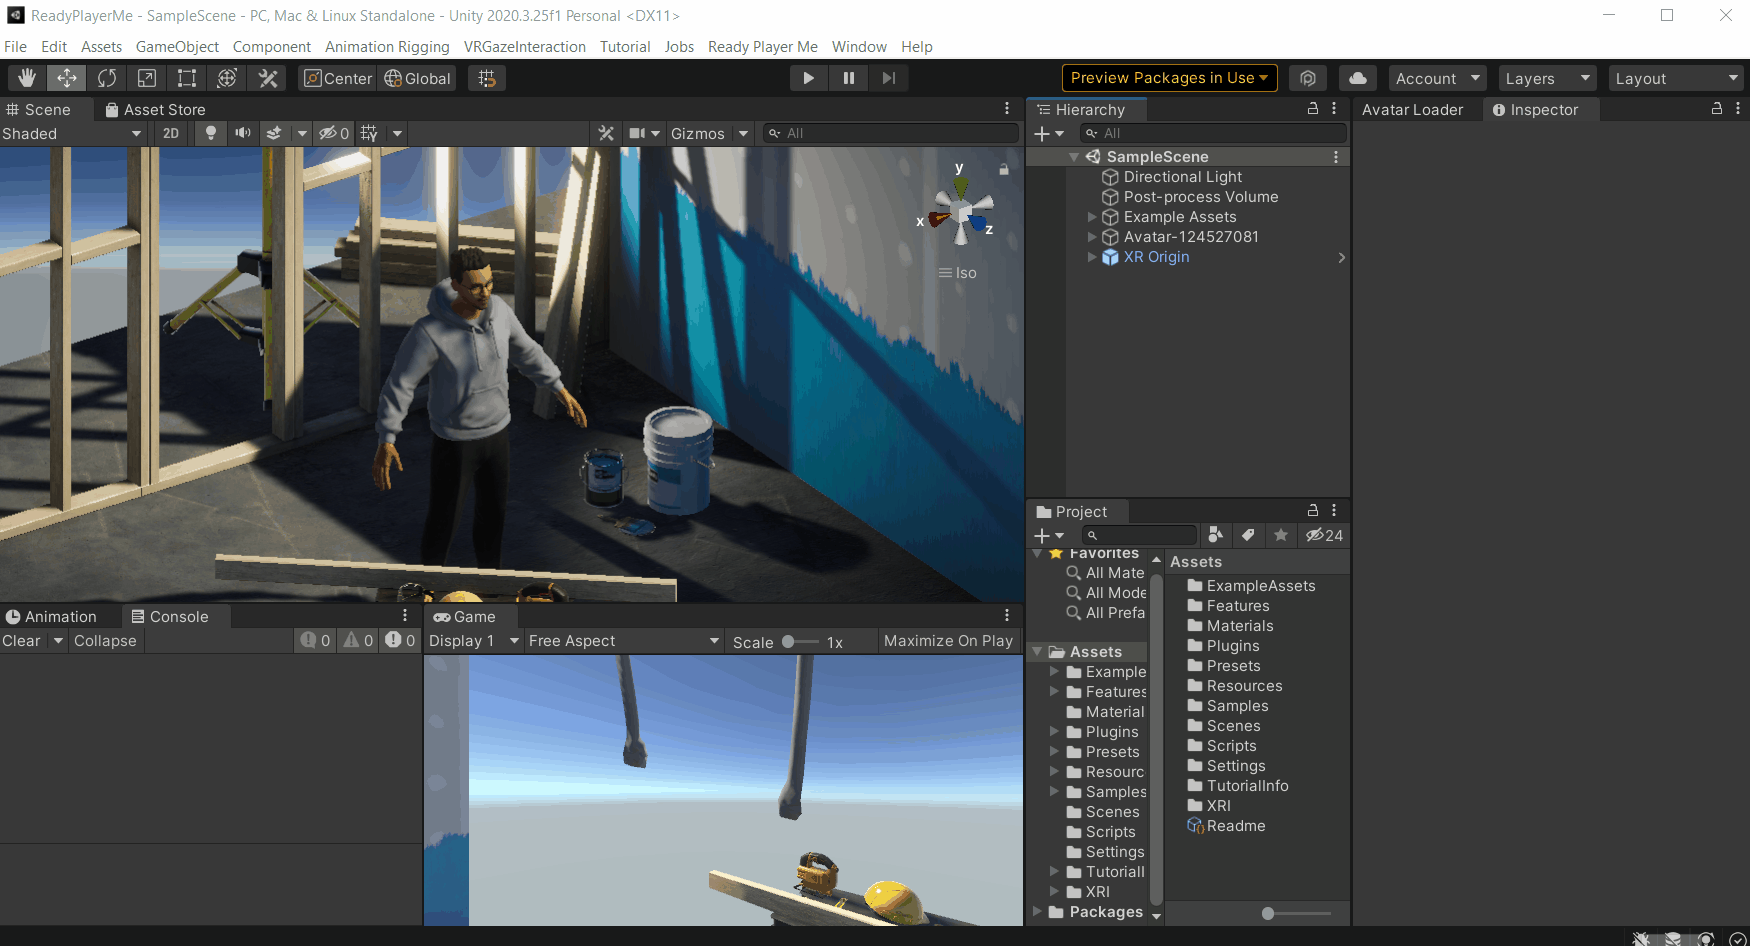
Once you have the SDK downloaded, create a new Unity project or open an existing one and let’s see how we can get the Avatar into Unity.
💡 Note: Make sure you are using Unity version 2019LTS and above
- To import the SDK into Unity, you can either drag and drop it into the scene or you can import the package from the top Unity Editor toolbar via
Assets→Import Package→Custom Package→Then from the file explorer select the ReadyPlayerMe Unity package. - A window will pop up. ⚠️Make sure you uncheck Newtonsoft Json before hitting
Importto start importing the package into the project.
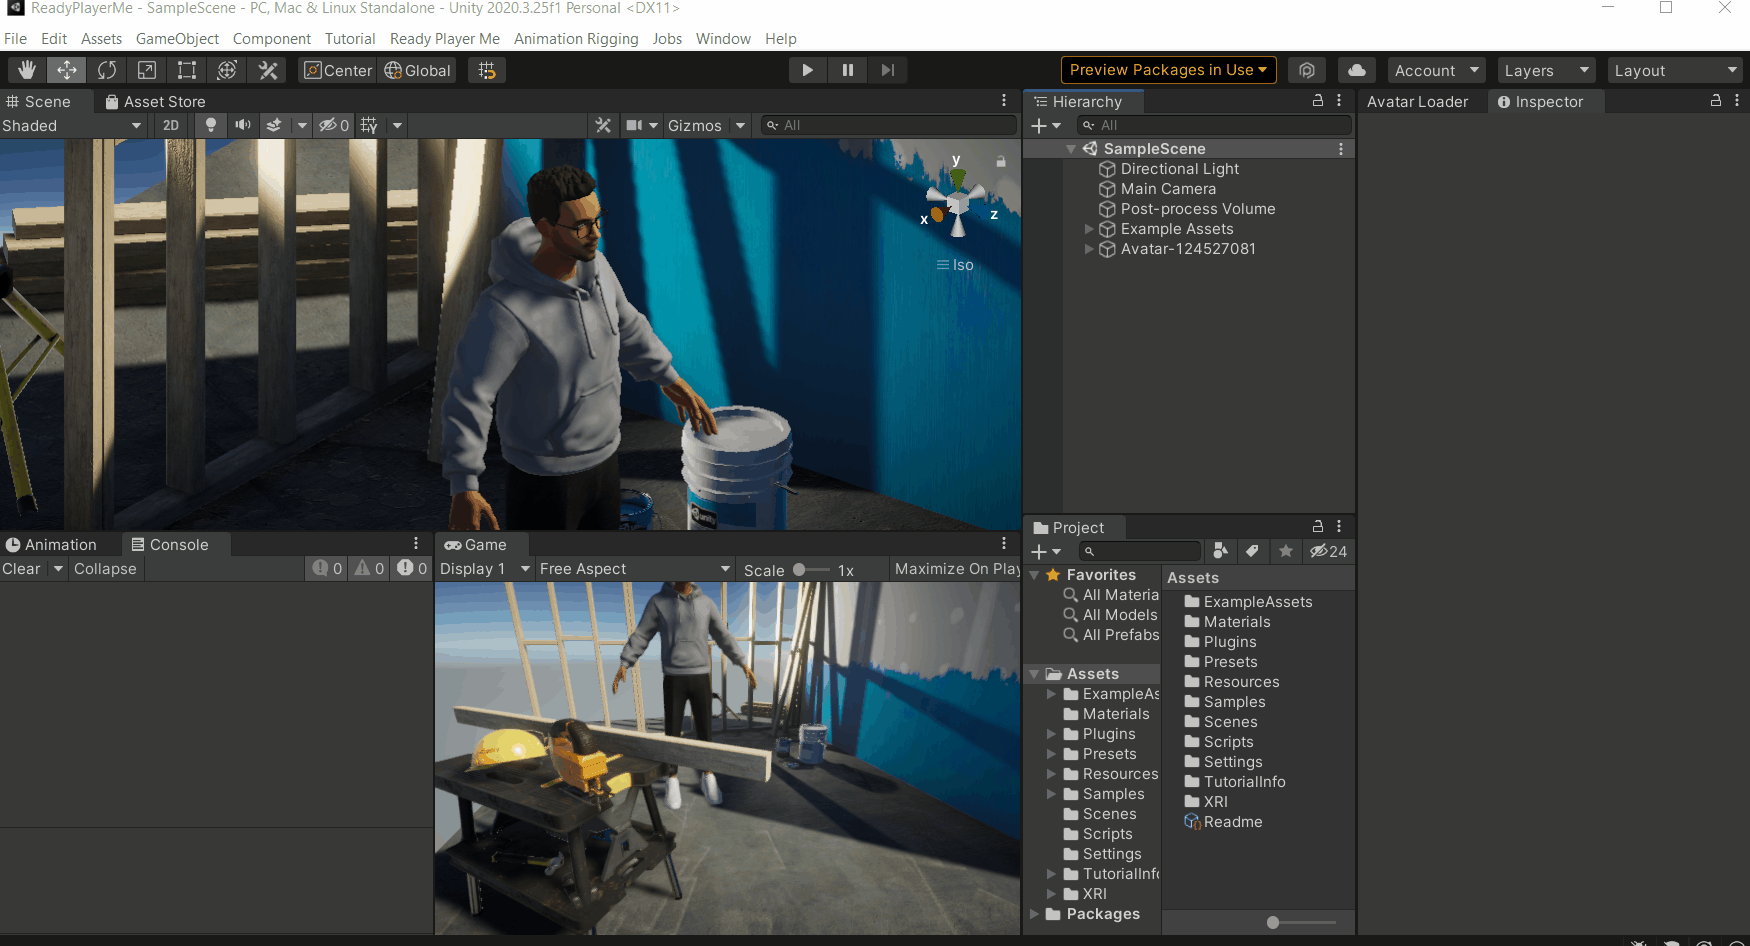
- Go to the Ready Player Me website and navigate to the My Avatars tab. Click on the three dots at the top right corner of the Avatar and click on Copy .glb URL.
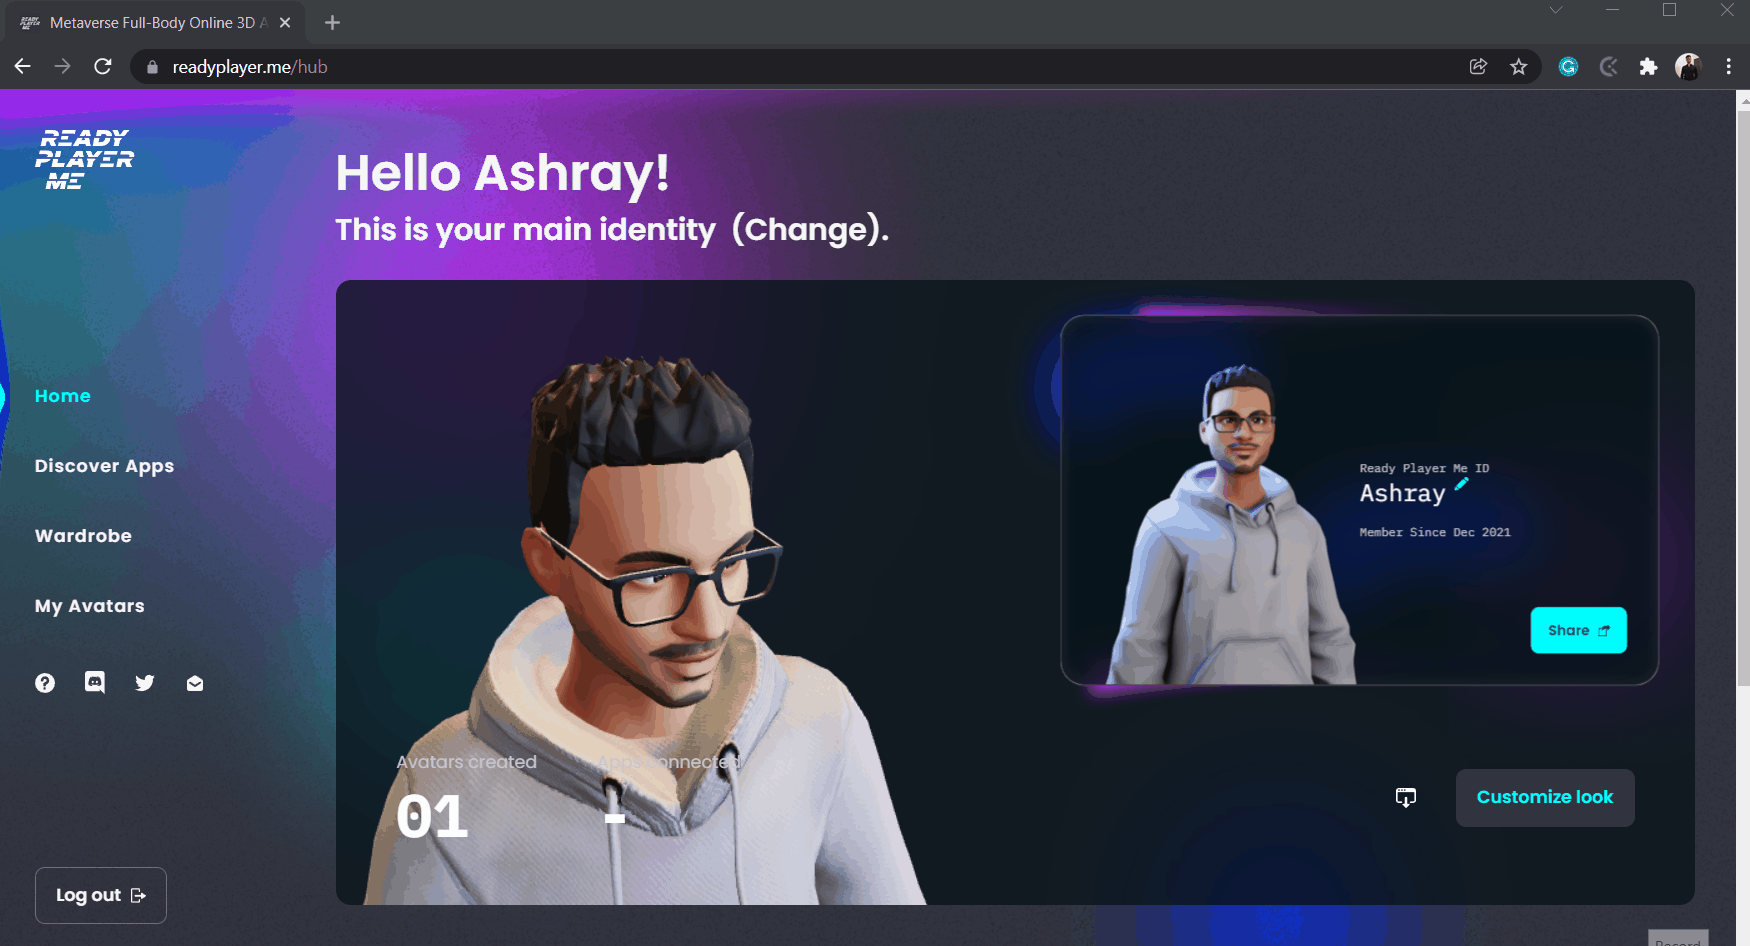
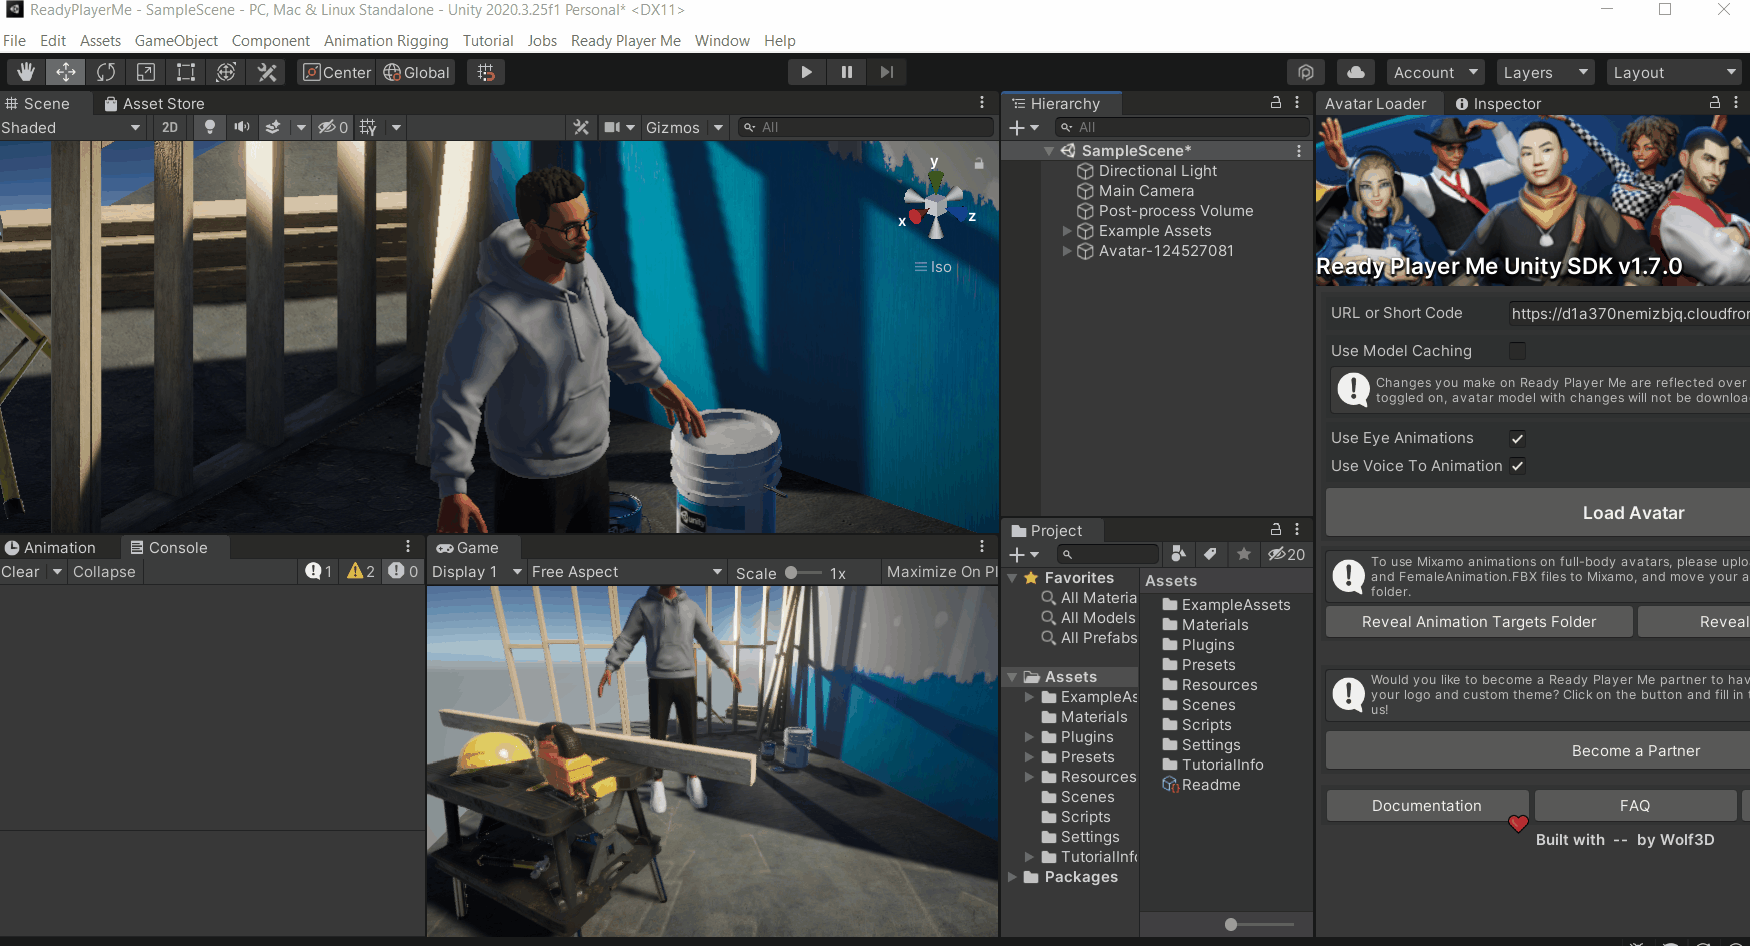
- Go back to Unity and in the Avatar Loader window paste the copied .glb URL in the URL or Short Cord field and click on Load Avatar
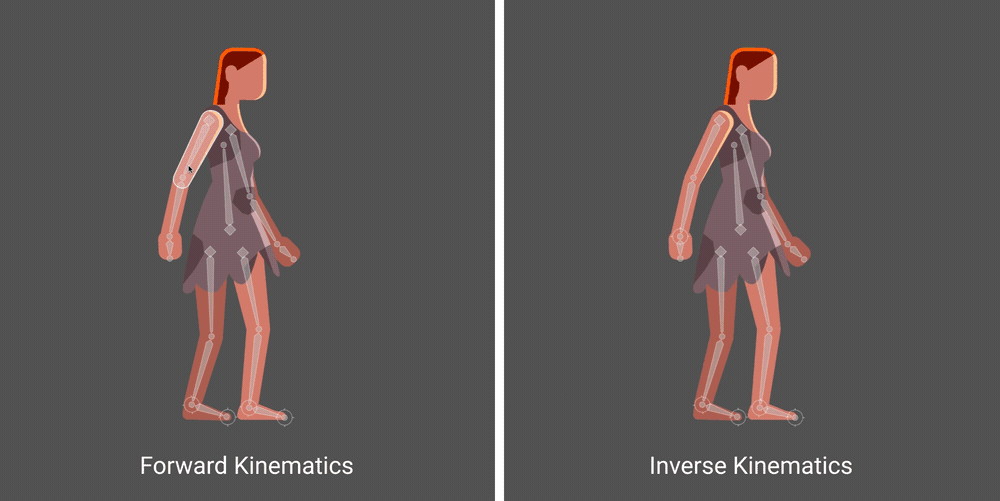
That was simple, right? Now that we have an Avatar with us, we can use the XR Interaction Toolkit and Animation Rigging packages to add VR components and inverse kinematics to the Avatar. Inverse kinematics is nothing but adding movement to other parts by moving one of the connected parts. Thus, enabling us to use the avatar in VR.
3. Setting up Unity for VR
In this section, we will see how we can set up Unity for VR and convert this regular Avatar into an Avatar that can be used in the Metaverse! We will be making use of the XR Interaction Toolkit and the XROrigin Unity package that's custom made by us.
💡 Note: If you already know how to set up your project for VR or if you already have your own XROrigin, then please feel free to jump to the next section.
- In Unity, click on Windows → Package Manager → select the setting icon⚙ → Advanced Project Setting → Check the box for "Enable Preview Packages" and select I understand. It’s just a warning that it’s a preview package and not yet released so it could potentially have bugs.
- To import the XR Interaction Toolkit:
- Open the Package Manager → select
Unity Registryfrom the drop-down → search for "XR Interaction Toolkit" or scroll down to find it. - Select that package and make sure the version is
2.0.0-pre.6→ click onInstall. - After installing a window will pop up asking you to restart Unity, click on
Yesto continue. Make sure you have saved the scene and the project.
- Open the Package Manager → select
- After Unity restarts, navigate back to XR Interaction Toolkit package in the Package Manager. Import Default Input Action and XR Device Simulator.
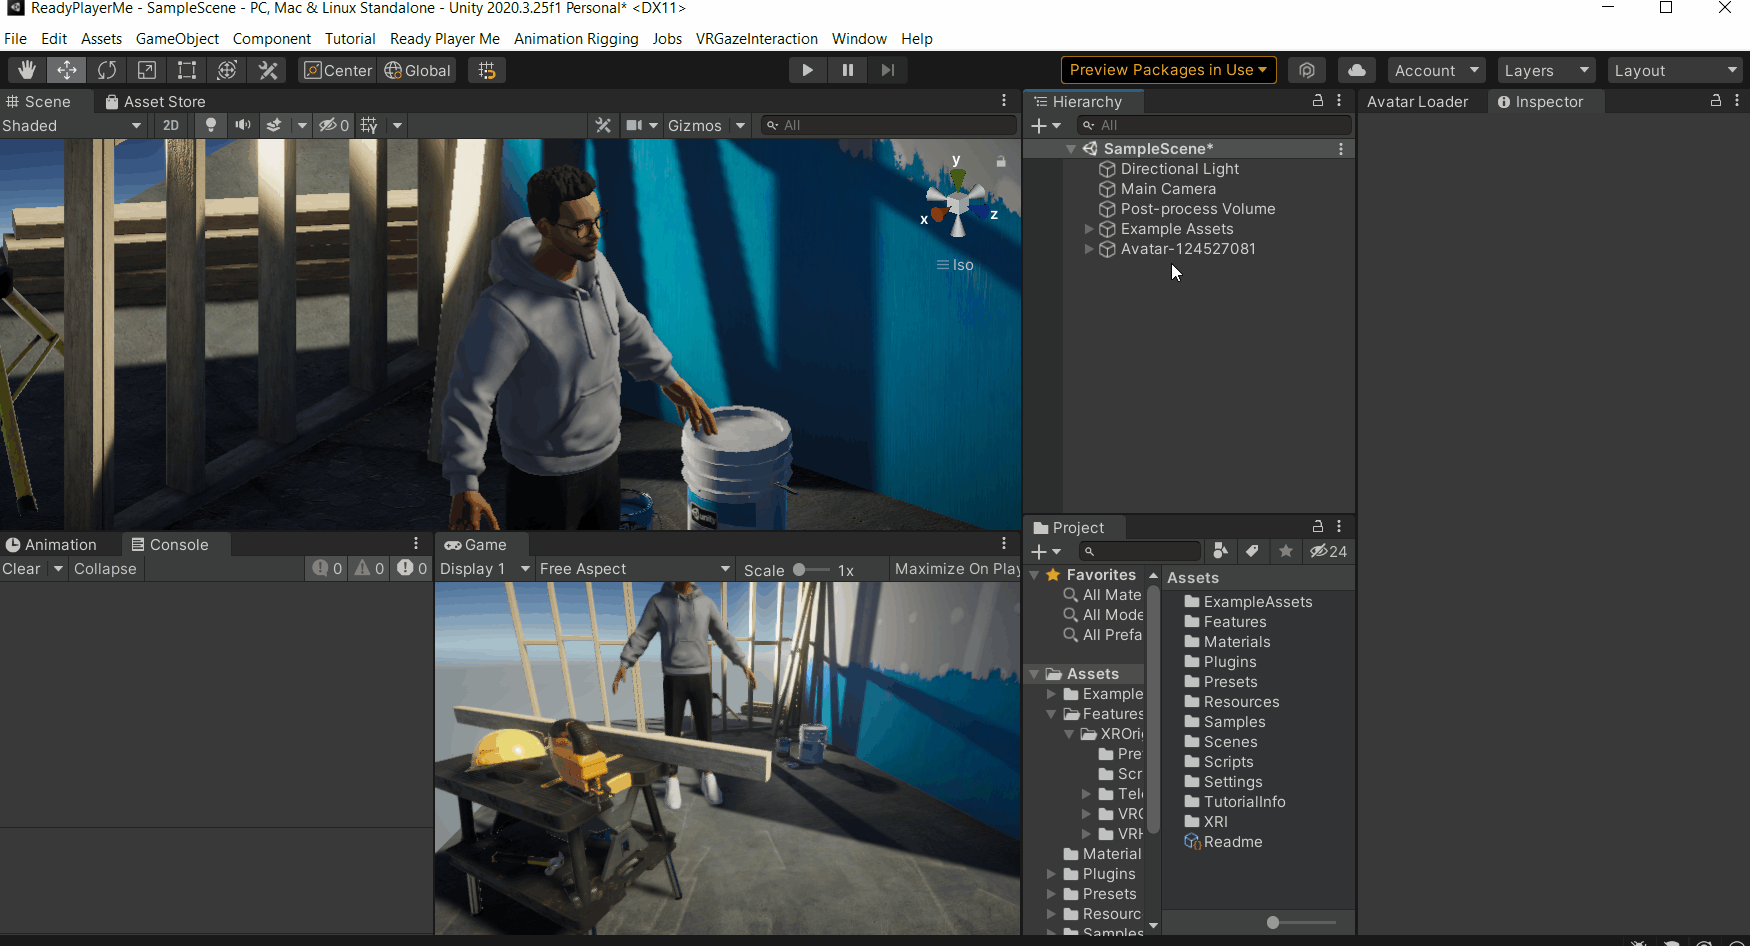
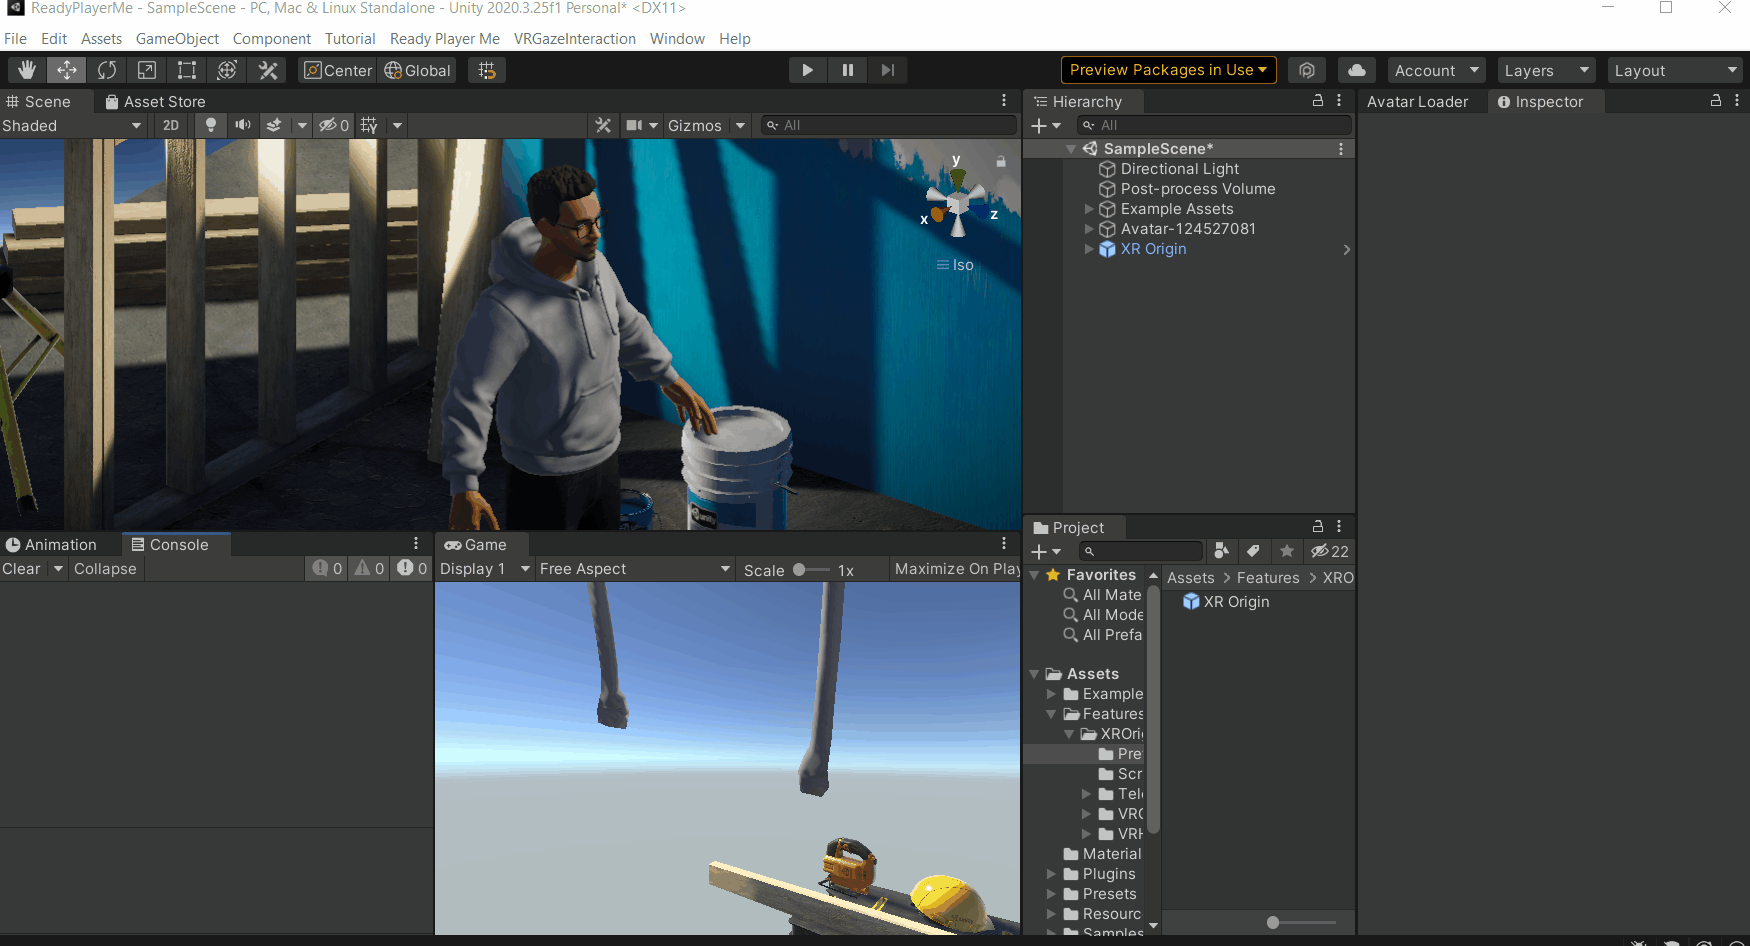
- Download the XROrigin package from here → Import the package from the top Unity Editor toolbar via Assets → Import Package → Custom Package→Then from the file explorer select the XROrigin Unity package.
- Delete the Main Camera 🎥.
- In the project folder, navigate to
Features→XROrigin→Prefabs. Drag and drop the XROrigin into the scene.
4. Setting up the Avatar and Animation Rigging
In this section, we’ll set up the Avatar and use the Animation Rigging package to add inverse kinematics to it to have a realistic body movement in VR.
- In Unity, click on
Windows→Package Manager→ search for Animation Rigging and install it.
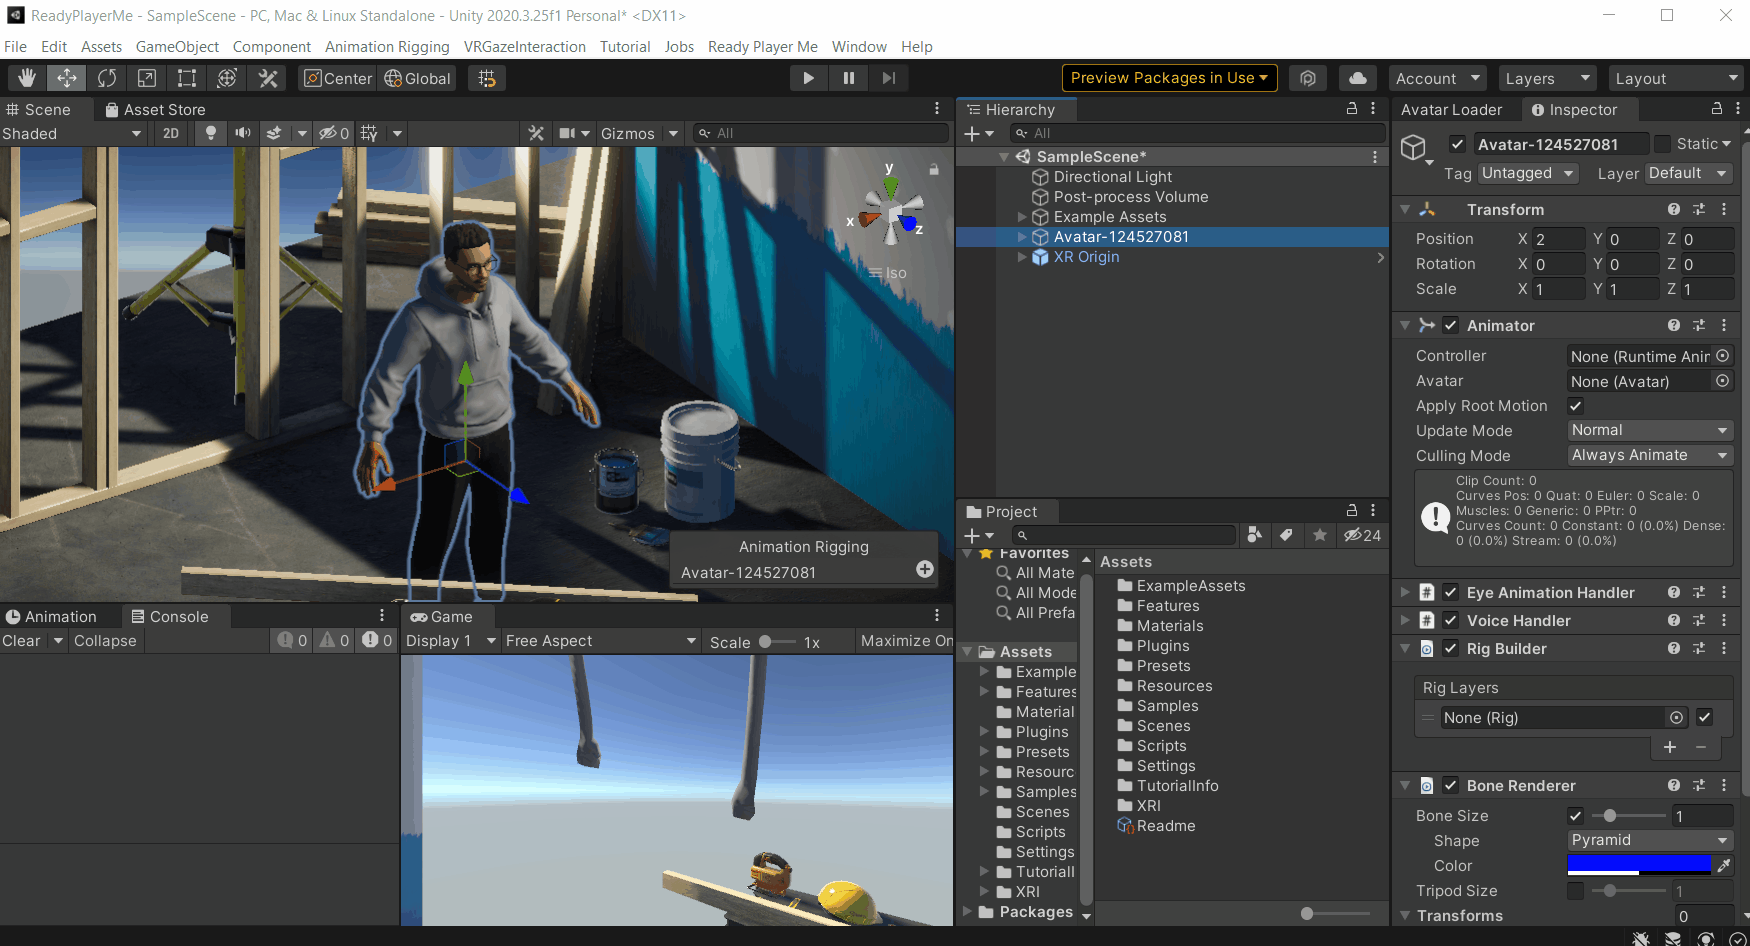
- From the hierarchy, select the Avatar GameObject and remove the Controller and Avatar from the Animator component → Add Rig Builder and Bone Renderer Components to it.
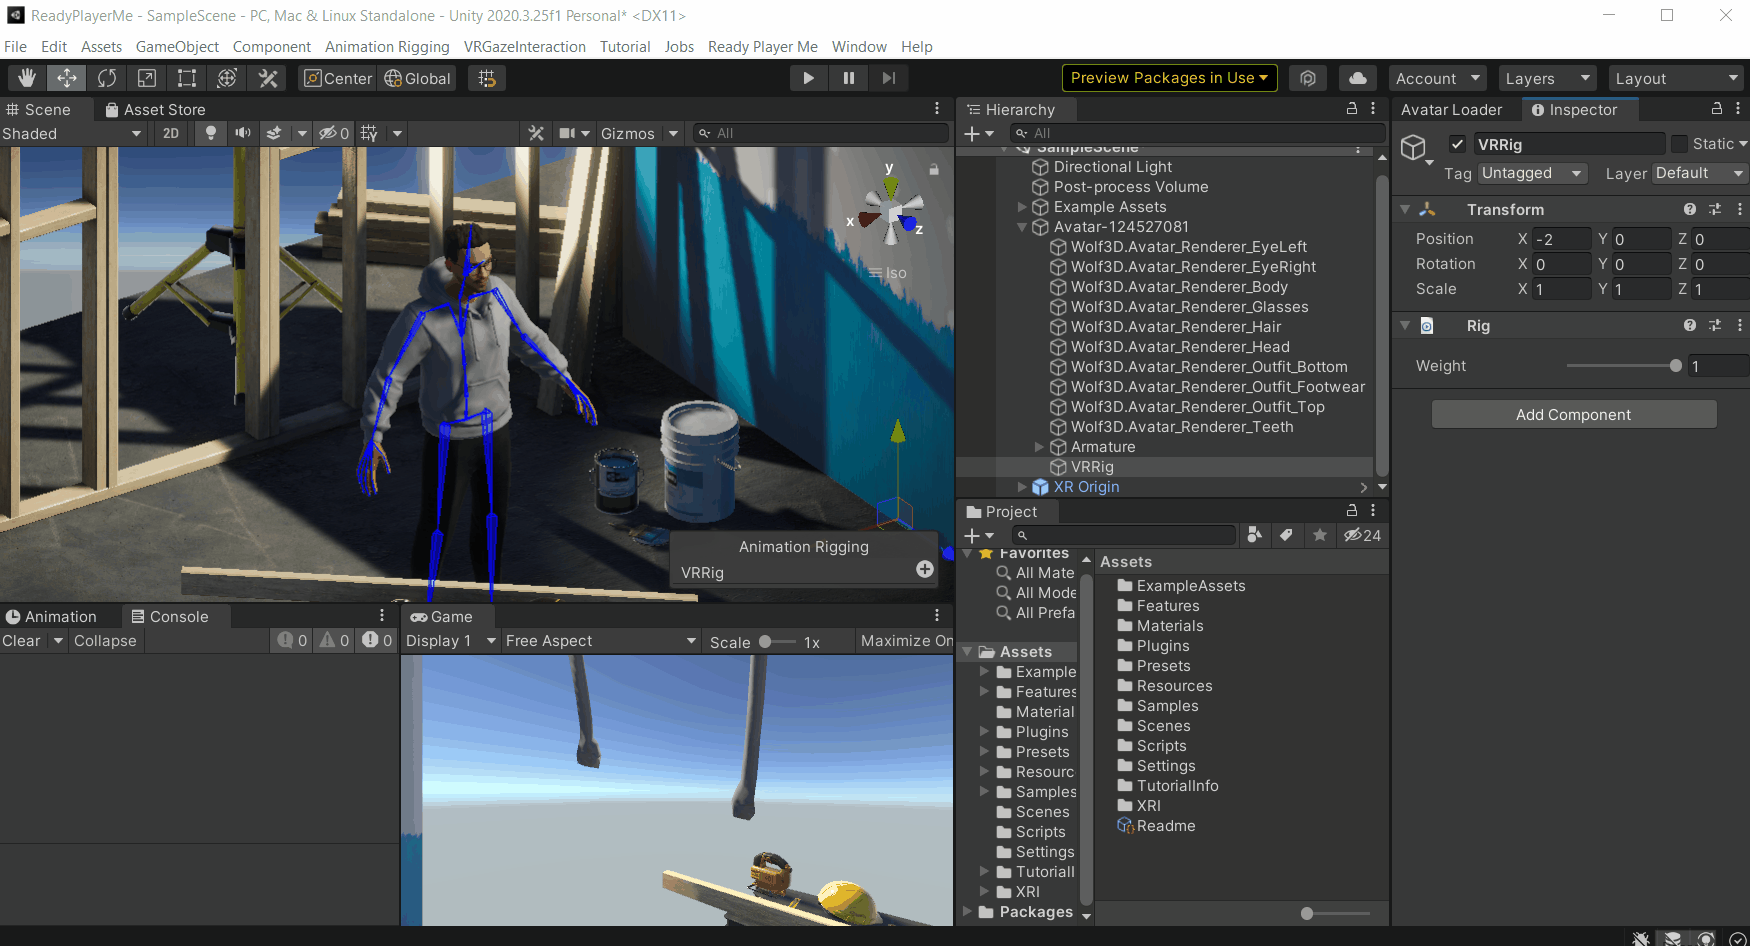
- Click on the Avatar GameObject and lock 🔒 the Inspector window → Press and hold theAlt key and click on the Avatar to open all its children → Select the Hips Game object, scroll down and select the last child GameObject while holding the Shift key → Drag and drop it into the Transforms field of the Bone Renderer component.
With that, you will be able to see the bones 🦴of the Avatar.
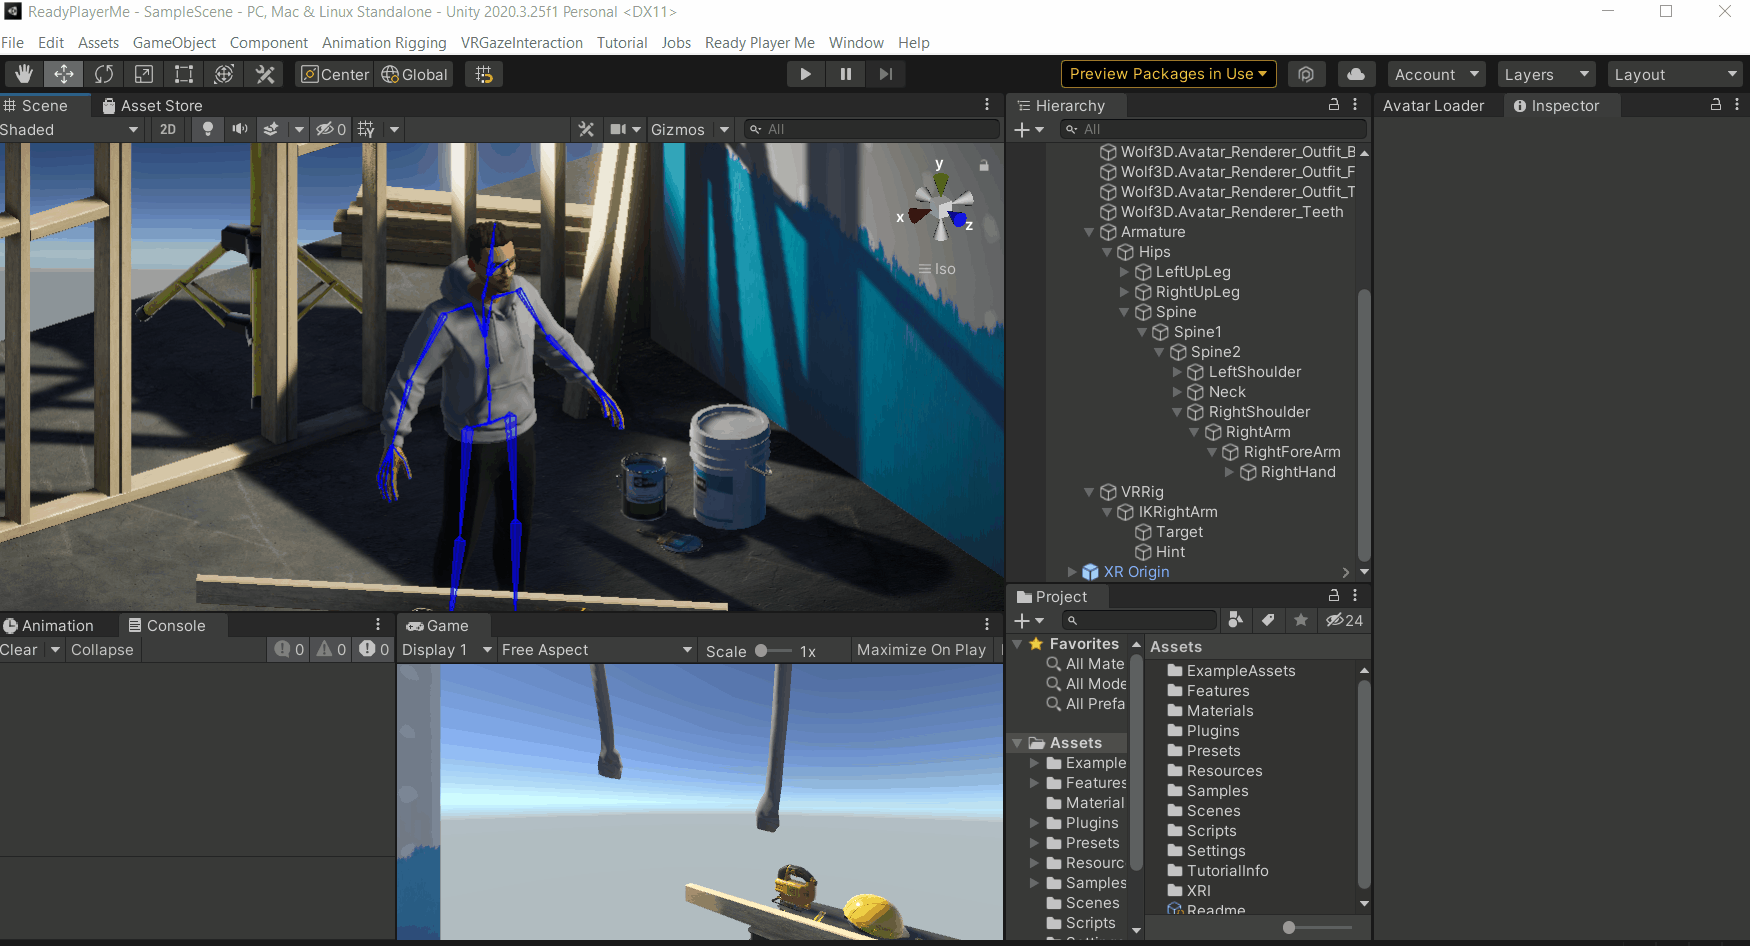
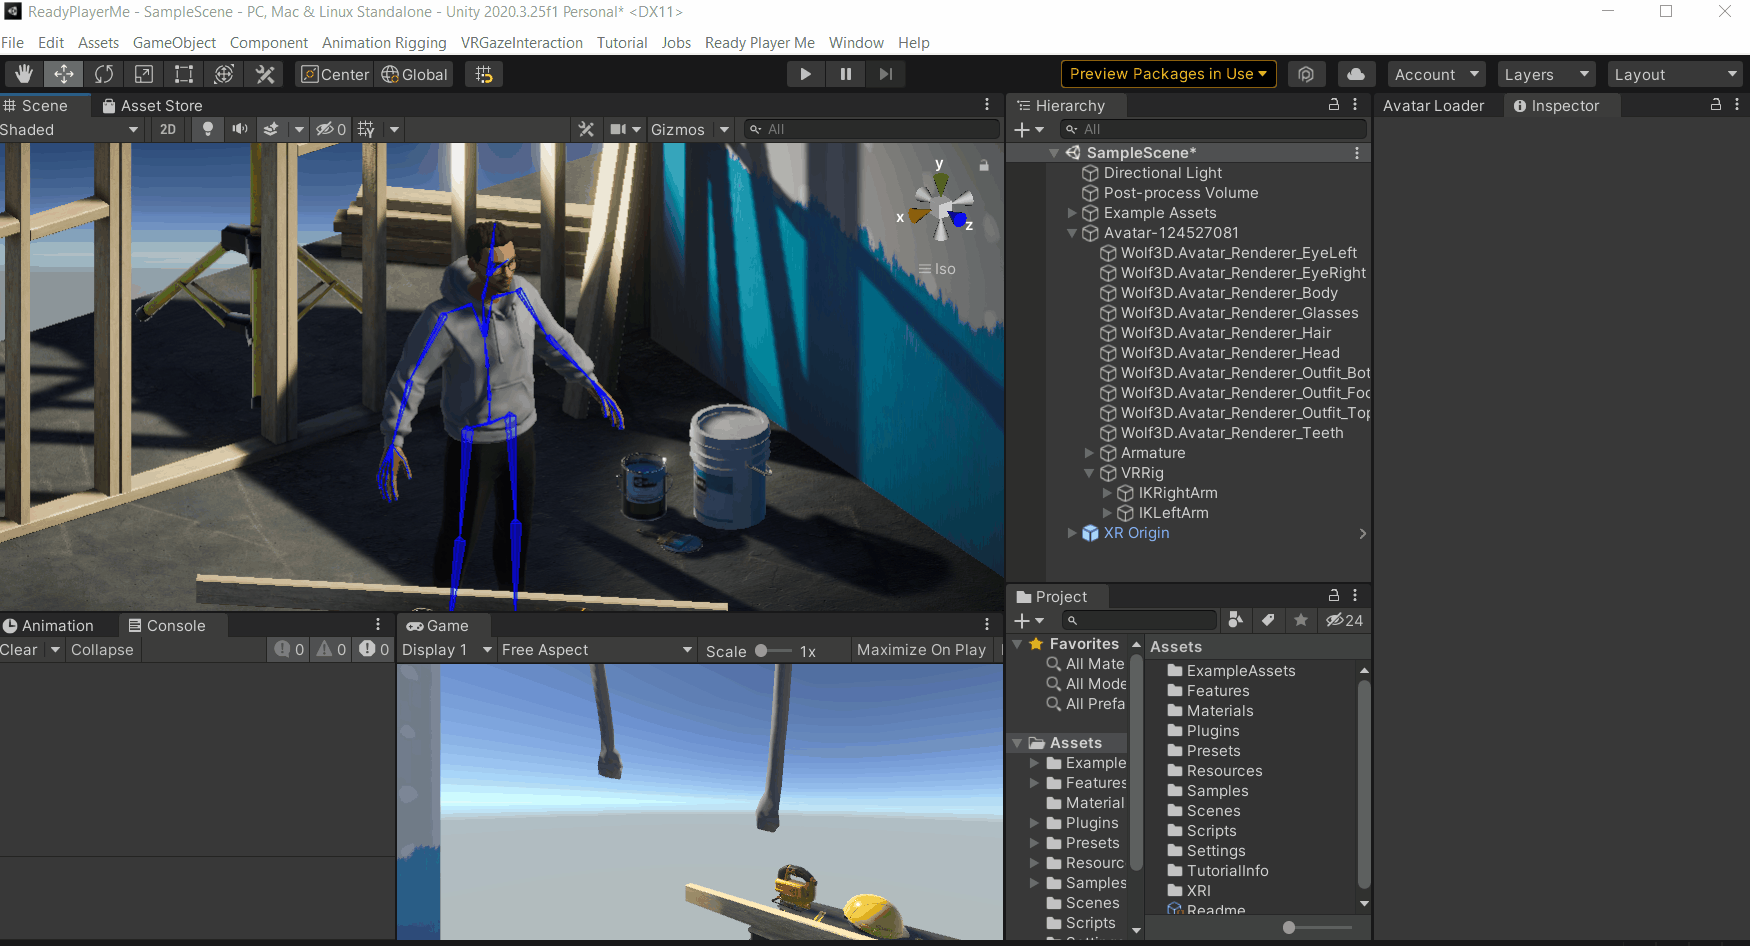
- Click on the Avatar GameObject and from the toolbar select Animation Rigging → click on Rig Setup, This will create a Rig as a child of the Avatar → remove the empty layer from the Rig Builder component → unlock 🔓the Inspector window → select the Rig1 GameObject and rename it as VRRig.

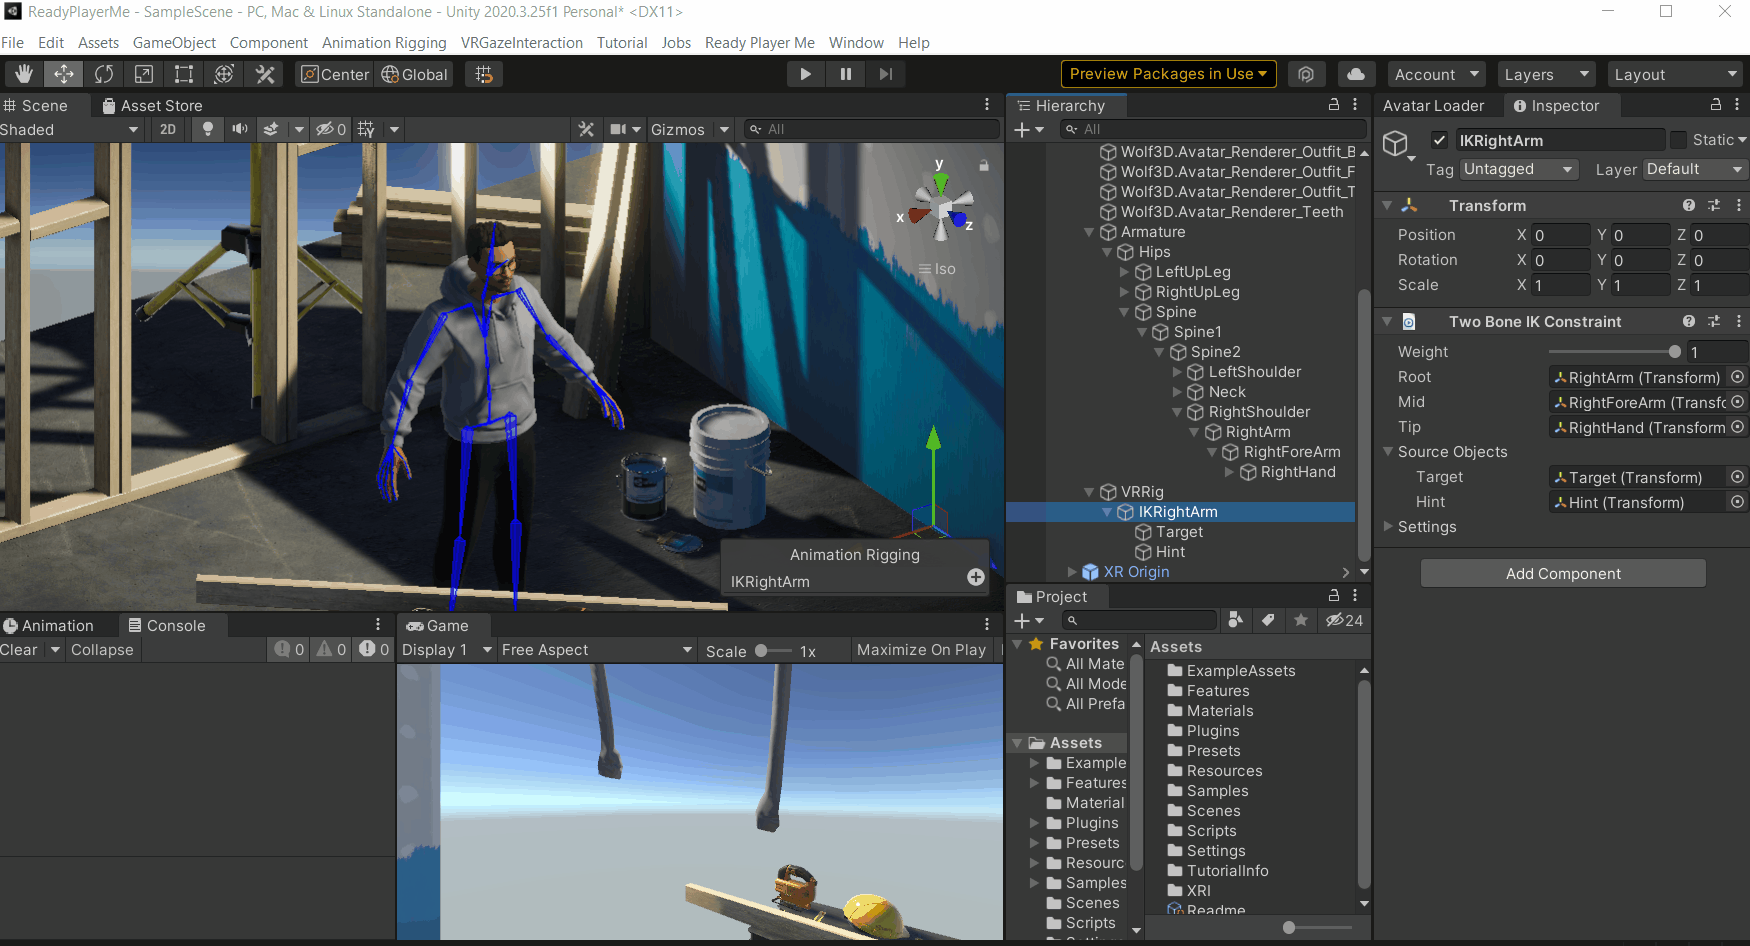
- Select the VRRig GameObject, create an empty GameObject as a child and name it as IKRightArm → create two GameObjects as a child of this and name them as Target and Hint respectively.
Then, select the IKRightArm GameObject, add Two Bone IK Constraint component and lock 🔒 the Inspector window → from the Scene view select the right arm and, drag and drop the GameObject into the Root field of the Two Bone IK Constraint component → similarly, select and, drag and drop the right forearm and right hand into the Mid and Tip field respectively.
Finally, drag and drop the Target and the Hint GameObjects into the respective Source Objects field.
- Select the Target GameObject and while holding the Shift key select the right hand from the Scene view → from the toolbar select Animation Rigging → click on Align transform. Similarly, select the Hint GameObject and while holding the Shift key select the right forearm from the Scene view and align their transforms as well. Then, move the Hint GameObject slight back.
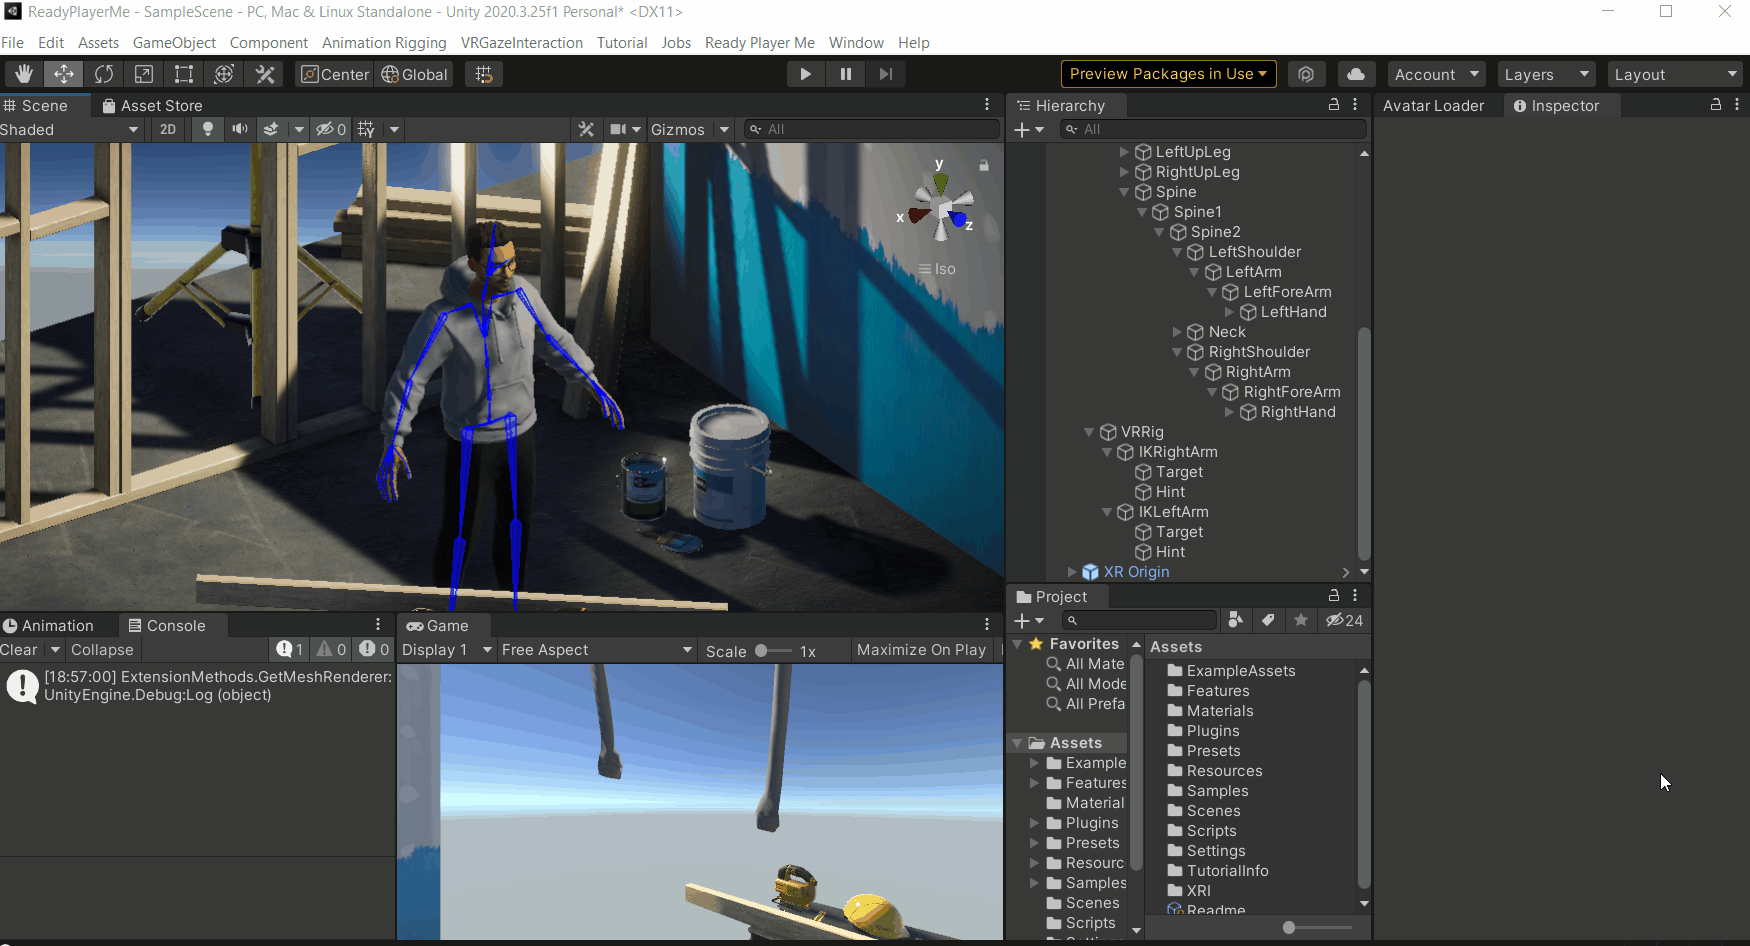
- Duplicate the IKRightArm GameObject and name it as IKLeftArm → Drag and drop the LeftArm, LeftForeArm and LeftHand GameObjects into the Root, Mid and Tip fields of the Two Bone IK Constraint component respectively → Align the Target GameObject with the left hand and Hint GameObject with the left forearm. Also, move the Hint GameObject slightly back (same value as the Hint GameObject of IKRightArm)
- It's time to test it!!! Hit the Play▶️ button → select both the targets and move them around in the scene view. If they are moving with the elbow as the hinge then you have successfully set up the arms. If not feel free to go through all the steps above and make sure everything is set up correctly. Exit the Play mode and let’s move on to the last step in this section.
- Select the VRRig Game object, create an empty GameObject and name it IKHead → add the Multi-Parent Constraint component and lock 🔒 the Inspector window → from the Scene view select the head and, drag and drop the GameObject into the Constrained Object field → drag and drop the Head GameObject into to the Source Objects field. Finally, align the IKHead GameObject to the Head GameObject.
That completes setting up the Avatar with an animation rig. Next, was want the Avatar’s head and hands to follow the XROrigin’s camera and the hands respectively. So, let's move on to the next section.
5. Scripting and Avatar configuration
Let's write a script that will allow us to move the Avatar along with the XROrigin. The script will not work directly, we need to make a few adjustments to the Avatar’s transform so that it matches the XROrigin.
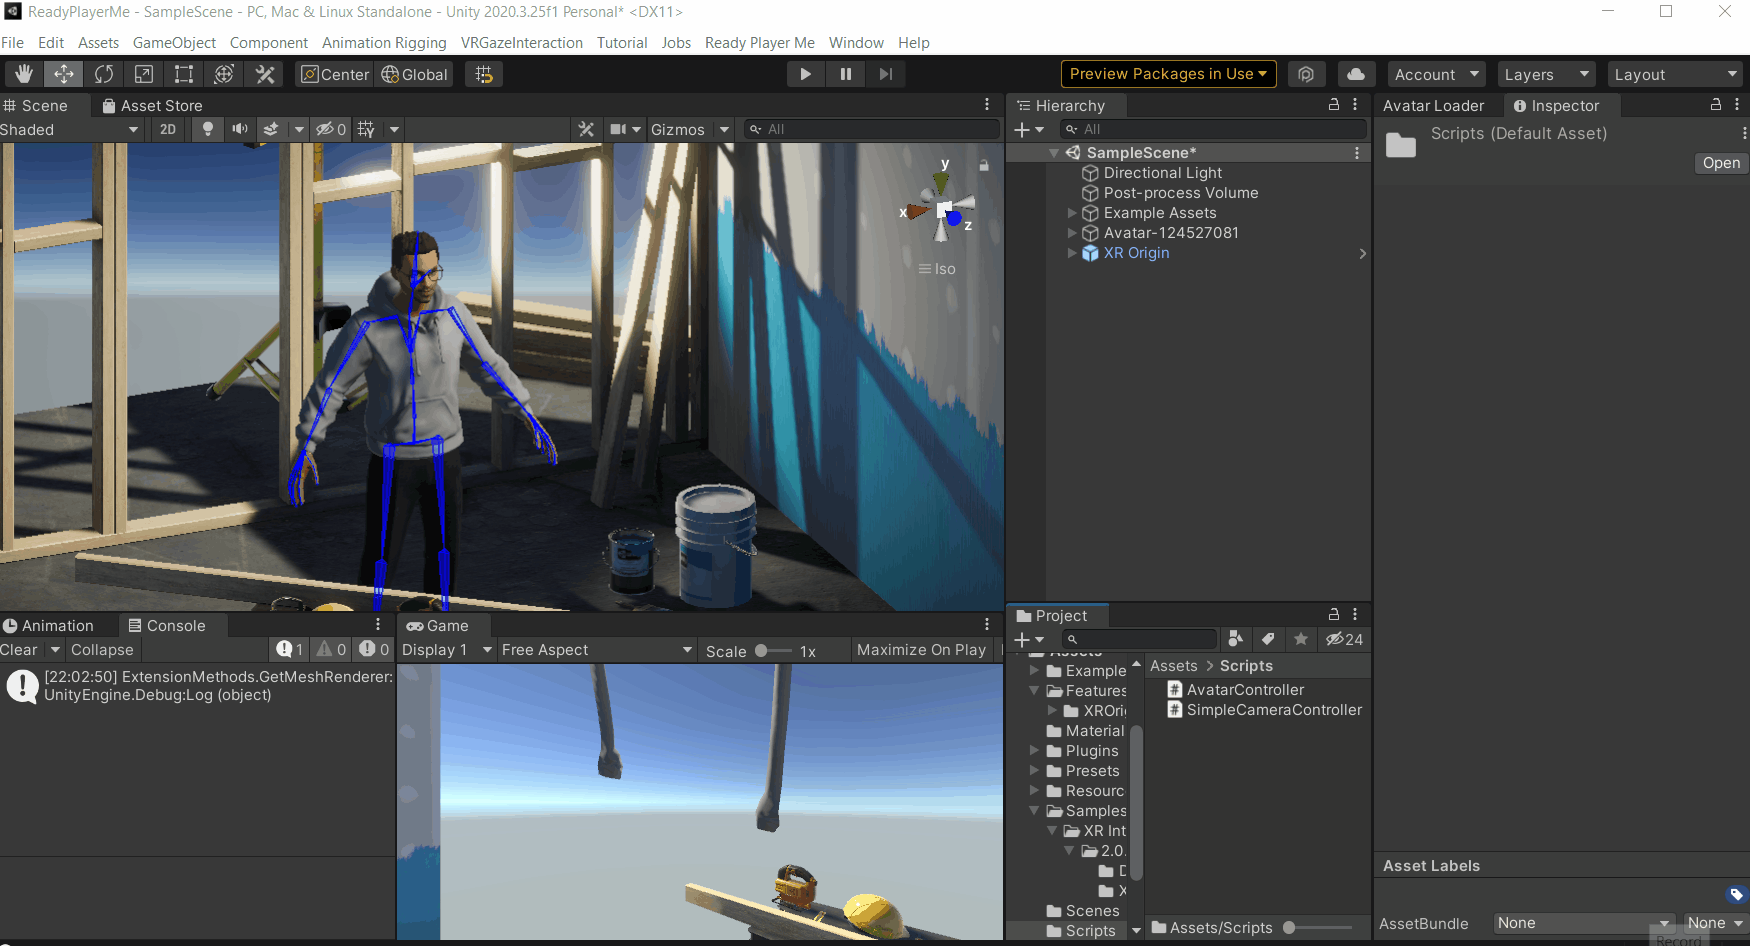
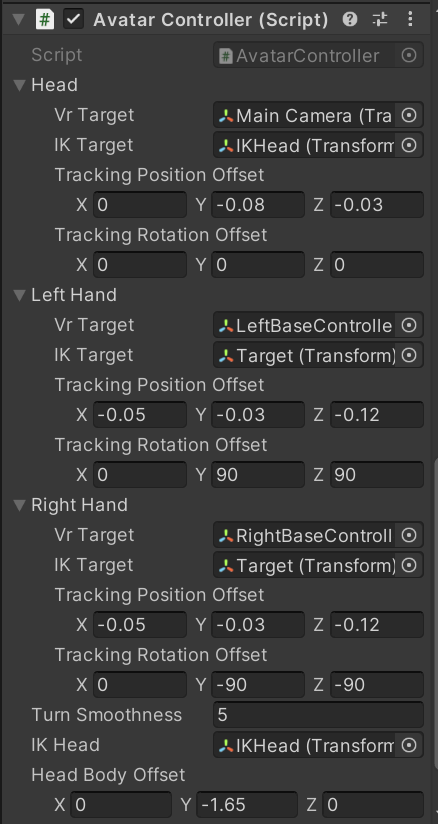
- In the Project window, create a new C# script and name it as AvatarController and copy the following code. In the code, we are using Late Update to make sure we have captured the movement that might have occurred in the Update.
- Add this script to the Avatar → Drag and drop the MainCamera, LeftBaseController and RightBaseController GameObjects into the VRTarget of Head, Left Hand and Right Hand fields respectively→ Drag and drop the IKHead, Targets of IKRightArm and IKLeftArm GameObjects into the IKTarget of Head, Left Hand and Right Hand fields respectively → Drag and drop the IKHead GameObject into the IKHead field at the bottom.
- To align the transforms together, you need to hit Play▶️ and use the XROrigin’s hand as a reference to correctly orient the Avatar’s hands. I made use of the XRSimulator for the initial orientation and later played it on my Vive to make final adjustments. Feel free to use the same values to start with and then you can tweak it as per your requirement.

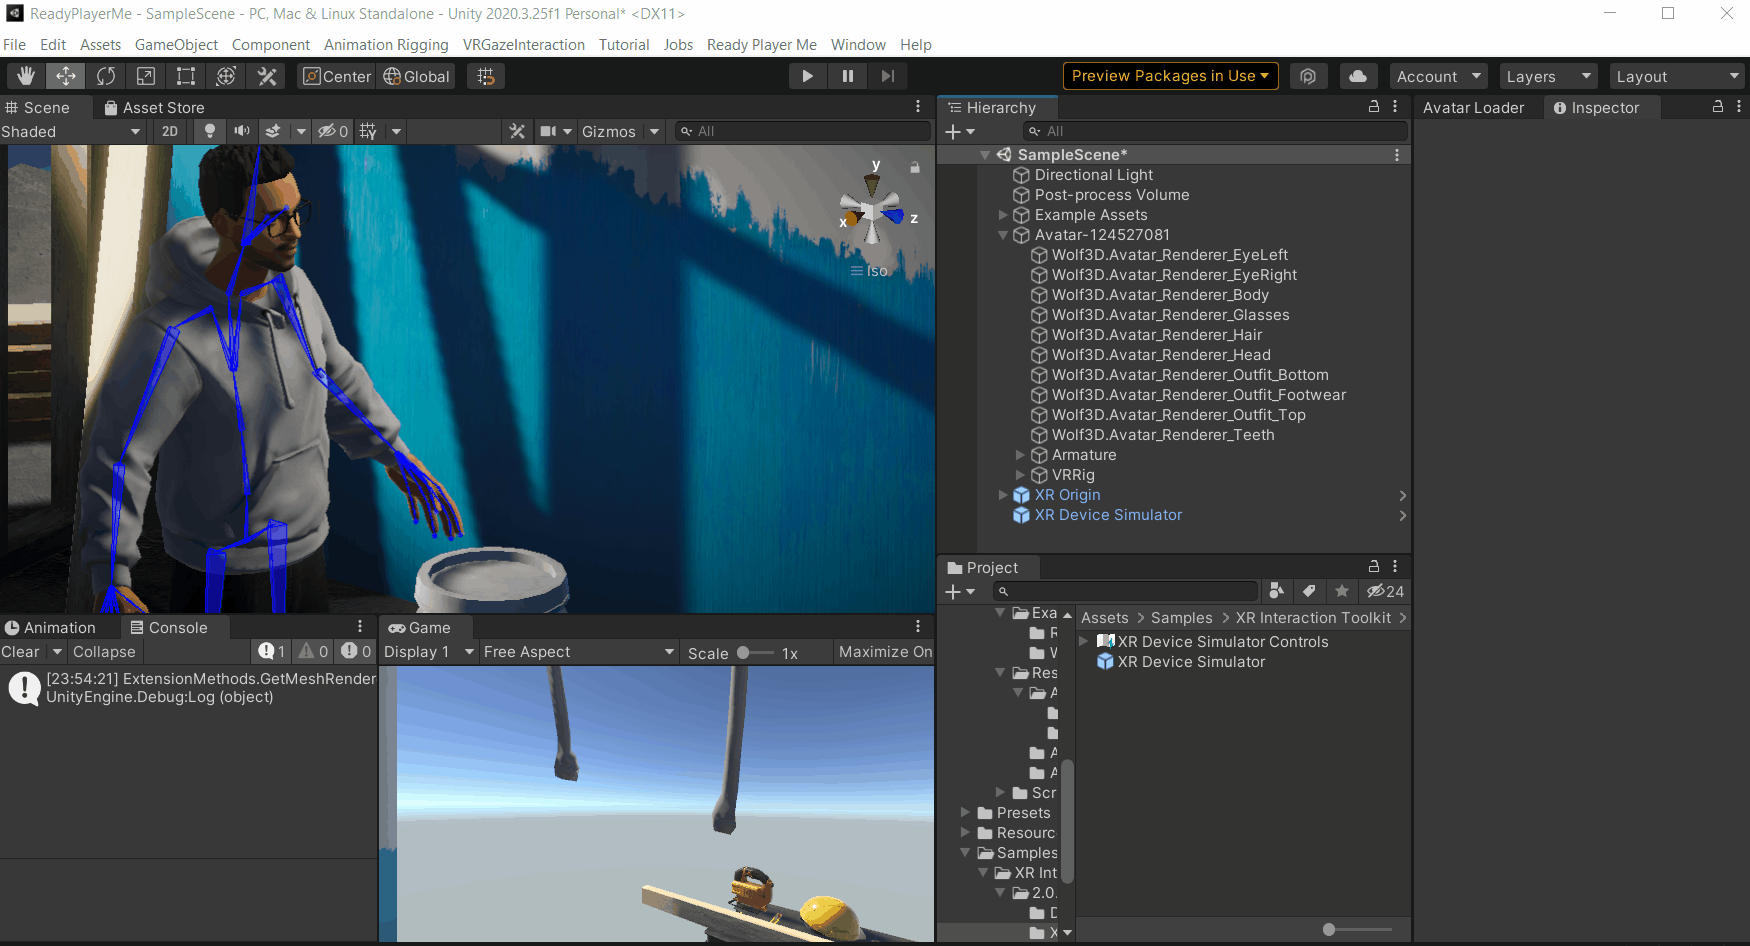
- You can see that the Avatars’ head is blocking the camera vision. To correct that we’ll create a new layer called Ignore and assign it to the Avatar’s eyes, head, hair, glasses and teeth. Then, we will uncheck the Ignore layer from the Camera’s Culling Mask field. Culling Mask is used to render parts of the Scene selectively, since we are unchecking Ignore layer, that camera will not render GameObjects with the Ignore layer.
- You can create a mirror to see yourself in VR by making use of a Quad, a Camera and a Render Texture.
💡 Note: You can refer to Section 2.4 of the Selfie Stick blog to know how to create a Render Texture and display the Camera’s output on a Quad.

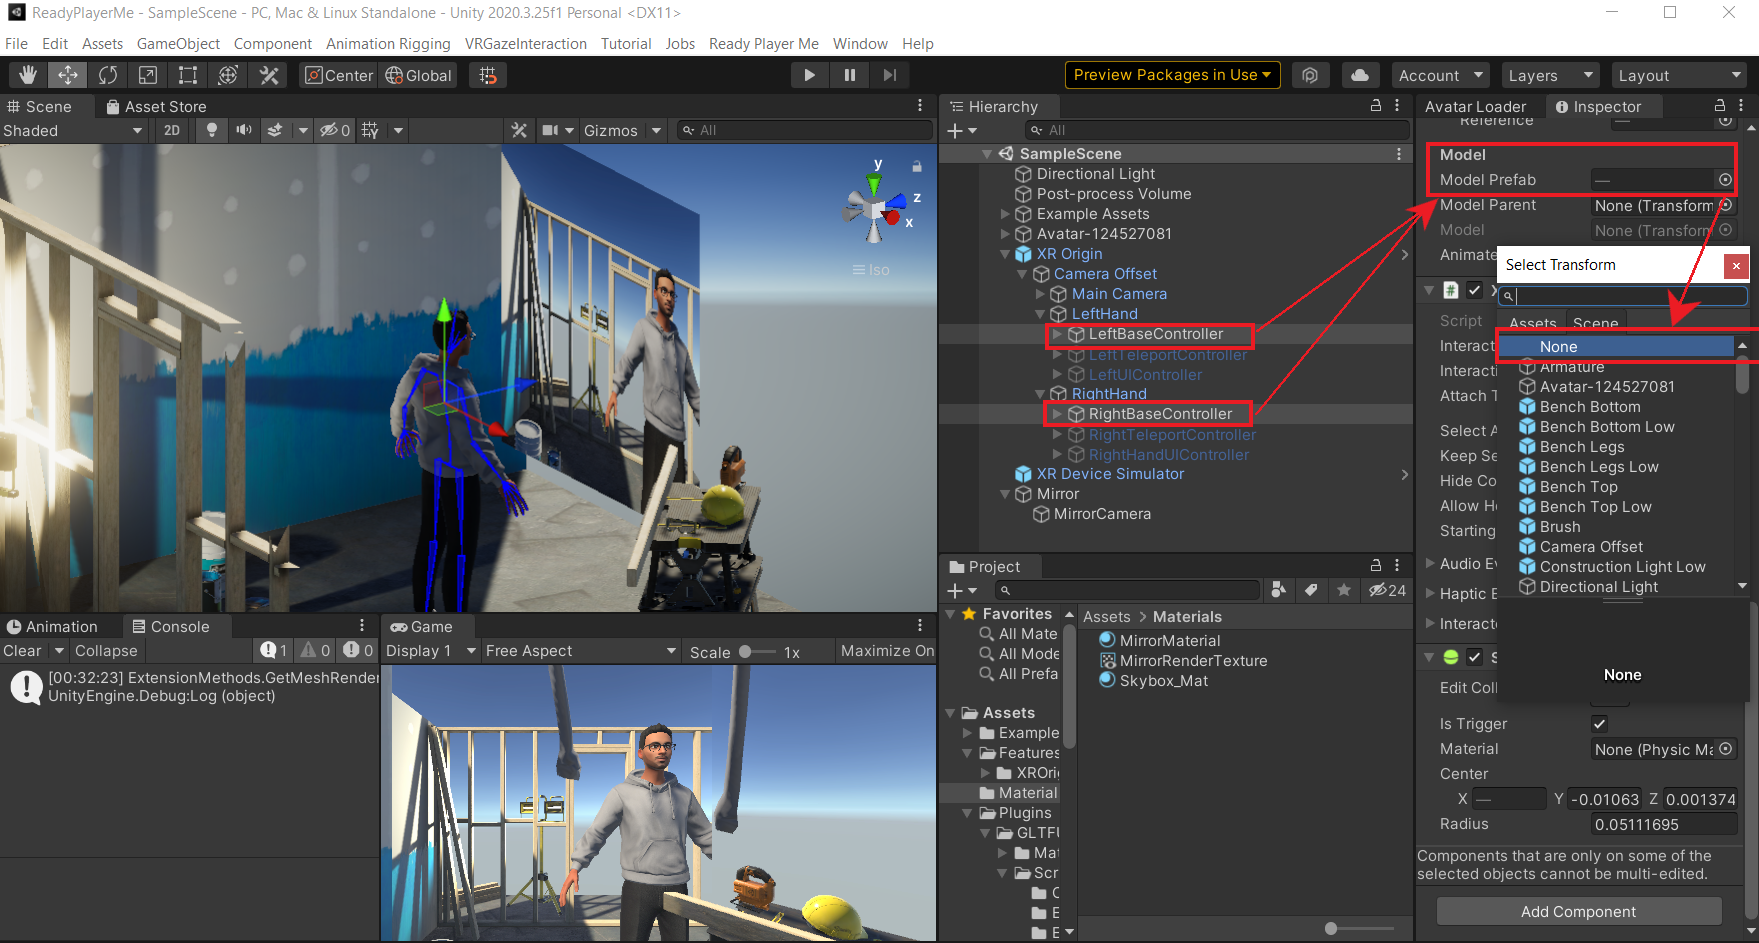
- Finally, disable the XROigin’s hand prefabs by setting the Model Prefab field of the XR Controller (Action-based) Component of the Left and Right base controller GameObjects to None.
- Hit Play▶️ and test it in VR.
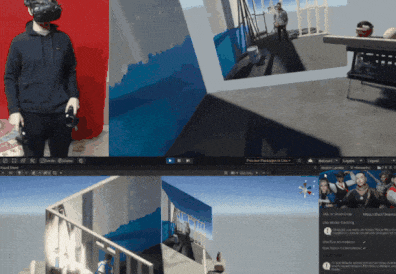
With that, we have successfully rigged our Avatar for VR.
Conclusion
In this blog post, we learned how to create an Avatar, import it to Unity and rig our Ready Player Me Avatar for VR.
So, what to do next? Well, we rigged only the upper body but you can go further and rig the lower body as well (Maybe something that we will cover in the next blog as well). Also, the hands can be animated when the grip and trigger buttons are pressed.
See you next time!
